Sponsored Article
Cork is a fantastic flooring option for kitchens as it’s comfortable underfoot, making it ideal for when you need to spend a lot of time on your feet cooking or washing up.
A natural product, cork contains millions of tiny air cells per square centimetre and acts like an insulator, staying warm underfoot during winter. It’s light, waterproof and airtight, plus it doesn’t absorb dust, so it’s ideal for allergy sufferers.
Cork absorbs impact better than hard surfaces like tiles, meaning less chance of breakages if you happen to drop a plate or glass. It also has soundproofing qualities.
Installing cork flooring
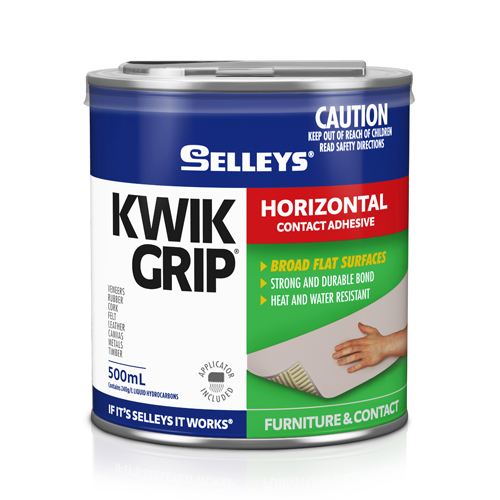
You can lay cork tiles using Selleys Kwik Grip Horizontal Contact Adhesive. You’ll also need a tape measure, utility knife, square, rubber mallet, pole sander, 100 and 150 grit abrasive paper, floor applicator and polyurethane varnish.
Cork tiles need to be attached to a flat, smooth subfloor. Ensure any imperfections, joints and depressions are filled before starting. Measure the floor and divide it into quadrants to make laying easier.
Calculate the amount of tiles you need and cut any to size using a utility knife and try square before beginning. When cutting, score the surface first, then make several passes until the tile is cut all the way through.
Before commencing the project, ensure there is adequate ventilation in the room by opening any doors or windows.
Apply Selleys Kwik Grip Horizontal Contact Adhesive to the underside of all the tiles and the floor in the first quadrant, overlapping the quadrants slightly. Leave until touch dry, but not more than 40 minutes.
Position the first tile in the corner of the first quadrant and tap it lightly with a rubber mallet. Ensure tiles are aligned perfectly, as the adhesive grips immediately on contact and can’t be repositioned.
Butt the next tile tightly against the first tile, continuing until the whole quadrant is covered. Start on the next quadrant, applying adhesive to the tiles and floor and waiting until the adhesive is touch-dry before laying the tiles.
Once all the tiles are attached, sand the floor using a sanding pole and 100 grit abrasive paper, followed by 150 grit paper. Vacuum the entire floor twice to ensure the area is completely free of dust.
Using a floor applicator, apply two coats of polyurethane varnish to the floor, cutting in at the edges with a brush. Keep a wet edge and avoid pooling the finish in one area. Allow the varnish to cure for several days before using the room.