DIY concrete footpath tips
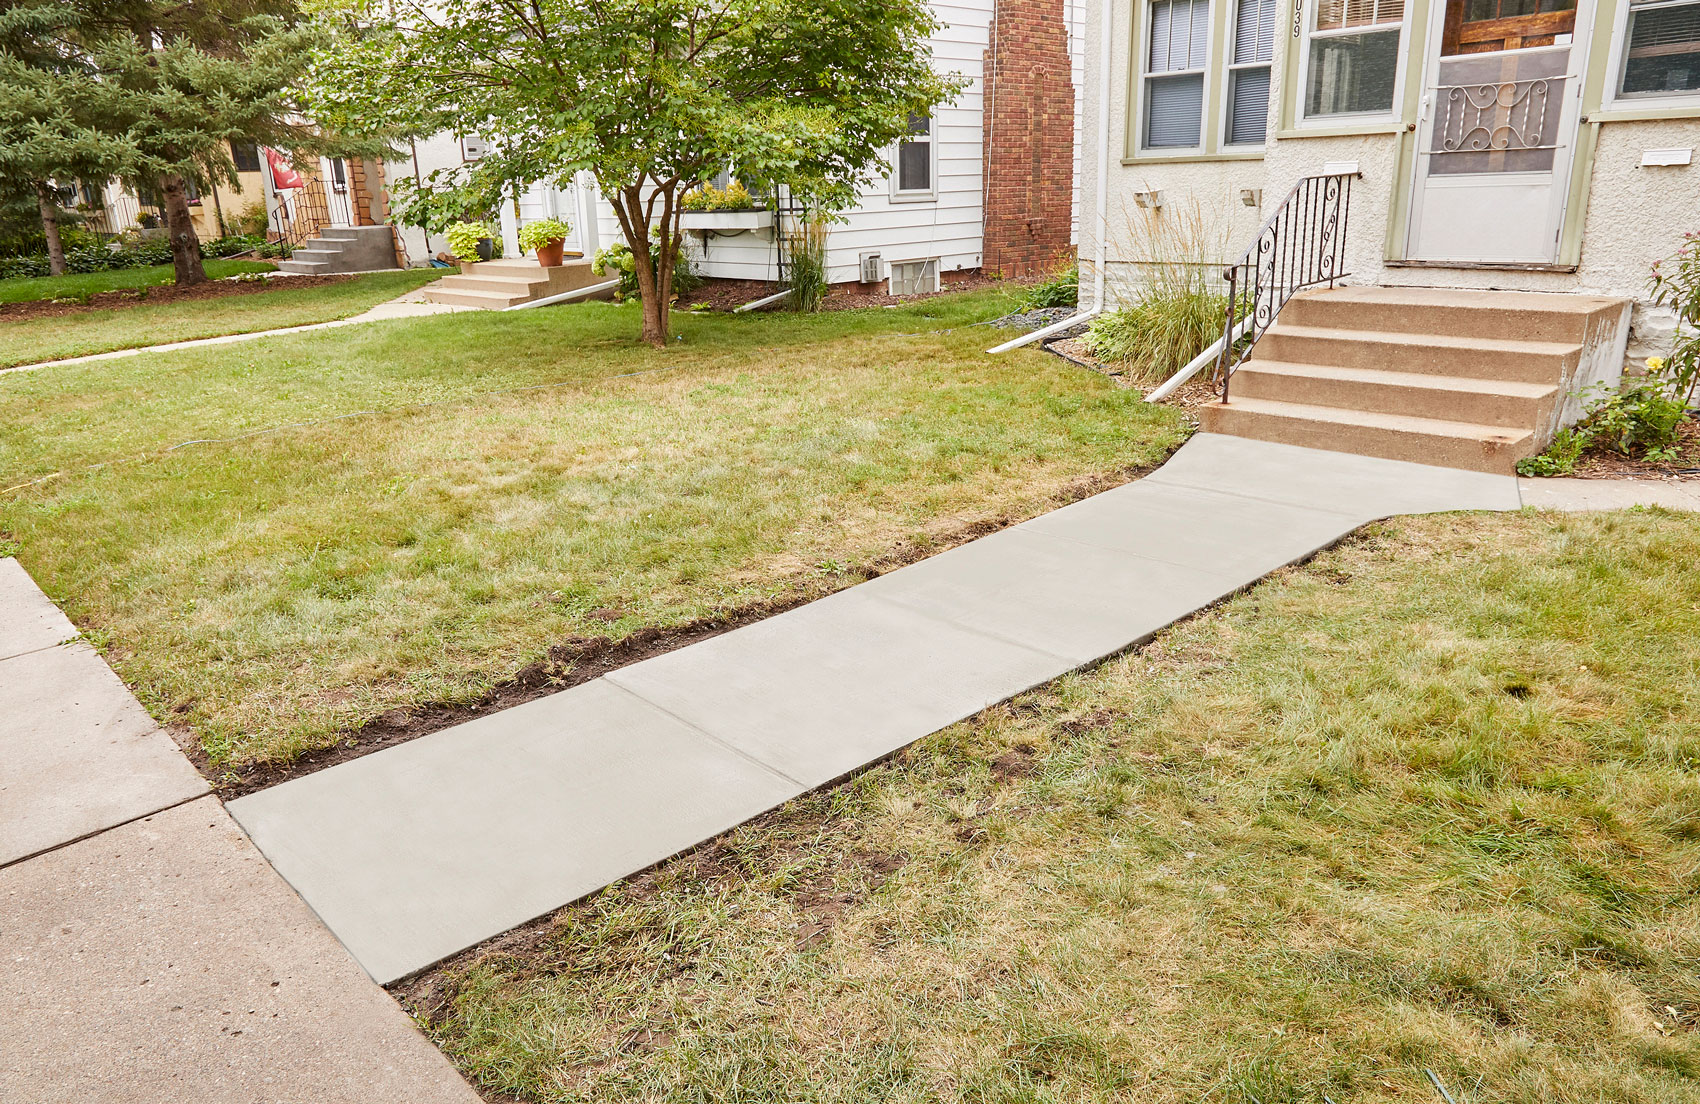
A concrete footpath is a great addition to any home that can go a long way toward adding some kerb appeal. It’s also a great DIY project for beginners tackling their first concrete project.
If you do decide to add a walkway to your house, you’ll want it to be strong and crack-free to prevent future headaches. These 10 tips from concrete pros will help with everything from forming edges, levelling, smoothing, curing and other vital steps in creating a first-rate concrete pour.
You’ll also want to know the 12 most common mistakes when pouring concrete.
Overbuild your concrete forms
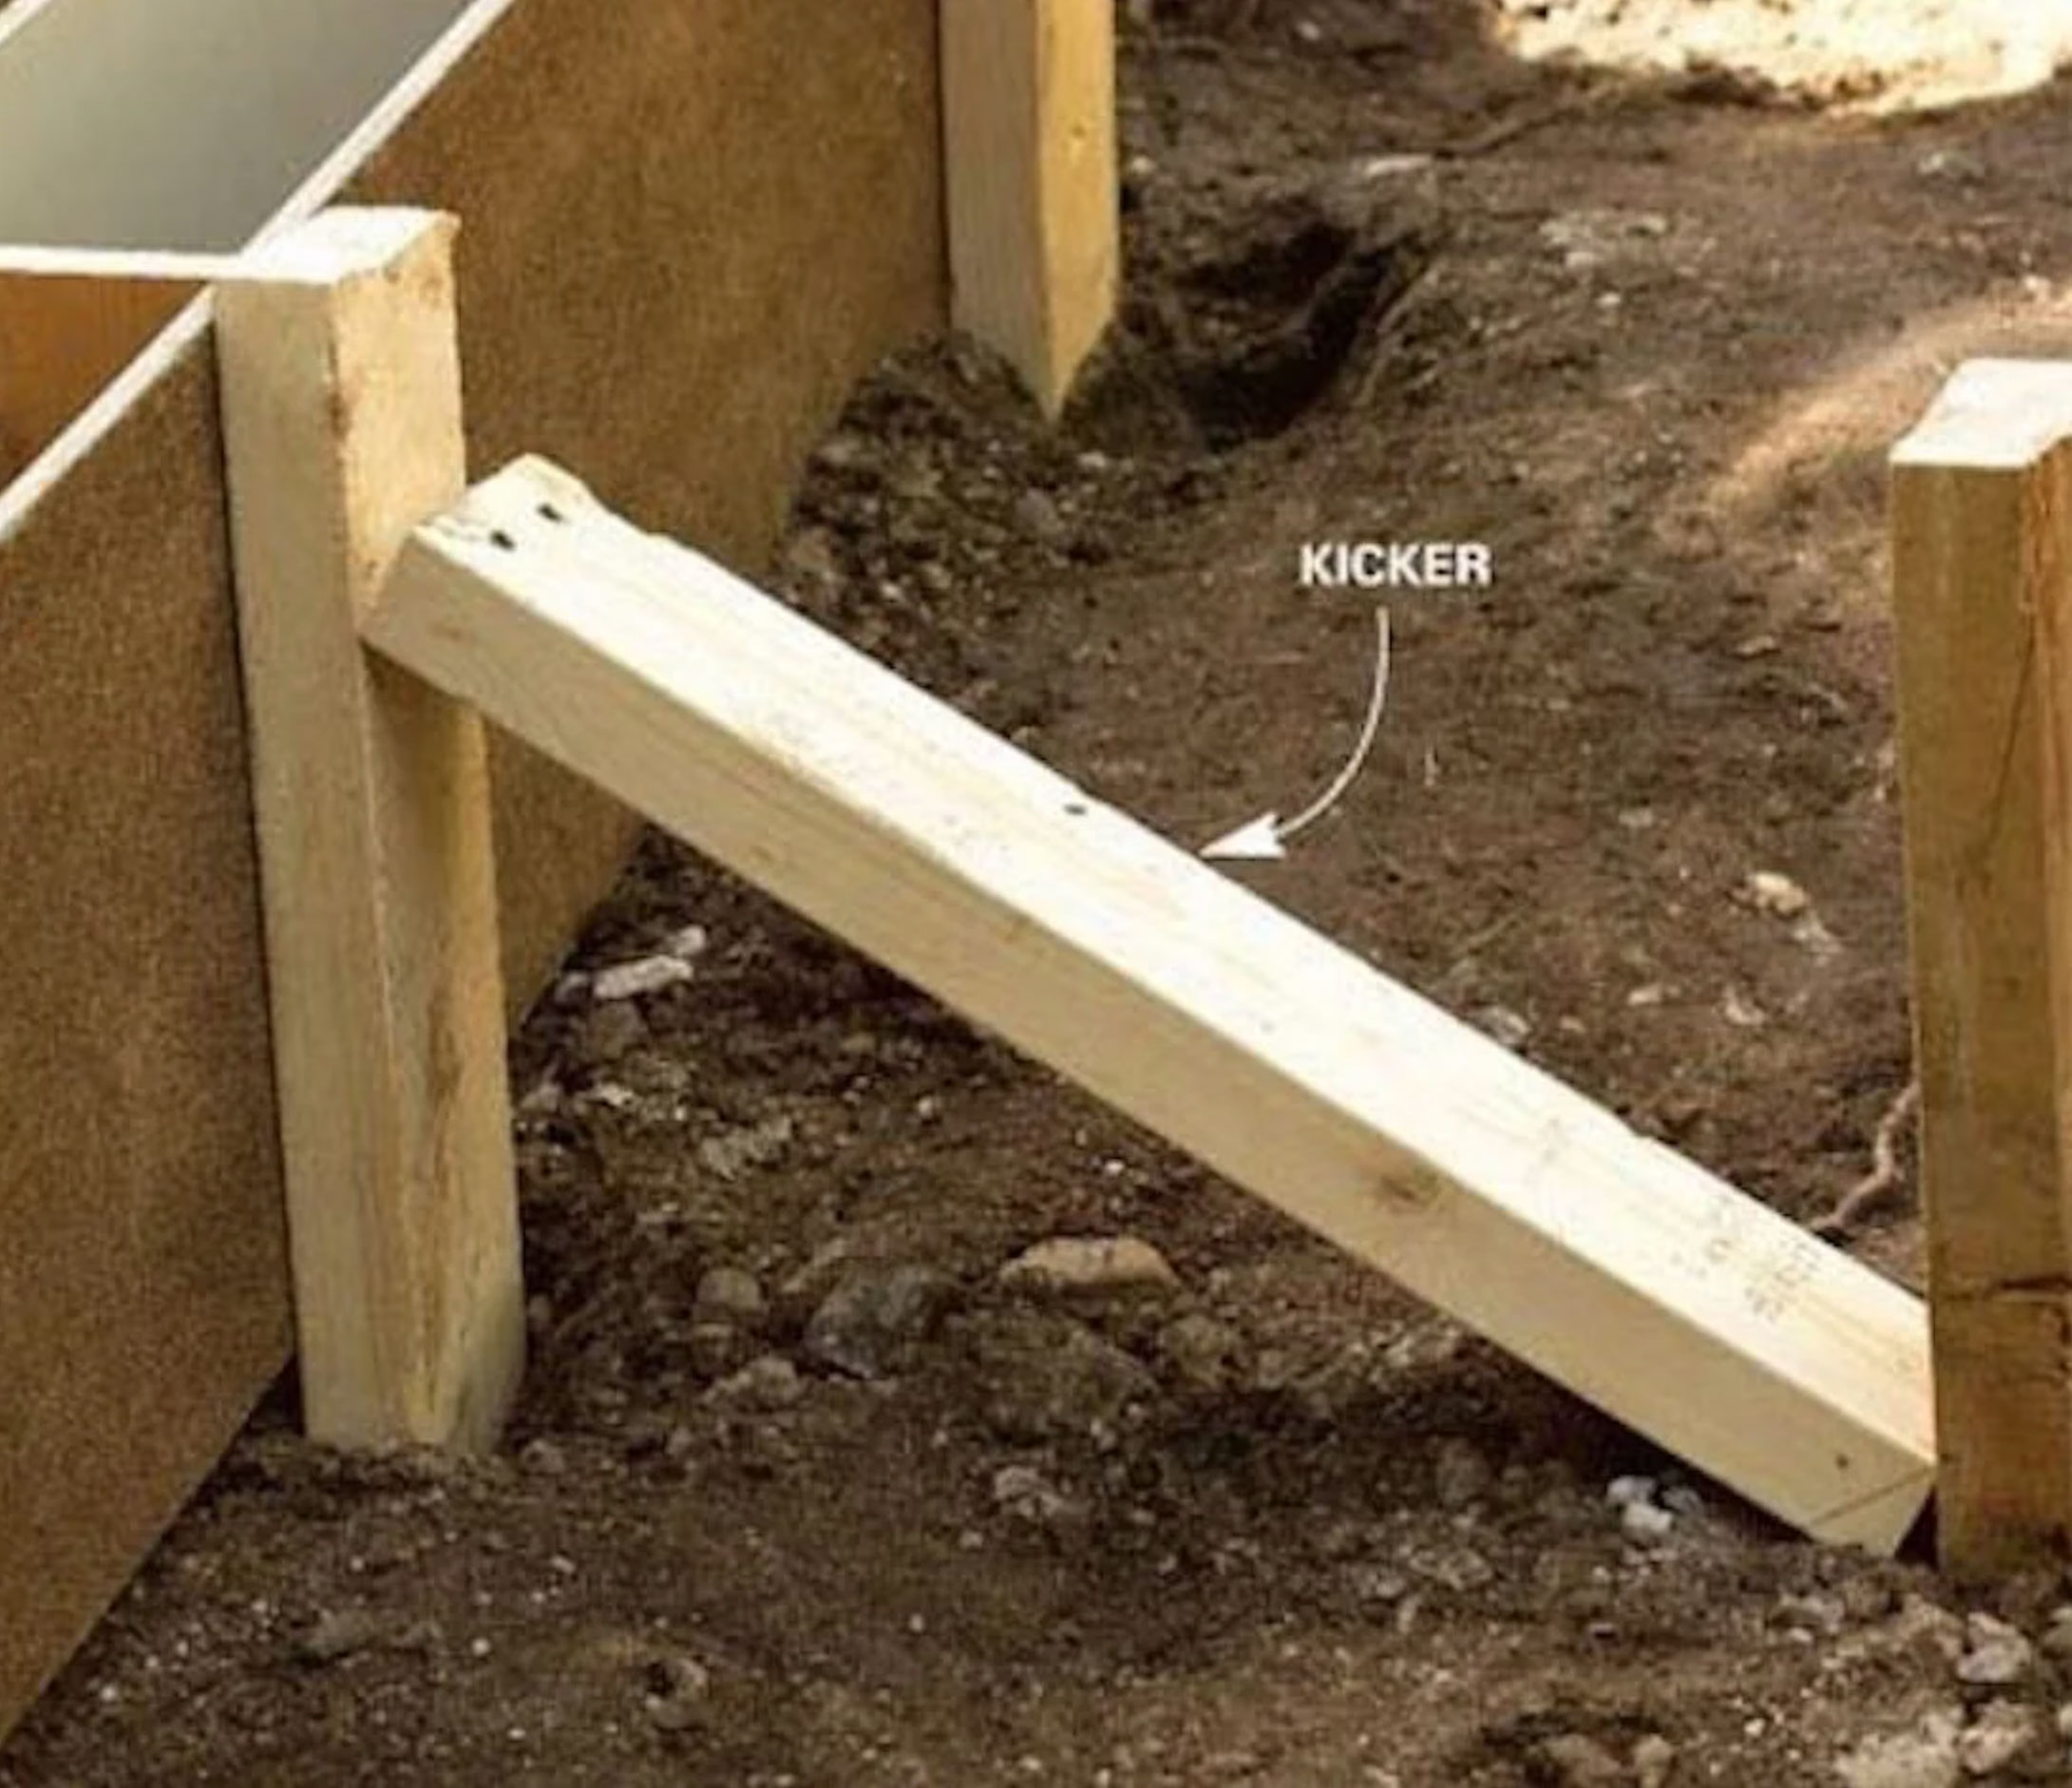
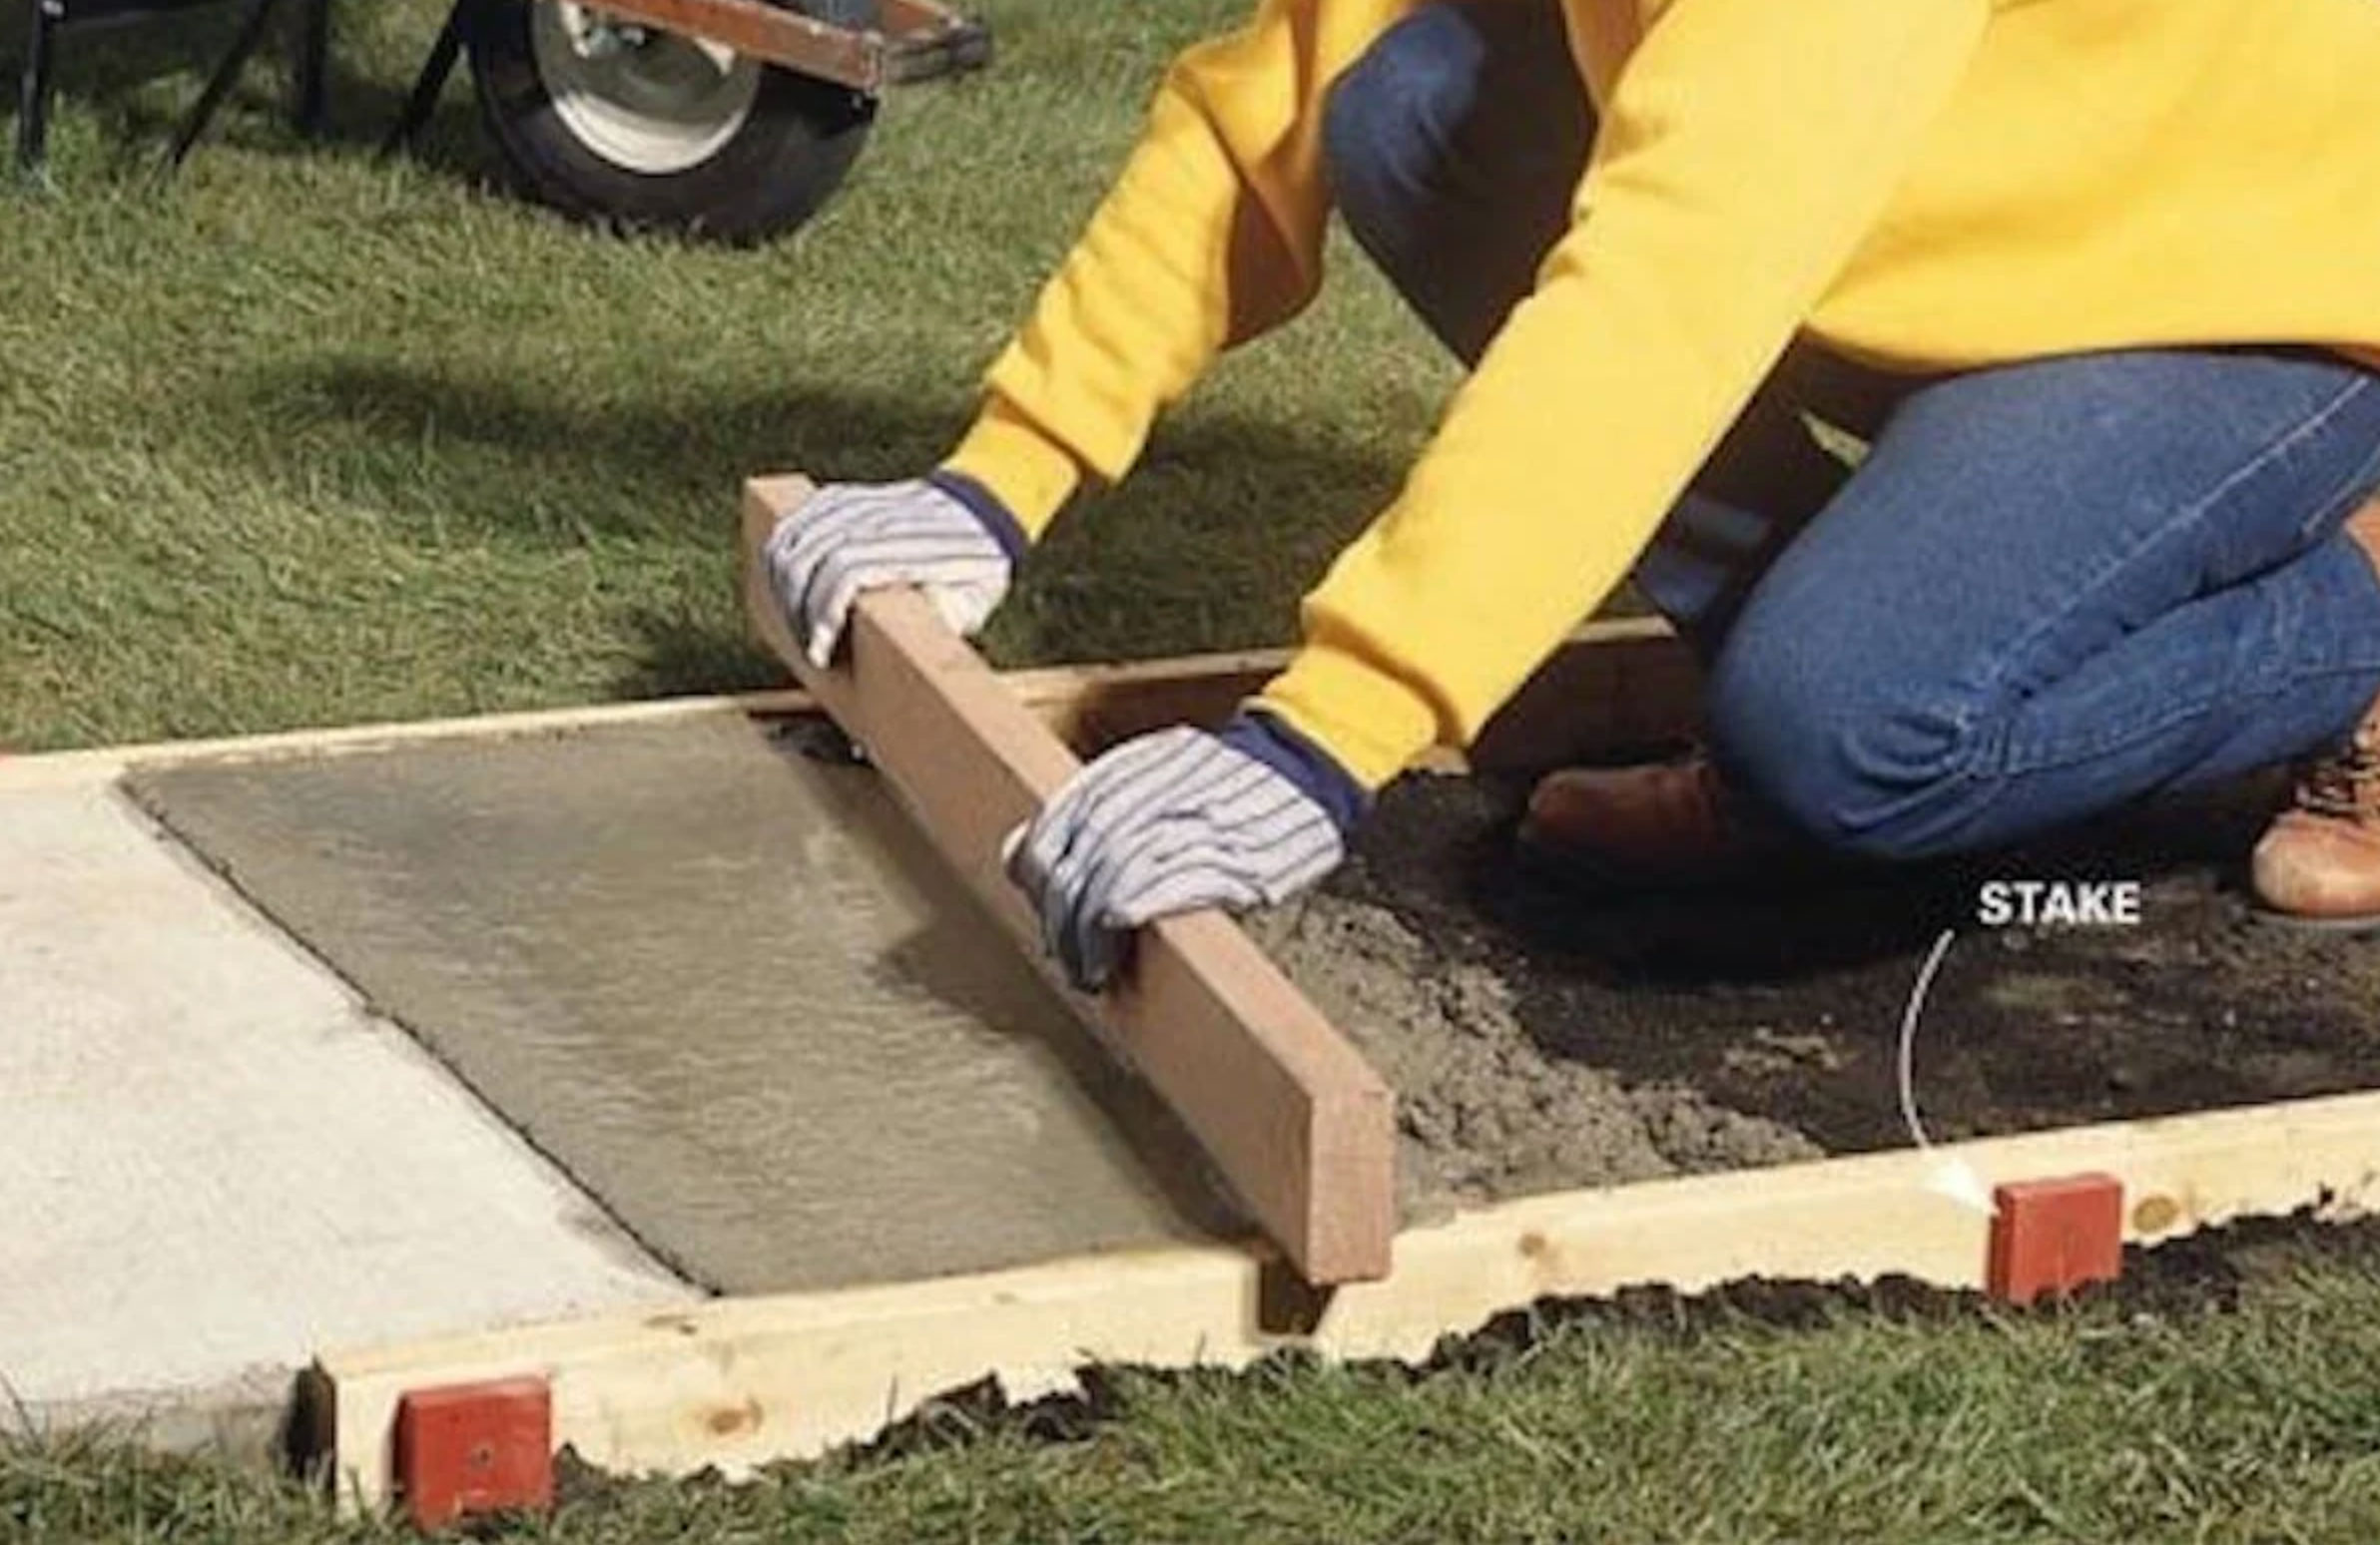
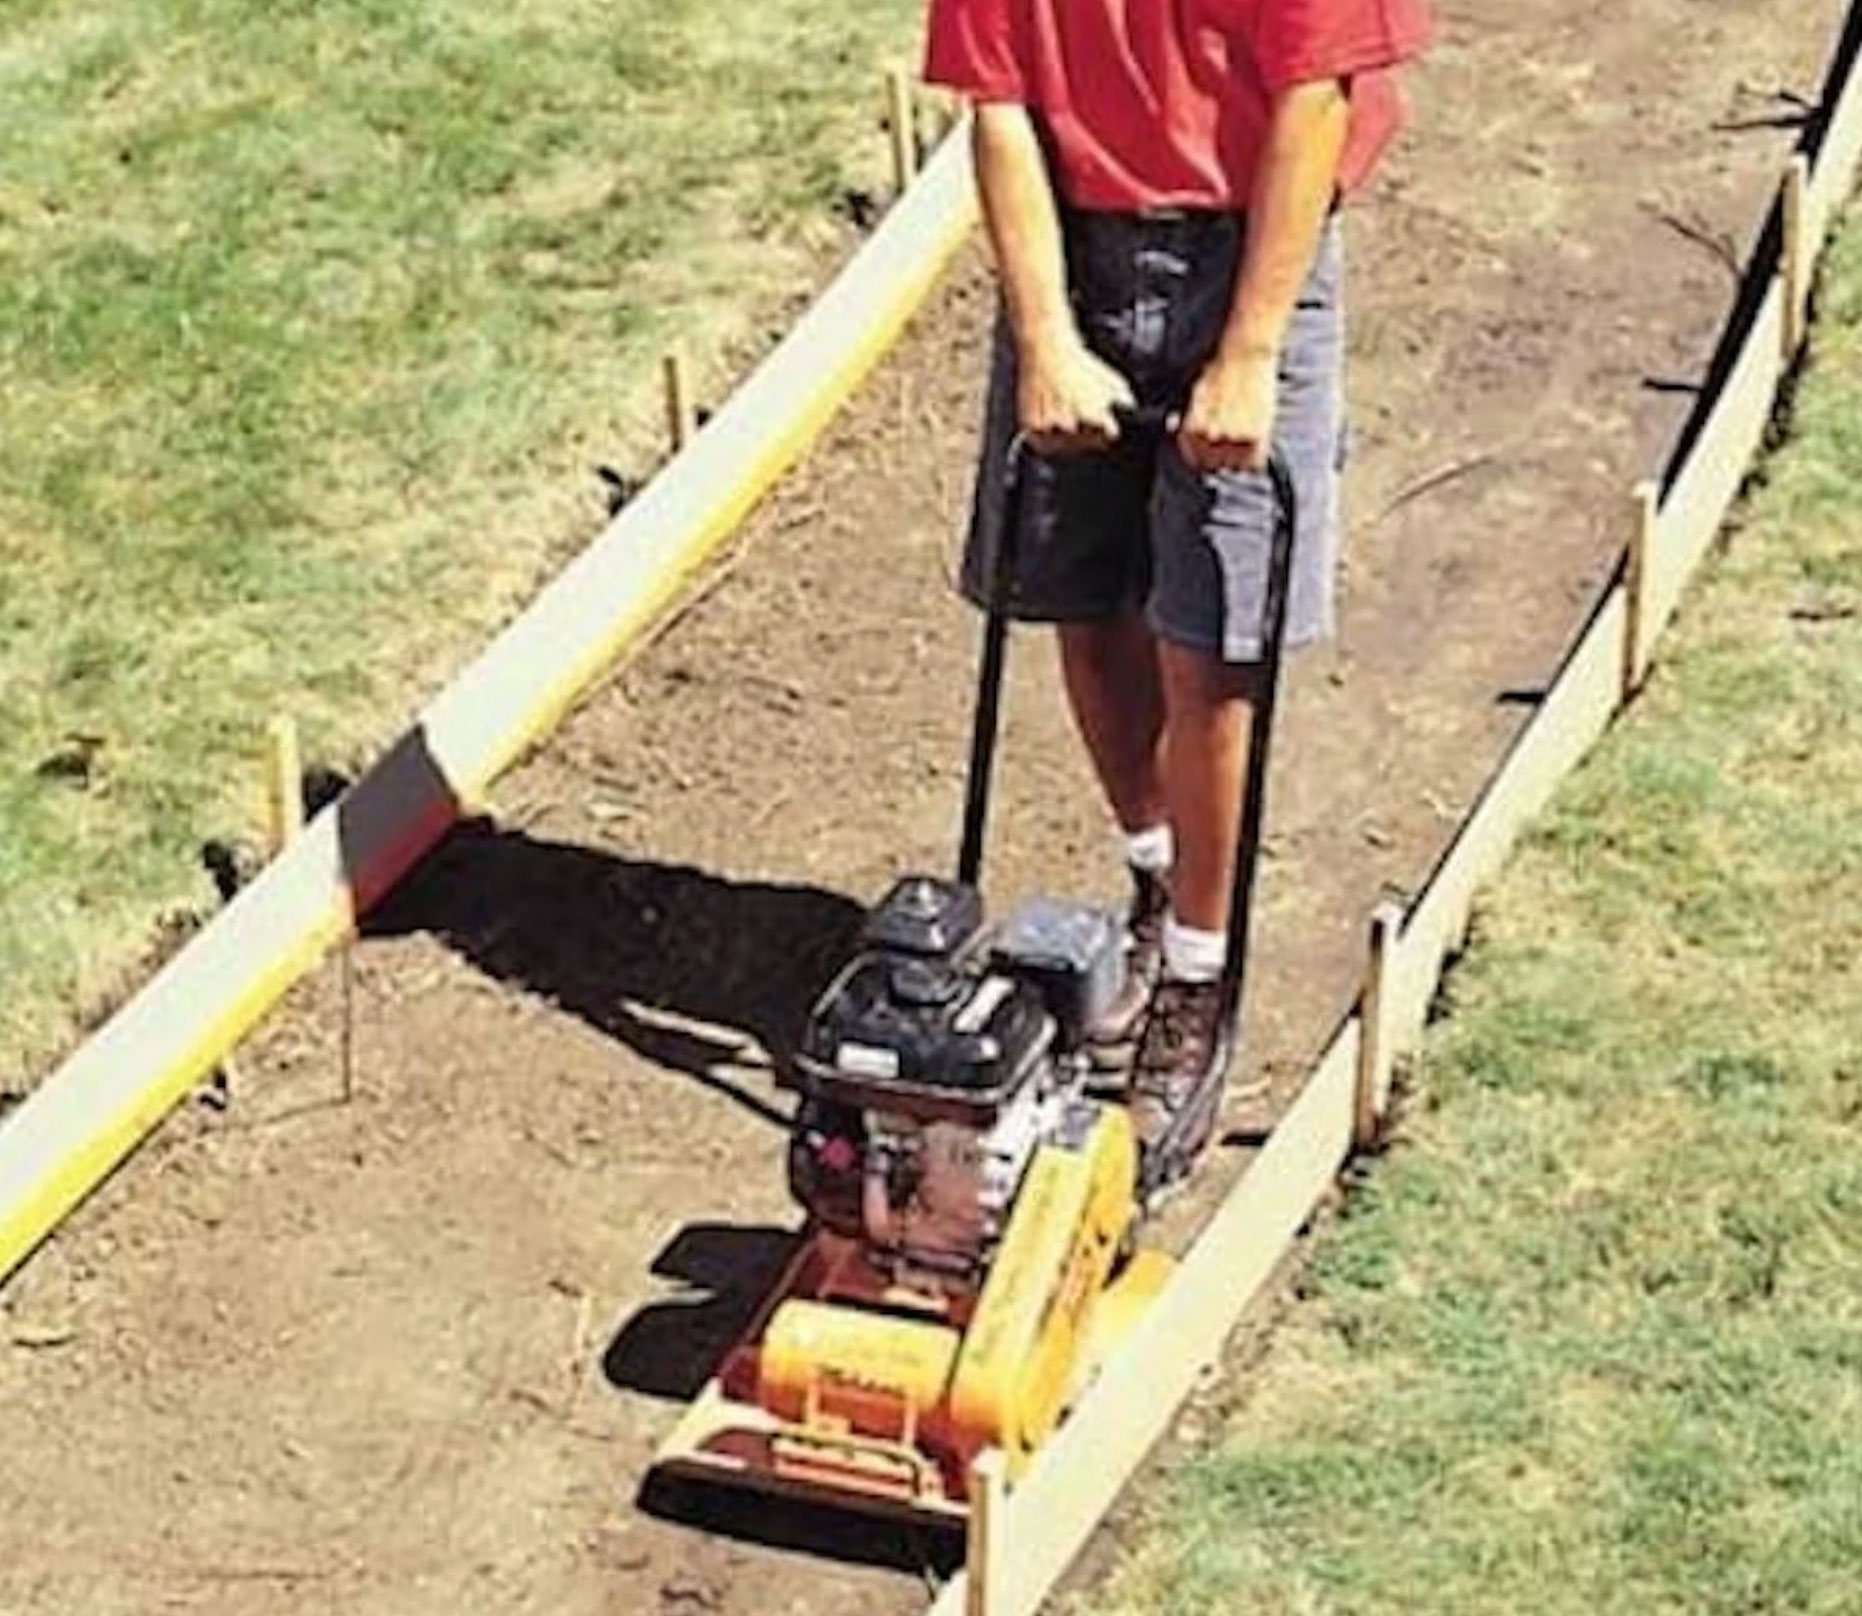
Every builder who’s poured a concrete slab or walkway has a horror story about forms that bulged or even collapsed under the force of wet concrete. To avoid a horror story of your own, build strong forms. Use 38mm-thick boards (2x4s, 2x6s, etc.) except on curves. If you’re using 2x4s or 2x6s, place stakes no more than a metre apart.
If the forms extend below ground, pack soil against them. If they extend more than 150mm above ground, reduce the spacing between stakes and brace each one with a second stake and a diagonal “kicker.”
Form concrete footpath curves with hardboard
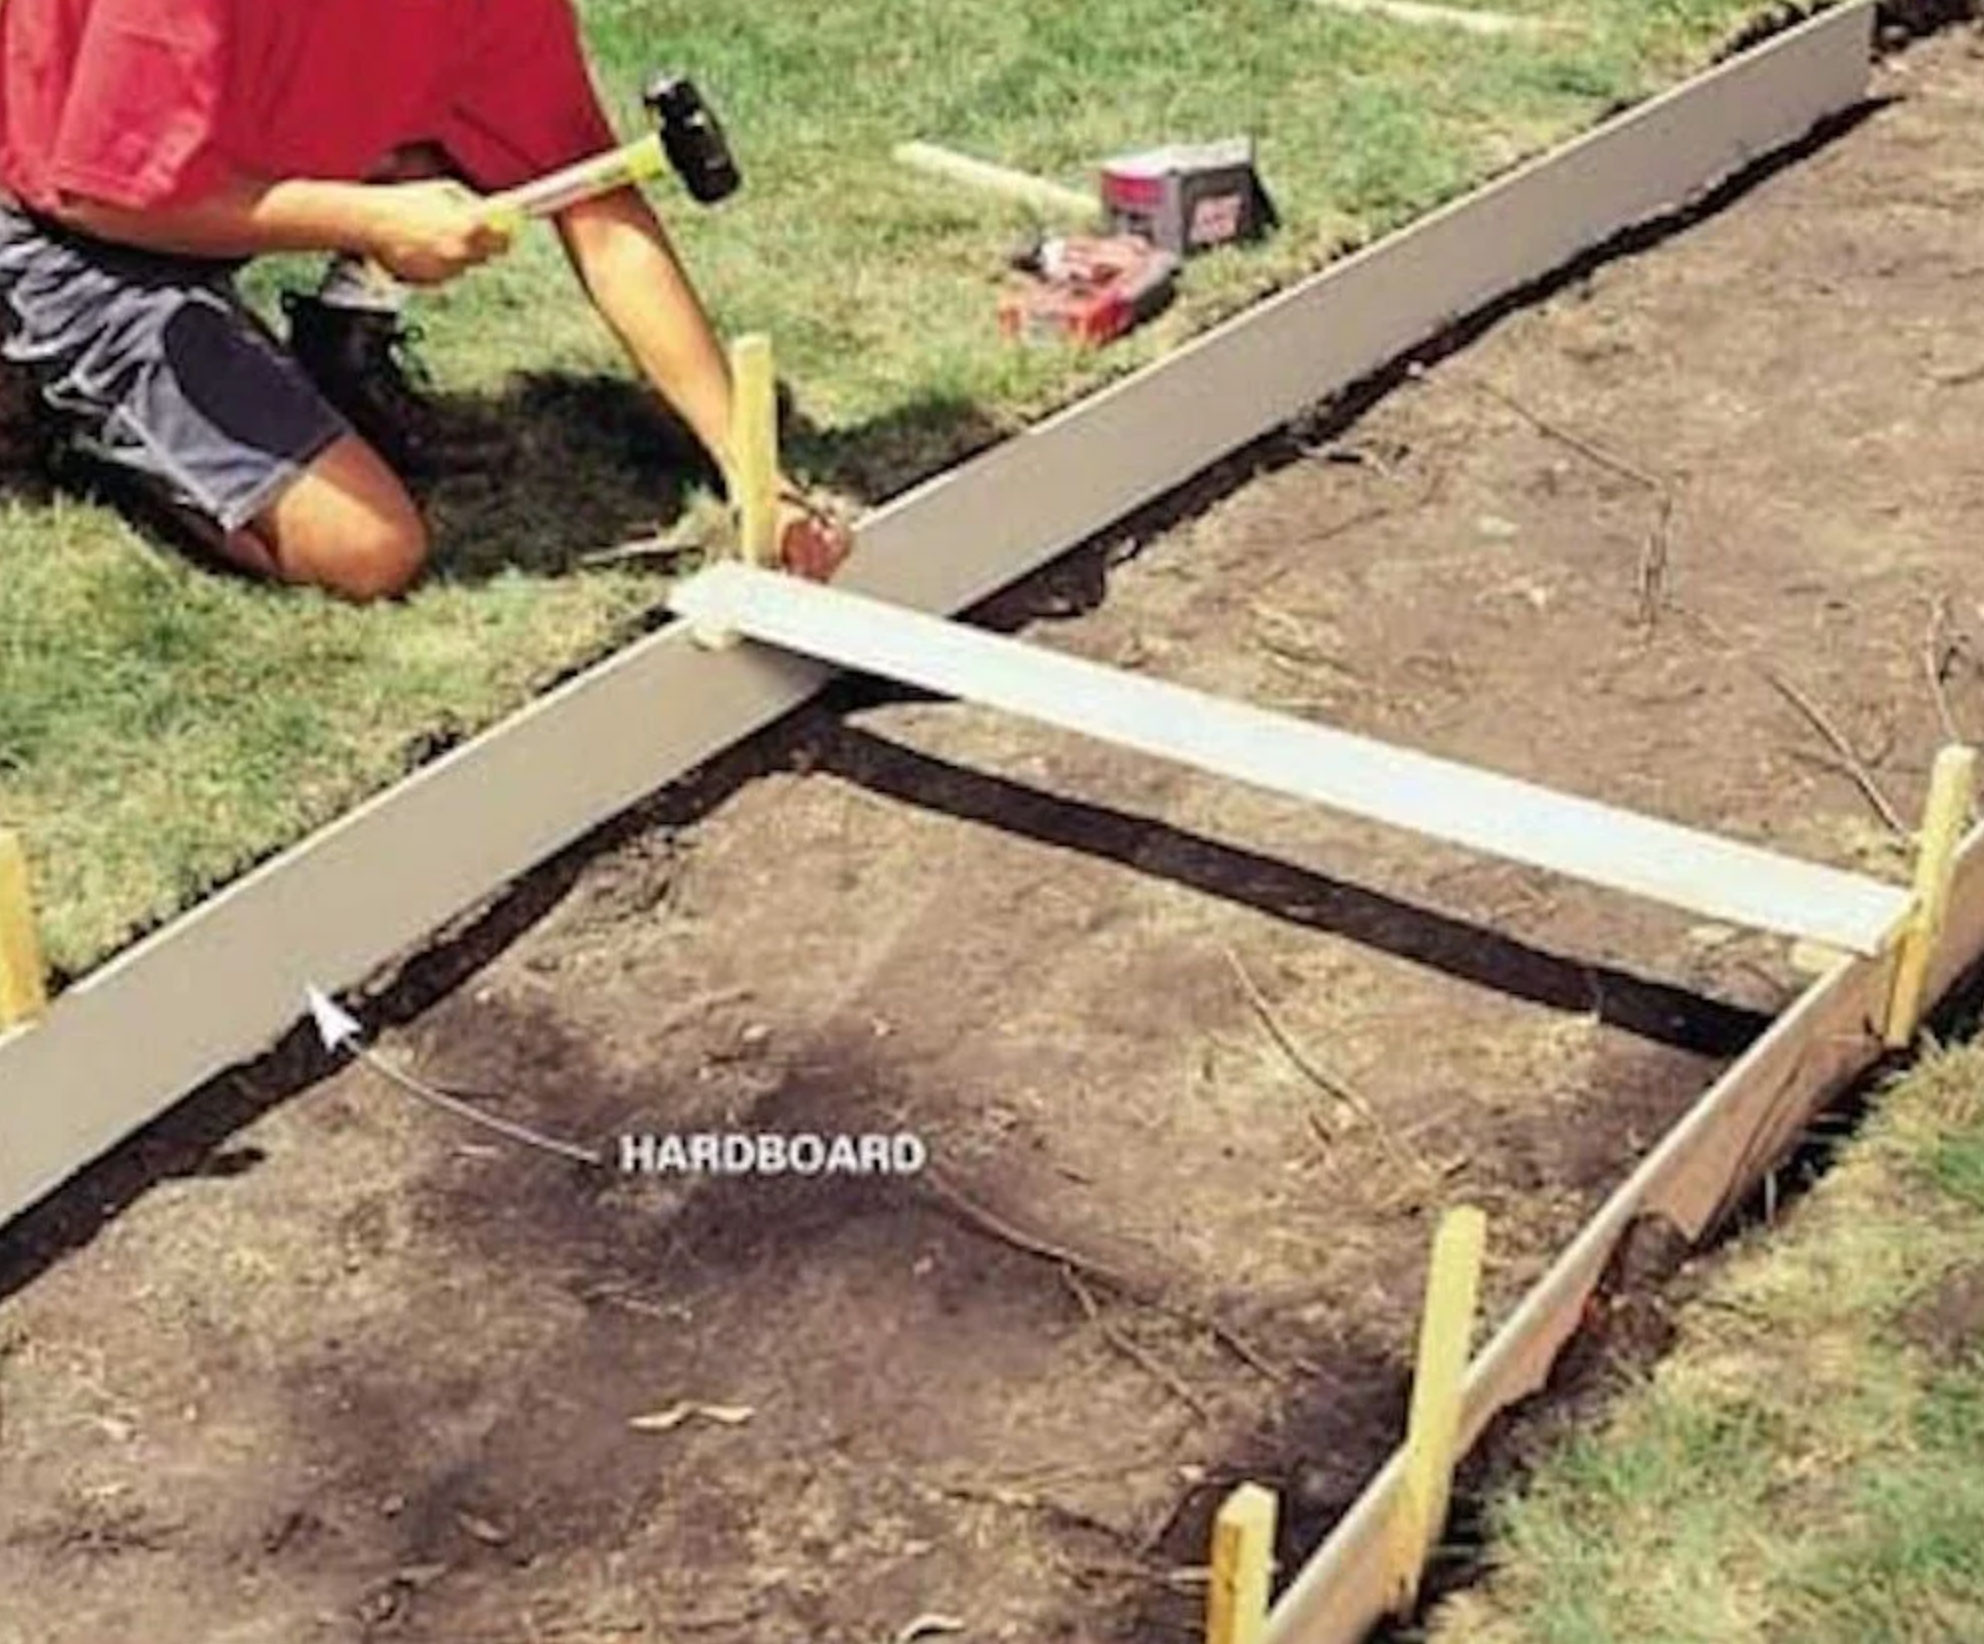
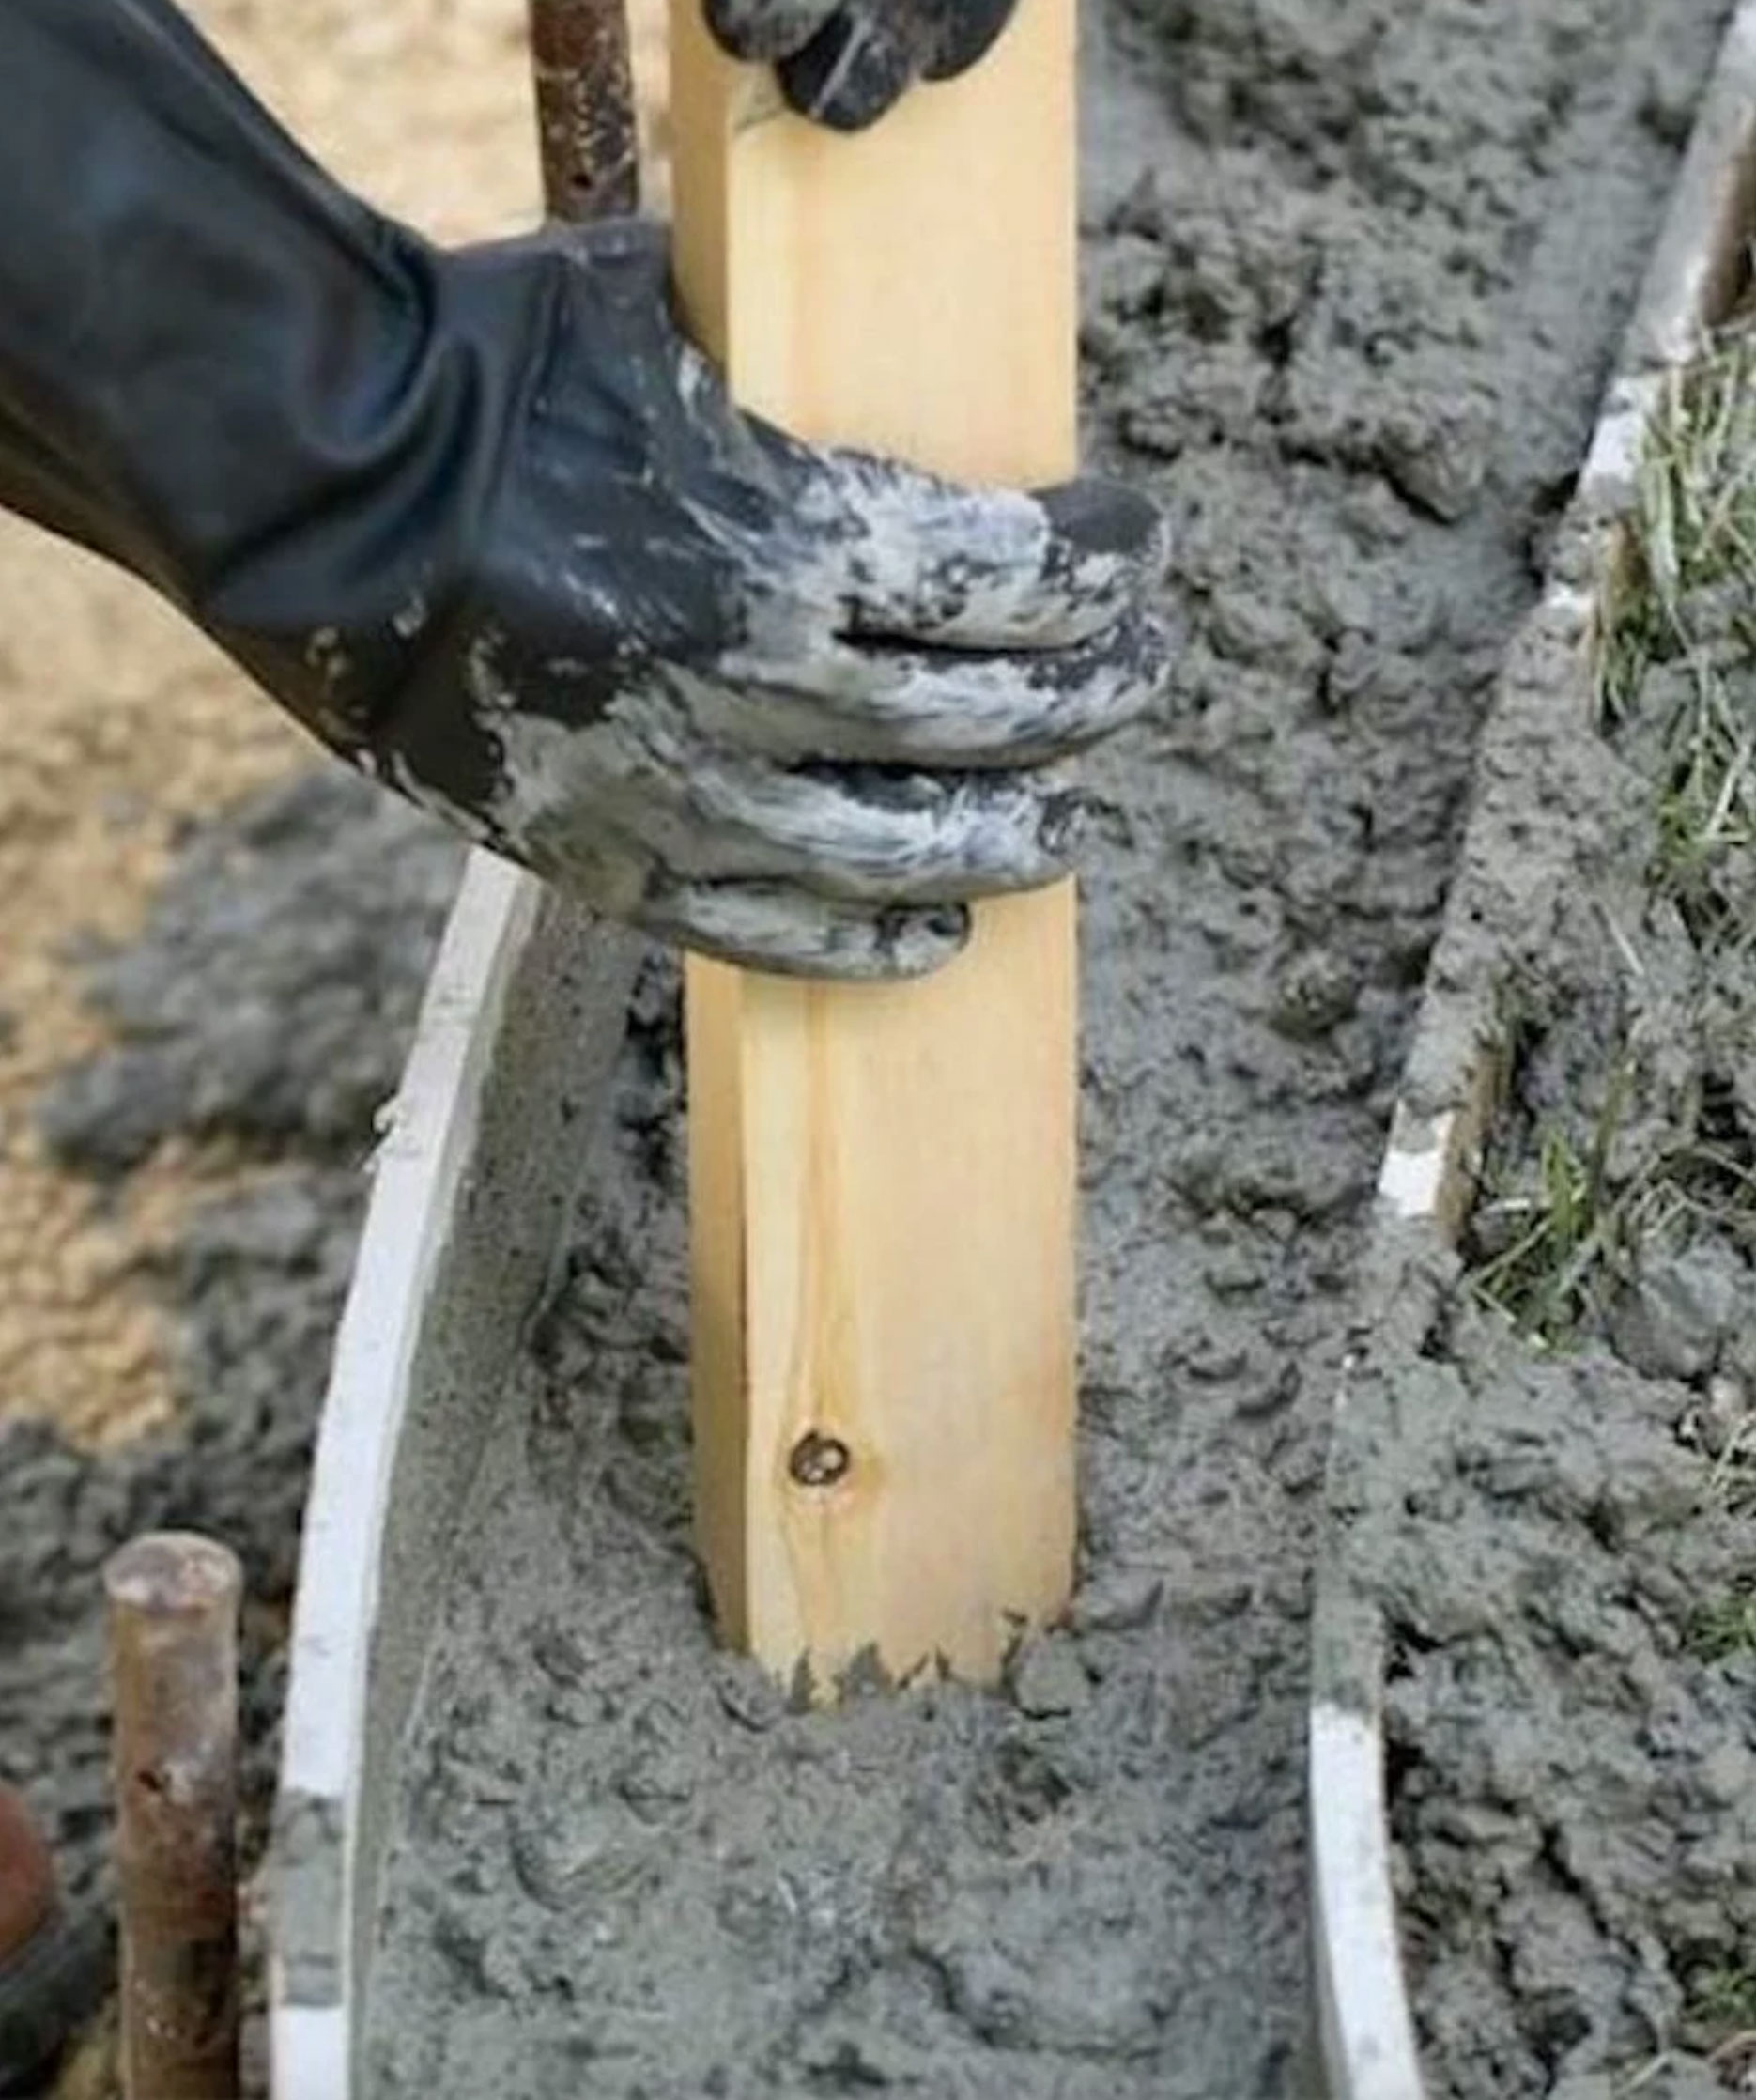
Fibre cement board siding is intended for exterior walls, but it’s also great stuff for forming curves because it’s flexible and cheap. A 300mm x 4.8mm plank won’t cost much, and you can cut it to any width you need.
Because it’s so flexible, hardboard needs extra reinforcement to prevent bulging against the force of the concrete. If the forms are below ground, place stakes no more than one metre apart and pack soil against them. For aboveground forms, space stakes 400mm apart. To form consistent, parallel sides for a curved footpath, build one side first. Then use a “gauge board” – a 1×4 with blocks screwed to it – to position the other side.
In wet weather, hardboard can swell and your perfect curves might become wavy. So if rain is forecast, be prepared to cover your hardboard forms.


