Mortise-and-tenon joint
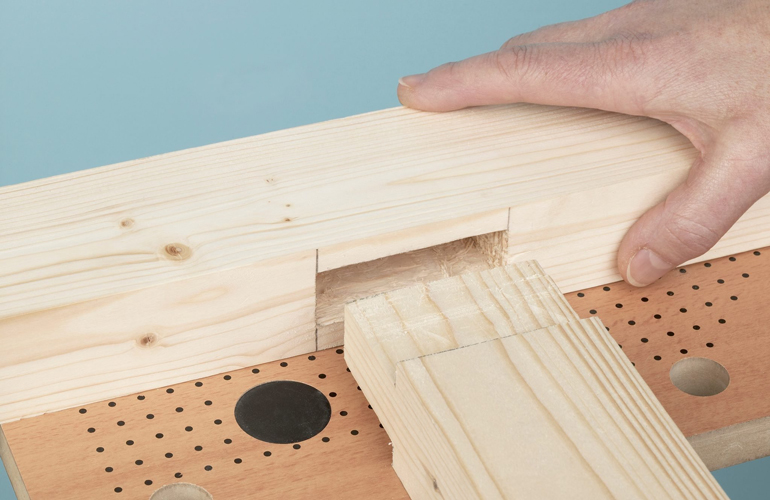
Mortise-and-tenon joint
STEVE GORTON/GETTY IMAGES

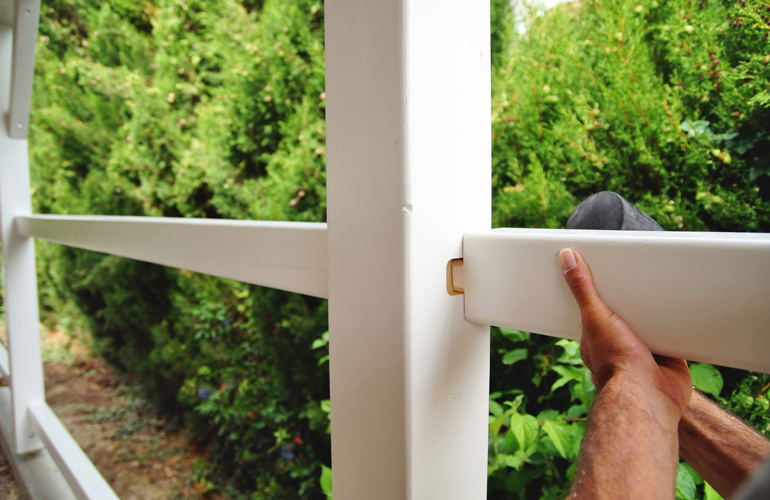
This is a general term – the mortise describes a pocket cut into a piece of wood, and the tenon is a corresponding positive part on the end of another piece of wood that fits into the mortise.

The tenon shoulders, often cut at square 90-degree angles, seat against the face where the mortise is cut, providing strength and structure while preventing tipping or racking out of square.

There are dozens of variations, and the mortise-and-tenon joint takes many forms. It can be rectangular, square, pinned, wedged, haunched, loose and even cylindrical.

Discover 20 secret clamping tricks from woodworkers.

Advertisement

Dovetail joint

Dovetail joint
DIFYDAVE/GETTY IMAGES

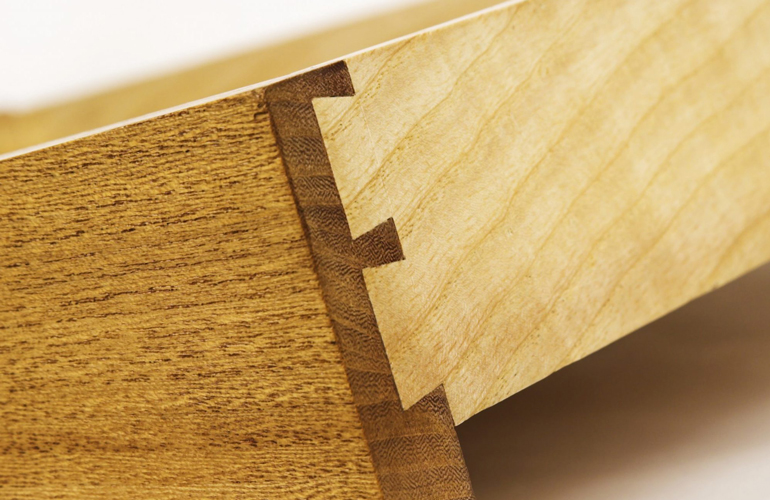
Found frequently on drawers, the dovetail is the Holy Grail of woodworking joints. The wedge-shaped pins and tails are cut on mating pieces which resist being pulled apart.

The dovetail is beautiful and strong, but among the most difficult joints to execute. Dovetails can be hand cut, using a combination of careful saw and chisel work, or cut with an array of available router templates, ensuring proper alignment of the pins and tails. In either case, careful layout and patient attention to detail are essential.

While half blind or hidden dovetails do exist, most dovetails are left exposed. That’s because the joint is beautiful and proves the maker is a fastidious craftsperson.

These are the 10 most common woodworking mistakes beginners make.

Box joint
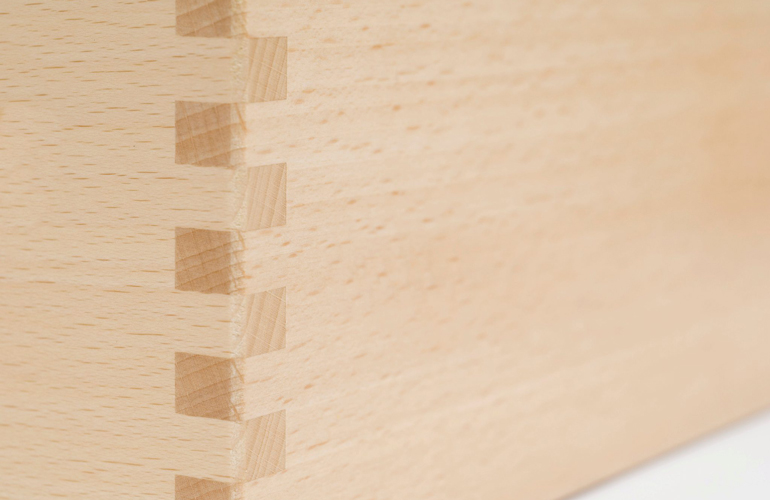
Box joint
LOTHAR SCHIFFLER/GETTY IMAGES

The box joint is considered the fast, strong younger sibling of the dovetail. To picture a box joint, also known as a finger joint, imagine two hands with straight fingers interwoven. While box and dovetail joints can be used interchangeably for the same structural function, the box joint is less extravagant and perhaps easier to execute.

Woodworkers utilise router templates or a stacked dado blade on the table saw to make this clean joint. Once set up, it can be made efficiently.

Don’t miss these genius sanding tips you need to know.

Bridle joint

Bridle joint
VIA REDDIT.COM

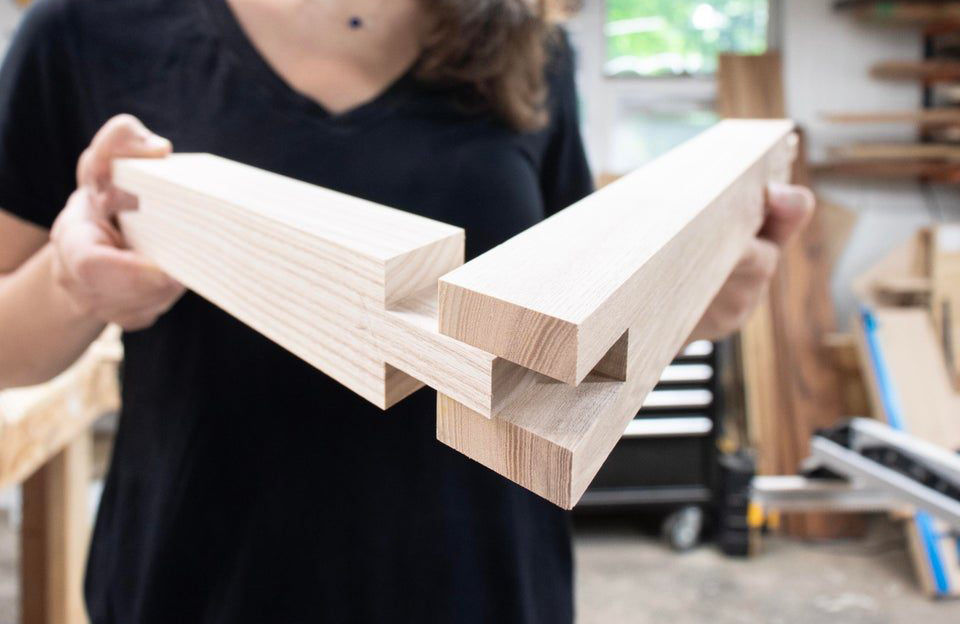
Similar to a mortise-and-tenon joint, the bridle joint is cut to the full width of the tenon. This joint is often used in larger joining scenarios, like work benches with massive cross members, or in barn door construction. Woodworkers employ the big, beautiful bridle joint on large pieces because of the large glue surface area and relatively simple execution.

Most often used on corners, the bridle joint may be combined with a T-bridle joint where the ends of one piece join to the middle of the board. This joint is especially beautiful because the face and end grain contrast, calling attention to the craftsmanship.

Here are more types of wood joints every woodworker should know.

Butt joint

Butt joint
VIA KING'S FINE WOODWORKING INC./FACEBOOK.COM

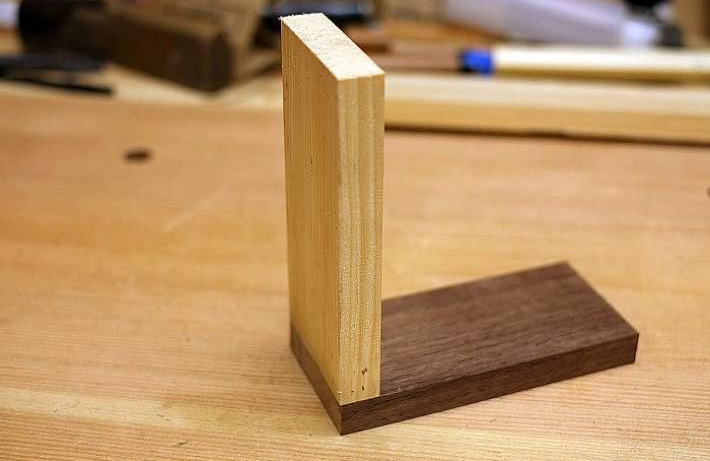
This simple joint forms when one piece butts or bumps end-grain directly into the long-grain face of another at 90 degrees. It’s easy to execute because you don’t need to account for extra length for tenons or corresponding mortises.

However, simple butt joints are weak and should be reinforced. They can be doweled or screwed, but glue alone isn’t sufficient. The end grain absorbs glue, starving the joint and weakening it. What’s more, the board butting into the long grain swells and shrinks, further weakening the glue adhesion.

Learn how to glue wood.

Scarf joint

Scarf joint
VIA REDDIT.COM

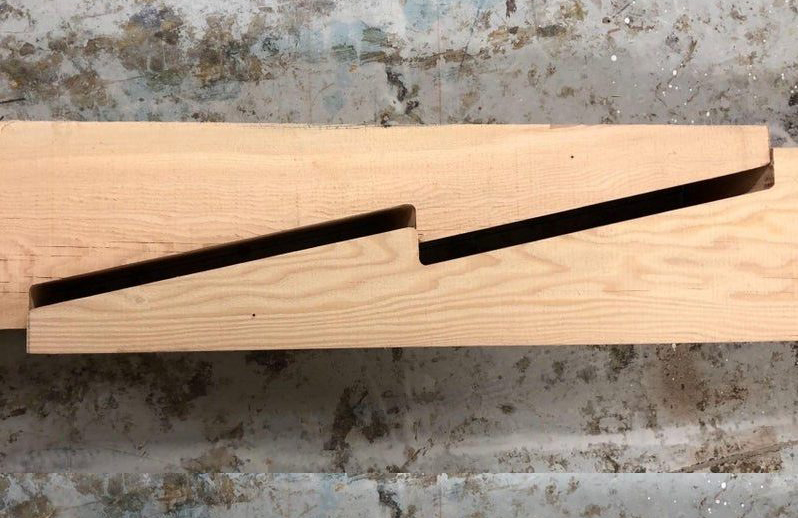
A less-common joint, but still worth knowing. When you need longer pieces of wood than are available, the scarf joint, AKA extender joint, saves the day.

Think of the skirting boards in your house. Rather than butt-jointing these pieces together (see above), it’s better to create a 45-degree angle on the end of a board along the height where the two pieces meet. Then the transition between the parts becomes invisible. You’ll also see this joint in boat and canoe making.

Learn more on how to install skirting.

Half-lap joint

Half-lap joint
FAMILY HANDYMAN

Each side of this joint (essentially a butt joint with a shoulder) only requires two cuts and a little clean-up with the chisel. While it isn’t as strong as some other joints, the half-lap has significant glue surfaces, and a shoulder to help square frames.

This simple-to-execute joint provides decoration and structure. It’s often cross-pinned with dowels through the face for additional structure.

Don’t miss these 19 practical woodworking projects for beginners.

Dado joint

Dado joint
AMLBOX/GETTY IMAGES

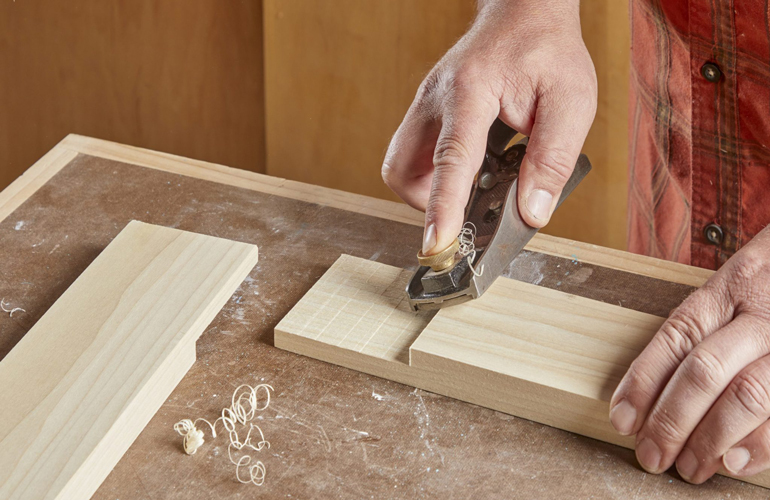
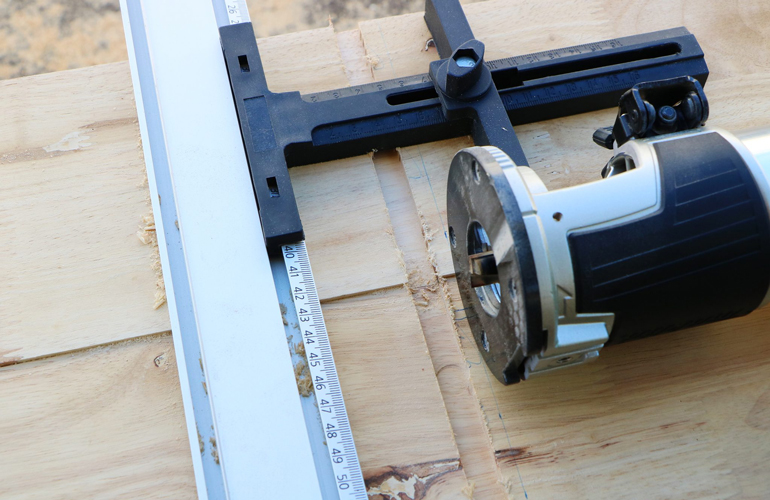
A simple construction joint often found in cabinet and bookcase construction, the dado is a slot or trench cut all the way across the grain to hold another piece of wood.

Used in solid wood and plywood construction, dadoes are cut with a router, or with a dado blade in the table saw. It’s a specific type of blade arrangement; multiple blades stacked together create a wide cut.

The dado is not only structural, but also an easy way to position parts of a shelf or cabinet. A stopped dado joint provides an uninterrupted edge and the convenience and structure of the conventional joint.

Rabbet joint

Rabbet joint
IMAGESINES/GETTY IMAGES

Similar to dadoes, rabbets only show up on the edge of a piece of wood. It’s the lip on alternating edges of shiplap for the back of cabinets, or the inner lip which holds a pane of glass in a frame.

Sometimes rabbets are used to fit into a corresponding dado. Rabbet joints aren’t inherently strong and are often reinforced with screws, nails or dowels.

Mitre joint/picture-frame joint

Mitre joint/picture-frame joint
FAMILY HANDYMAN

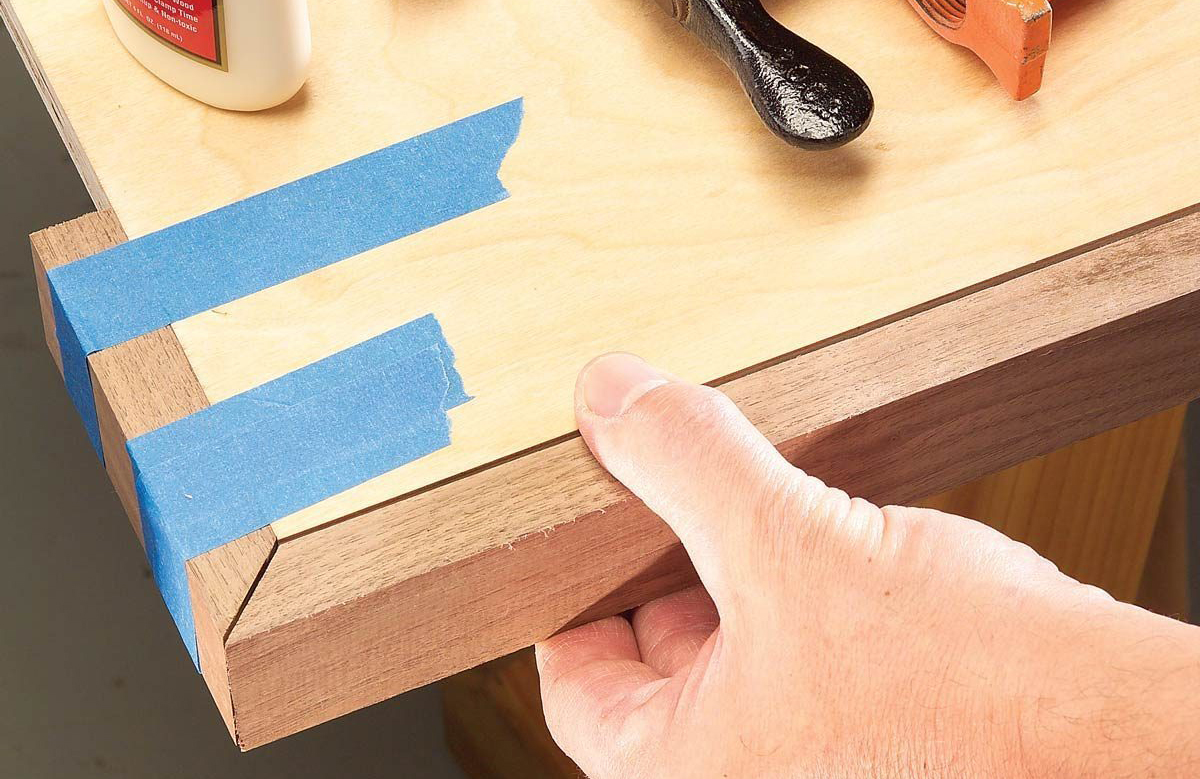
Mitre joints, AKA picture frame joints, are almost always 45-degree cuts meeting on 90-degree corners. When cleanly executed, this beautiful joint allows the wood grain to visually flow around a box or frame.

While this joint has given the mitre saw its name, it can be a challenge to perform with untuned tools. If a jig or tool set to make 45-degree cuts is off by even 1/2-degree, this inaccuracy compounds over the eight joints, leaving unsightly gaps. It’s imperative to test cut and align tools before making clean mitres.

Also, the end grain on the joints means glue usually isn’t enough. Reinforcing decorative splines are added cross grain for beauty and structural integrity.

Sign up here to have Handyman’s favourite stories straight to your inbox.

Source: Family Handyman

Sign up for emails