Install Glass Pool Fencing
Install glass panels and mini posts to stay safe without blocking the view.
Gone are the days of the pool fence that fulfilled the safety regulations but did nothing to enhance the appearance of the yard.
Today’s pool owners want a safe outdoor area that doesn’t have to compromise on looks, so modern pool fencing comes in a range of materials with slimline rails, posts and gate hardware.
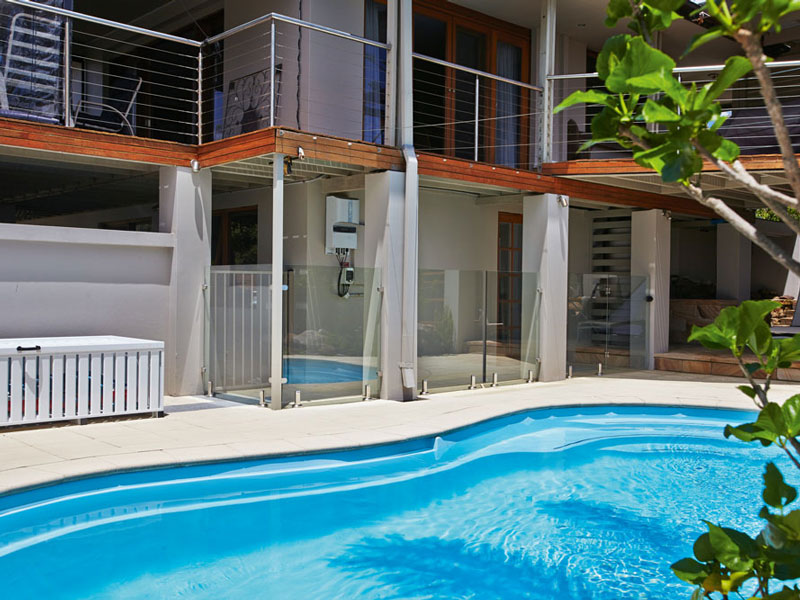
Frank Gardner needed a pool fence that he could install between plastered brick columns. He chose glass panels, as they are tough and look unobtrusive.
Plan the layout
Find out what components you will need to construct a pool fence that meets council requirements.
Frank chose a fully frameless mini post system. He installed six glass panels, including one custom gate panel, with concrete footings. The fence measured 6.3 metres.
To help work out what you will need, send the supplier the dimensions and the type of system required.
They will respond with a diagram of the recommended configuration, plus a parts list and cost estimate.
Installation checklist
Before you start the project, make sure you’re fully prepared.
CONTACT the council to check what building regulations you will need to comply with.
CHECK THE SITE for available attachment points such as a concrete slab or footing.
CHOOSE the fencing suitable for your site, then work out what components you will need.
ORDER the components then prepare the site as required.
Prepare the site
This fence system requires the posts to be secured to either a 100mm thick slab or 400 x 400 x 400mm footings.
As the existing pavers had been originally laid on sand over aggregate, concrete footings had to be poured to support the new mini posts.
Frank lifted the pavers and then dug 400 x 400mm trenches through the aggregate between the columns before pouring the concrete.
‘Once the footings had been poured, I screeded a 10mm thick wet mortar bed over the concrete and then replaced the pavers,’ says Frank.
The mini posts were attached to the new footings using 8mm galvanised threaded rod, secured into the concrete with a chemical anchor.
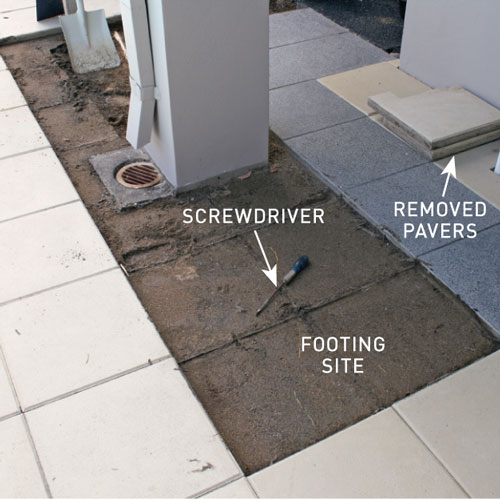
Step 1. Lift the pavers
Work two flat drive screwdrivers into the paving joints and apply pressure to the handles to lift a paver from its location. After removing the first paver to create an opening, lift out as many pavers as required to expose the footing site.
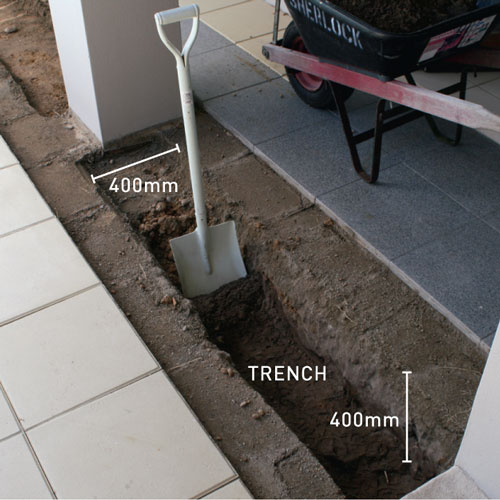
Step 2. Excavate the trenches
Dig 400 x 400mm trenches with centrelines corresponding to the marked fence centrelines. Use a mattock or spud bar to break up the old compacted base aggregate then shovel it into a wheelbarrow for removal from the site.
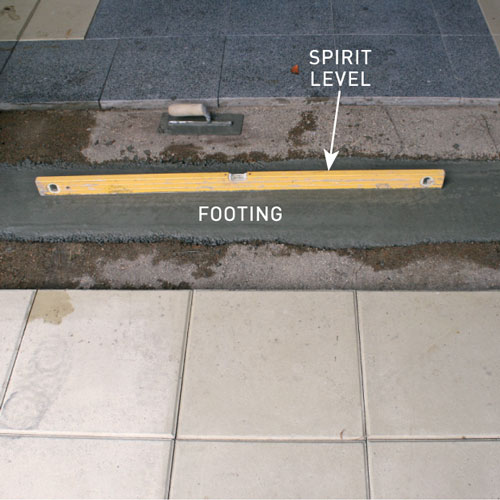
Step 3. Pour the concrete footing
To make the concrete, combine 10 parts aggregate, five parts sand and two parts cement with water. Fill the trenches to the top of the old aggregate level, then use a spirit level to screed the concrete. Leave to dry then replace all the pavers on a wet mortar mix.
Install the fencing


Position the mini posts and check the hole alignment. Use a caulking gun to apply chemical anchor into the holes then wind in M8 ChemSet anchor studs, leaving 10mm protruding above the base plate.


