Add Character With Cornice

Transform any room in the home instantly and easily with architectural trim.
The word ‘cornice’ conjures up an elegant period property.
And in the late 1800s, it could take sculptors and masons months or years to handcraft these works of art.
With the industrial revolution, came the discovery of moulds and concrete, which meant that cornices could be mass-produced.
So today, whether your home is old or modern, it’s fairly inexpensive to install this decorative feature.
Gyprock has a number of cornice profiles to suit every style of home.
The finishing touch
A simple, yet often overlooked, way to give a room architectural or designer flair when it comes to renovating is to install cornicing.
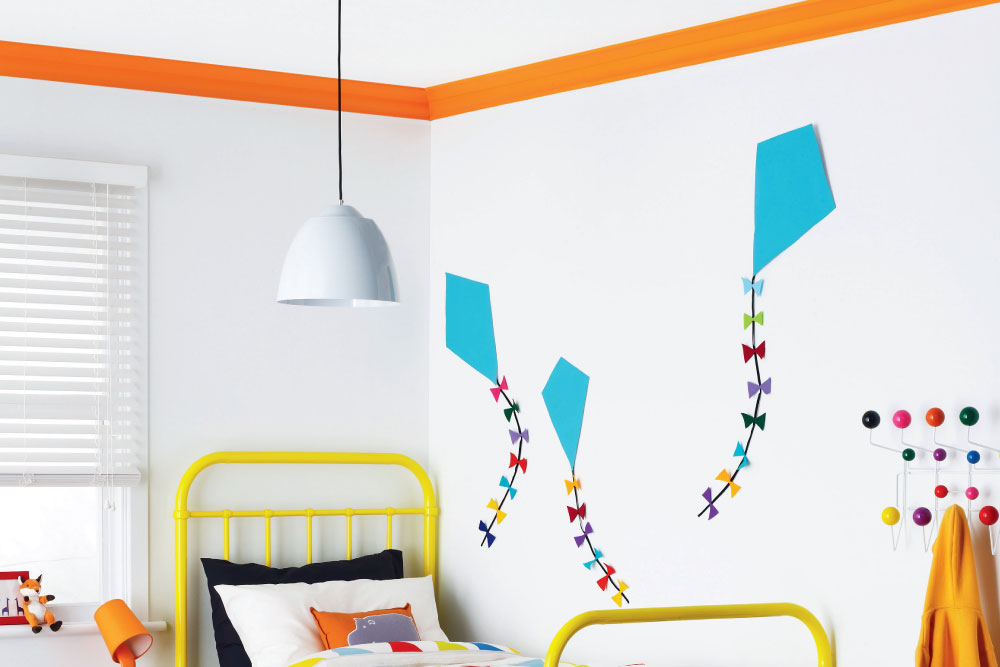
Cornices add detail and enhance the aesthetic appeal of a room, with styles ranging from art deco, plain and heritage charm to a modern slick look.
They provide the perfect finishing touch when balanced with the room’s decor and interior design features.
So when it’s time to fill the gap between the wall and ceiling, first consider the desired look you want to achieve with a room.
Now simply select the cornice that suits the decor from the range of profiles available.
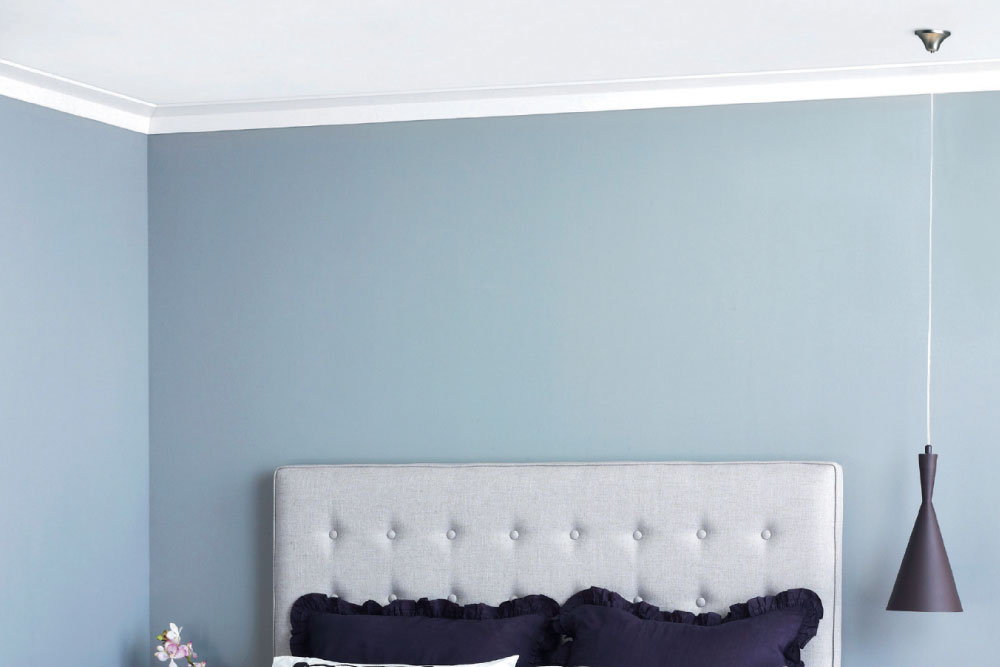
Putting up cornice
In this room, the damaged and outdated cornicing was removed and the pieces were used as templates to measure up the required lengths of new cornice. It was installed DIY using cornice adhesive.
This article originally appeared in the August 14 edition of Australian Handyman Magazine.
Images via: Gyprock


