Painting shortcuts to avoid
Painting shortcuts to avoid
FAMILY HANDYMAN

All painting projects, large or small, require diligent preparation and attention to detail. Taking shortcuts leads to a disappointing paint job that won’t last very long. Here’s what you should not do on your next painting project.

Advertisement

Trying to cover in one coat

Trying to cover in one coat
Getty Images

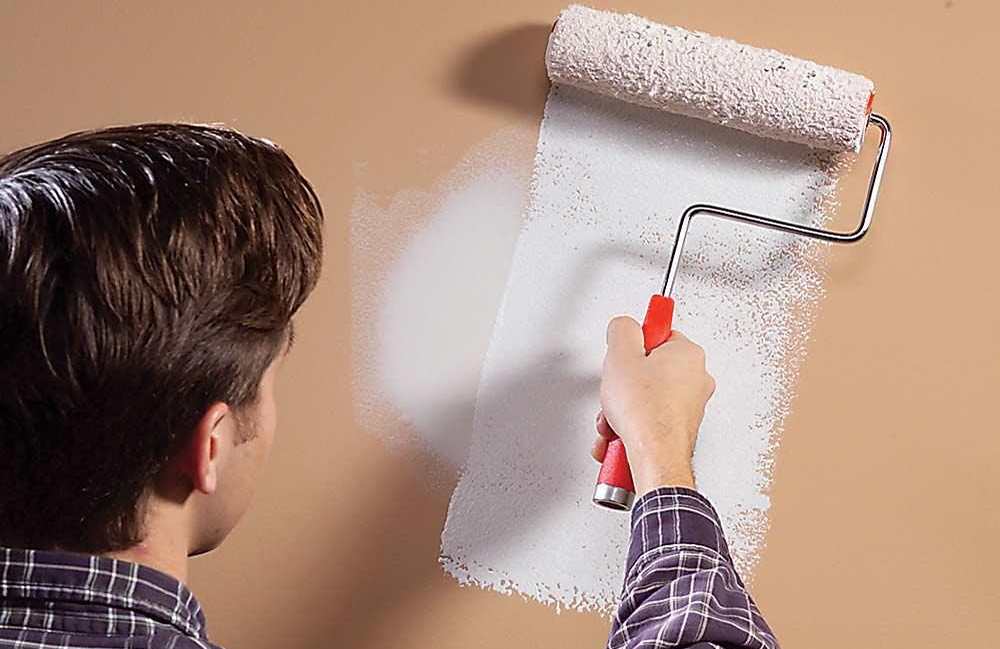
It’s a bad idea to slather on a thick layer of paint in an attempt to save time. For starters, one coat rarely covers well. And a thick coat of paint will run and take forever to dry. Applying two thin, even coats is easier and will give you much better results.

Not washing cladding before painting

Not washing cladding before painting
Getty Images

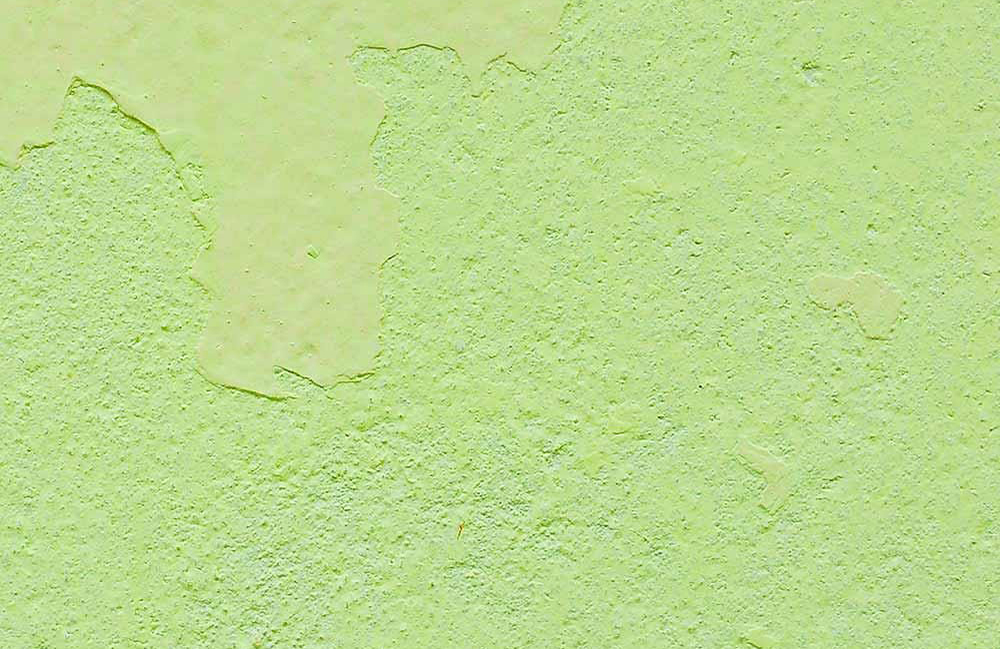
“I removed several layers of paint from my house. Then I sanded, patched, caulked and used the best primer and most expensive paint I could find. But the next spring, the paint was falling off in sheets. I had made one big mistake. I hadn’t washed the siding first. Now I always scrub the cladding with a solution of special cladding wash before any paint goes on.” — Jeff Gorton, editor.

Not sanding walls

Not sanding walls
Getty Images

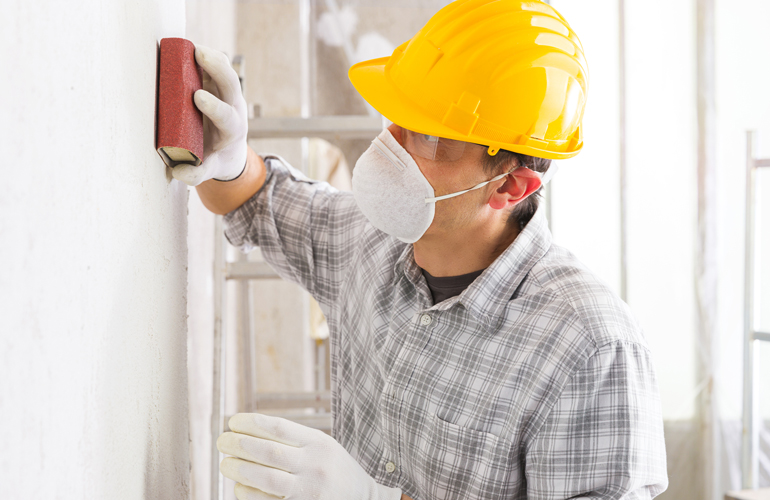
For a lump-free finish, sand your walls before you roll on paint. Sanding gets rid of bumps, roller lint and other crud left from previous paint jobs.

It’s best to use a drywall sanding pole and 80- or 100-grit drywall sanding paper. You can also use a handheld sanding block, it’ll just take longer.

Painting over unprimed patches

Painting over unprimed patches
FAMILY HANDYMAN

The trouble with most patching compound is that it leaves a foggy spot on the painting wall when you paint over it. Painters call this “flashing,” and it’s ugly. There are two ways to prevent flashing.

The first is to prime over the patch with a sealing-type primer. The other is to use self-priming patching compound.

Painting over partially dried paint

Painting over partially dried paint
FAMILY HANDYMAN

In a hurry to get the job done? Painting over paint that’s not completely dry isn’t the answer. The worst-case scenario is that you’ll loosen the partially dry paint and it will start to come off onto your brush or roller, creating a real mess.

But even if this doesn’t happen, painting over paint that’s not dry can cause adhesion problems or slow drying time. Follow the drying time instructions on the paint can.

Not masking the baseboard

Not masking the baseboard
FAMILY HANDYMAN

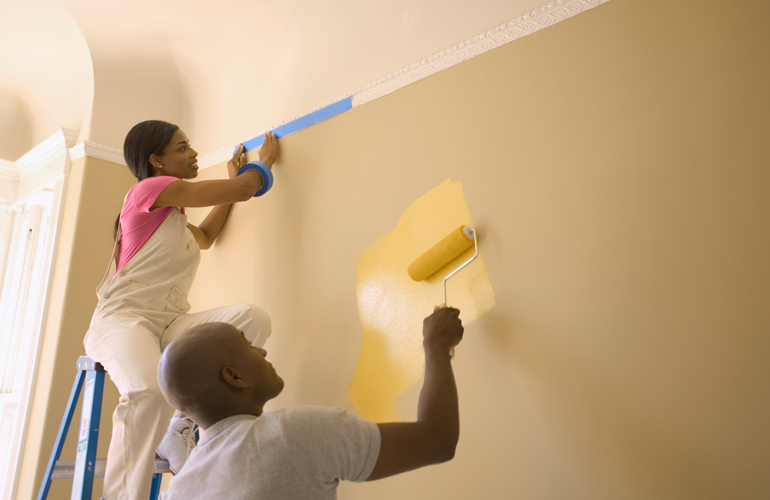
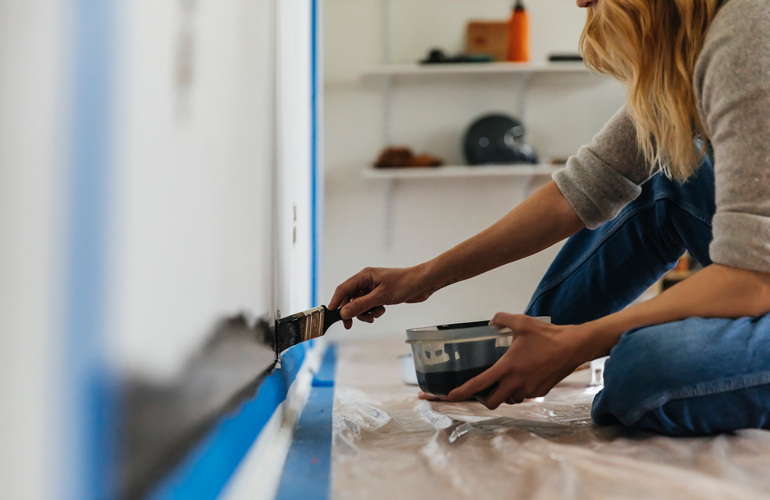
Even if you’re a super-neat painter and can brush a perfectly straight line without any masking tape, you should still mask off the baseboards. Otherwise you’re sure to have paint splatters (or worse) all over them.

You don’t have to completely cover the baseboard. A strip of 3-5mm tape, left sticking out like a little roof, is all you need to catch the spatter.

Skipping the prep work

Skipping the prep work
FAMILY HANDYMAN

There’s no doubt that washing, patching, caulking and sanding are tedious and time-consuming tasks. But there’s no substitute for good prep work if you want a great-looking paint job.

Painting from the can

Painting from the can
FAMILY HANDYMAN

It’s tempting to paint straight from the 4-litre can as it’s one less thing to clean up. But it’s a mistake for several reasons. A full 4-litre can is heavy, and if you spill it, you’ll have a big clean-up job. Also, it’s hard to load a paintbrush correctly from a full tin of paint.

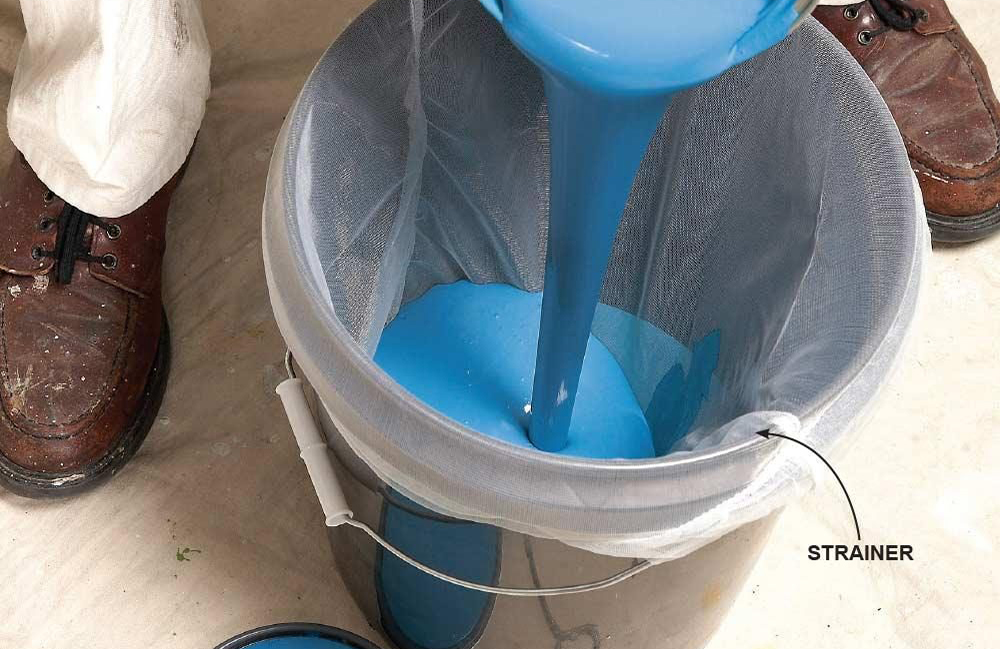
Always transfer a small amount of paint to another container, and paint from that. And while you’re at it, it’s a good idea to strain the paint to remove lumps and impurities.

Expecting paint to fill gaps

Expecting paint to fill gaps
FAMILY HANDYMAN

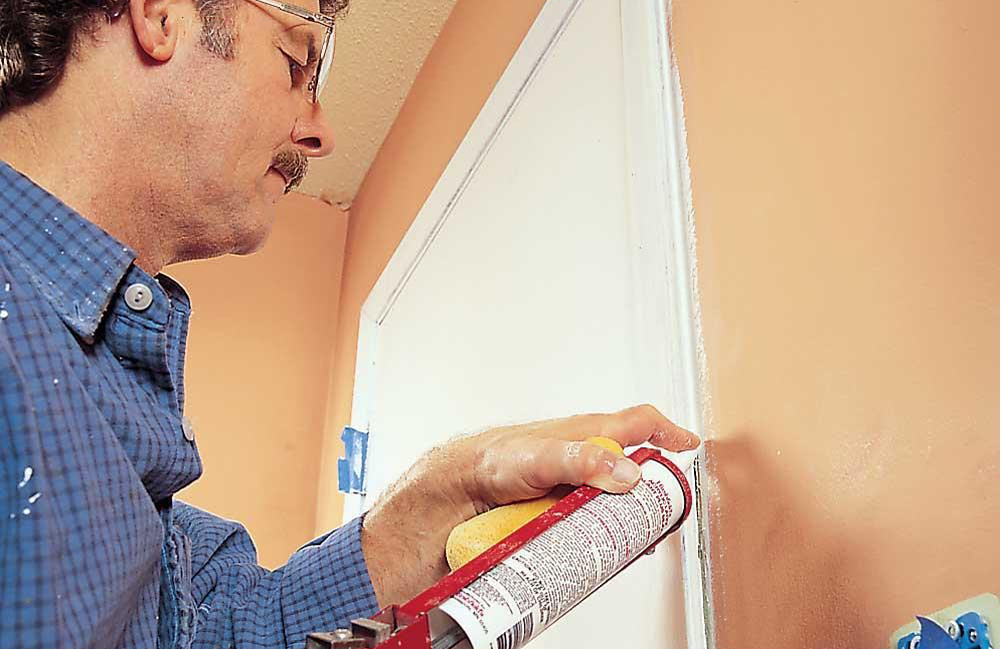
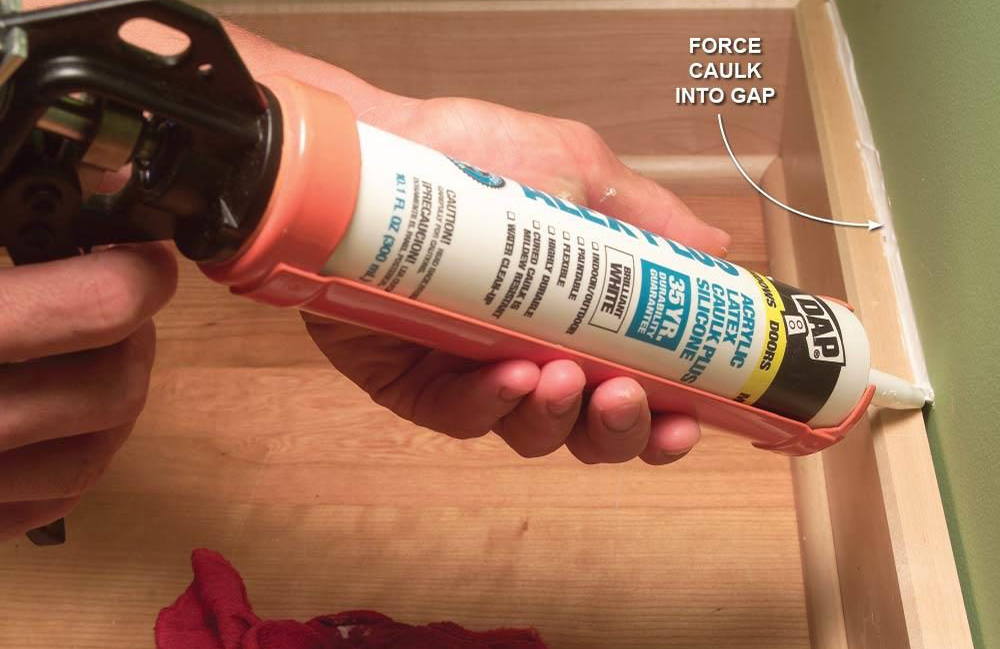
Editor Pat Stinson figured he would save time by just letting the thick paint fill the baseboard gaps. But when the paint dried, the gaps reappeared and he had to caulk anyway. The lesson: Caulk first, then paint.

Sign up for emails