Learn and master the basics
Learn and master the basics
Shutterstock

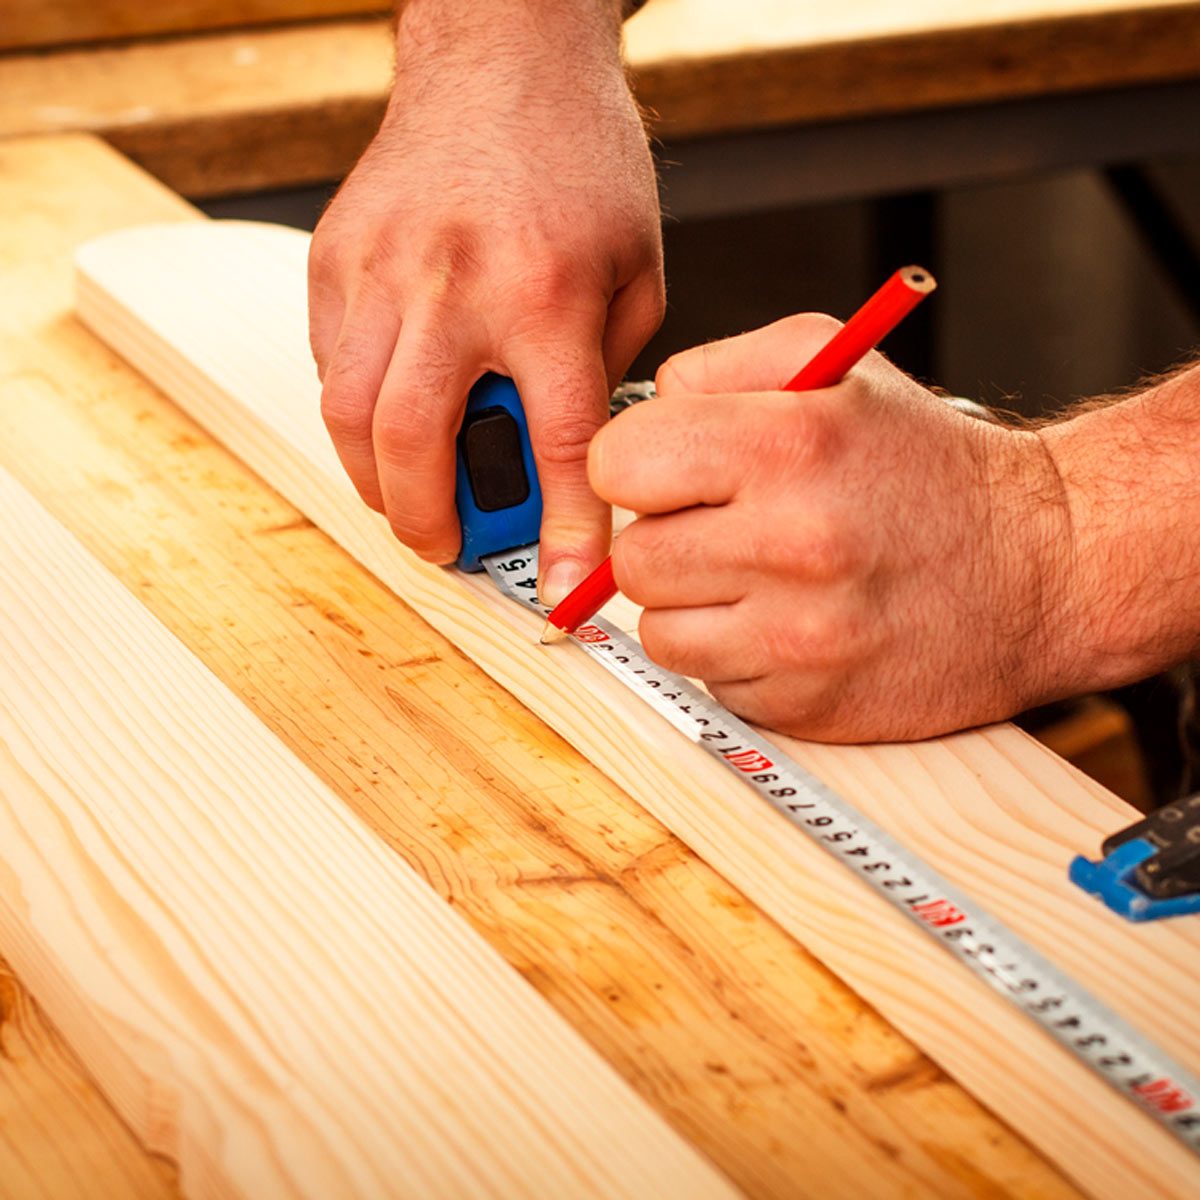
Before we get too far into the hacks and tricks, let’s pause a moment to make sure we all understand the basics of marking for a cut. It’s always best practice to mark the board where the saw will make its first contact. For a circular saw, that’s usually at the edge of the board, while a mitre saw cut should be marked in the middle of the board. When possible, mark with a ‘V’ to reduce the chances of favouring one side of the line or the other.

You’ll also benefit from reading up on our essential guide to measuring and marking tools.

Advertisement

Simple way to mark cylinders

Simple way to mark cylinders
FAMILY HANDYMAN

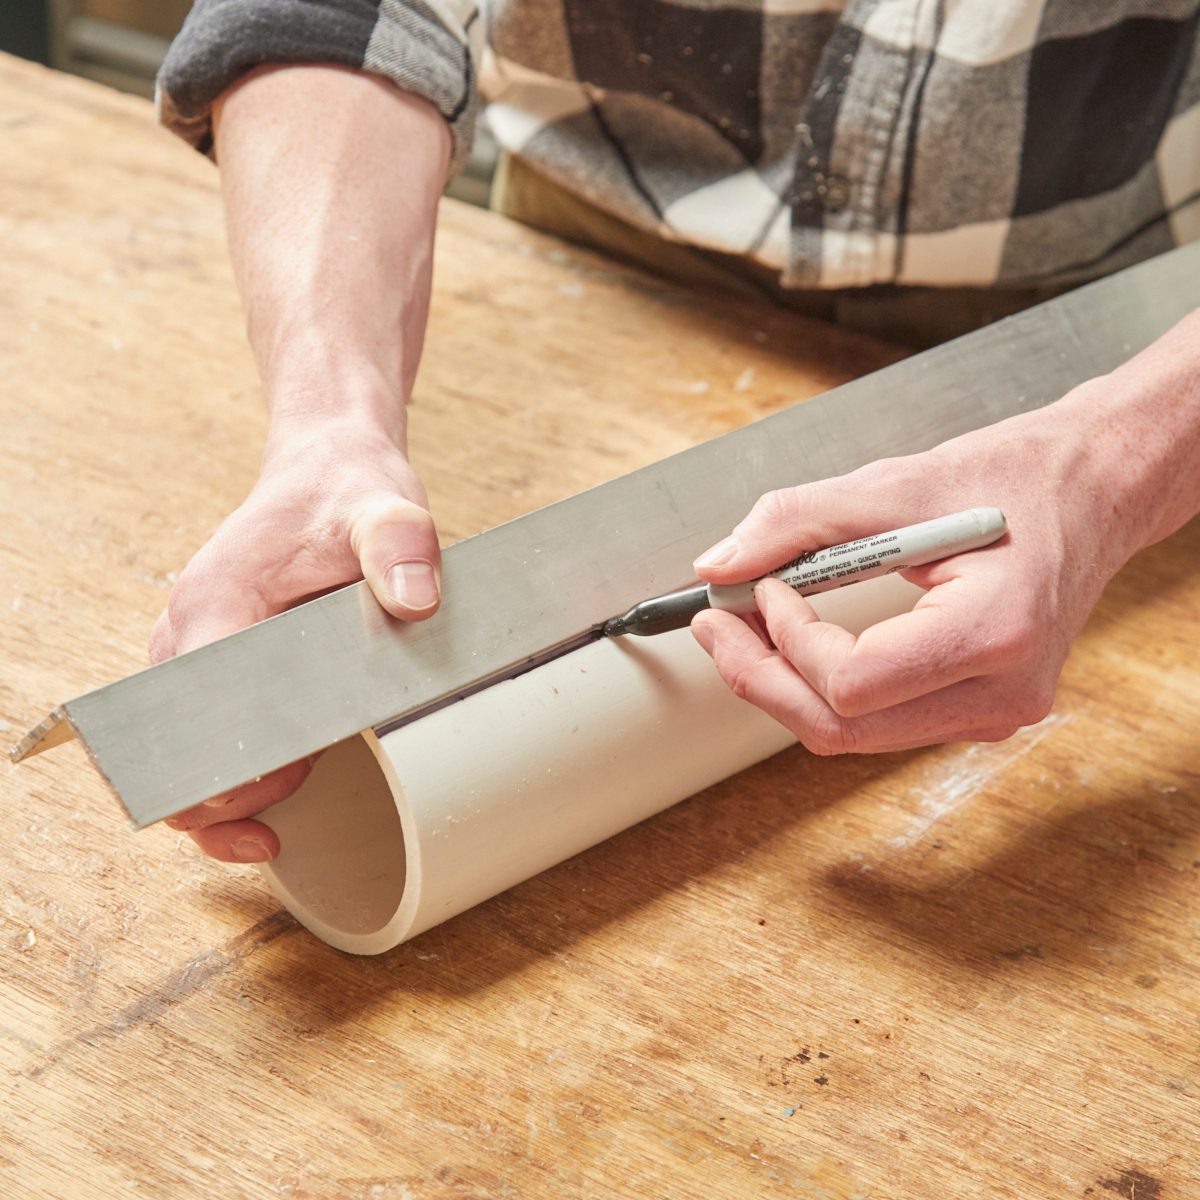
It’s notoriously difficult to mark cuts on curved surfaces. Dropping a straight edge or a measuring tape on a length of tubing or PVC will give you a line to mark against, but it’s very simple to roll or shift your edge when trying to pull a mark. Instead, try this hack: use a length of angle iron to create multiple touch points on the cylinder, stabilising the line and making it easy to draw a mark with a pencil or marker. If you need to pull a measurement on the surface, just put a tape measure or ruler on the flat surface of the angle iron. It’s a great way to make a tricky job simple!

Discover 8 storage solutions using PVC piping.

Don’t be afraid to hack that tool!

Don’t be afraid to hack that tool!
FAMILY HANDYMAN

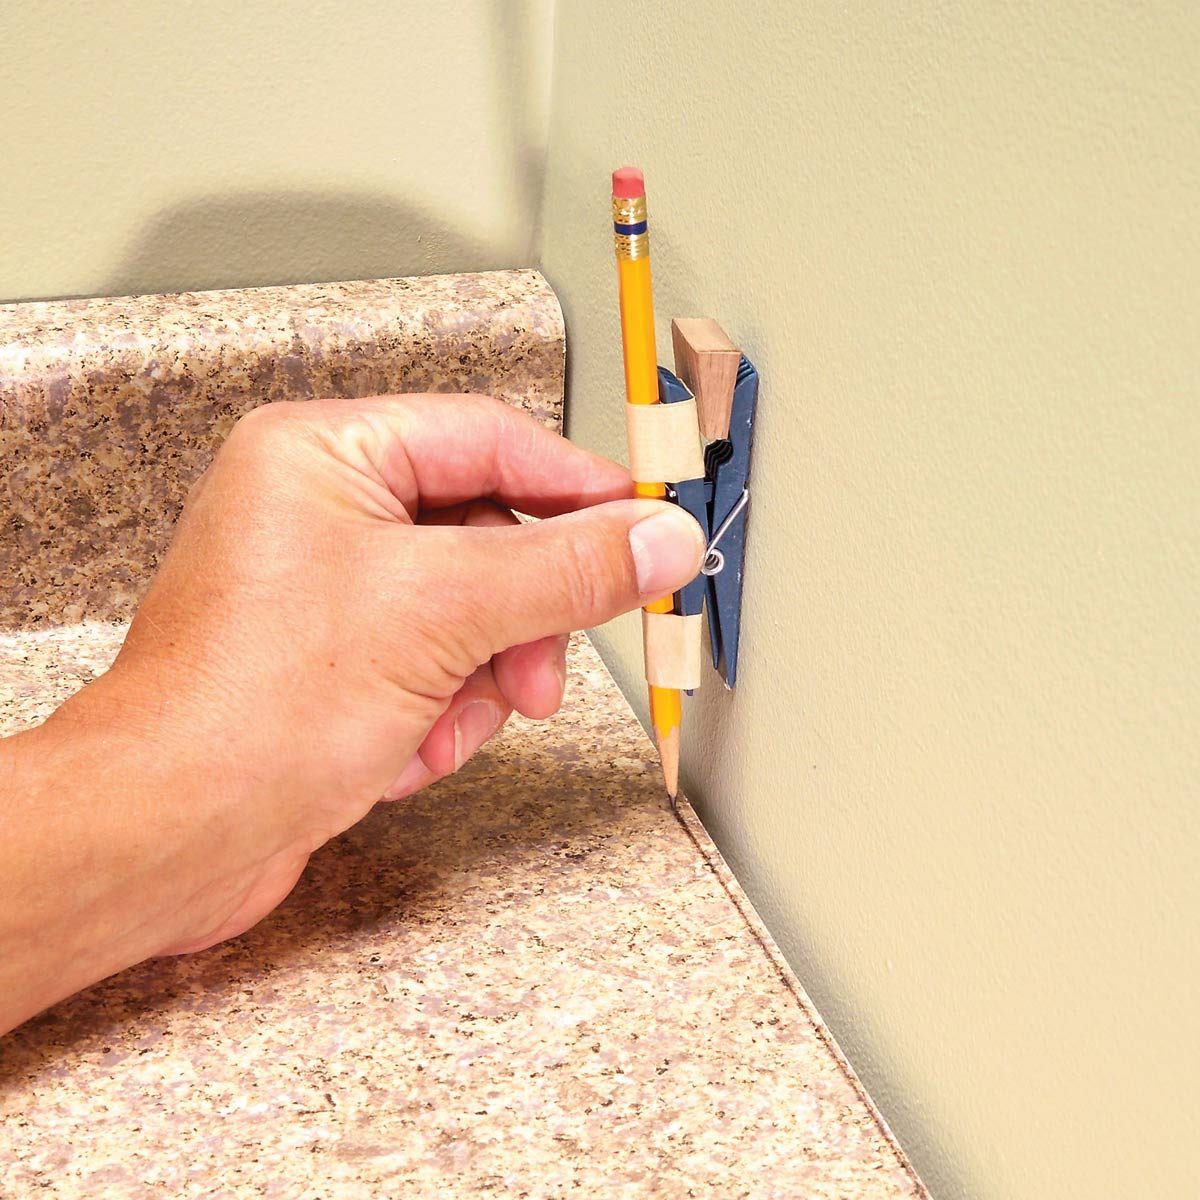
There’s no shortage of specialised tools on the market, and many of them make marking quick and easy. But that doesn’t change the fact that it always seems like the right tool for your specific job is back home or still sitting on the shelf at the hardware store. That’s why it’s important to learn to not fear adapting your tools on hand to complete your project. A perfect example is this clothespin scribing tool sent in by reader Bruce Kieffer.

Here are 20 unusual uses for workshop tools.

Tack trim in place while marking

Tack trim in place while marking
FAMILY HANDYMAN

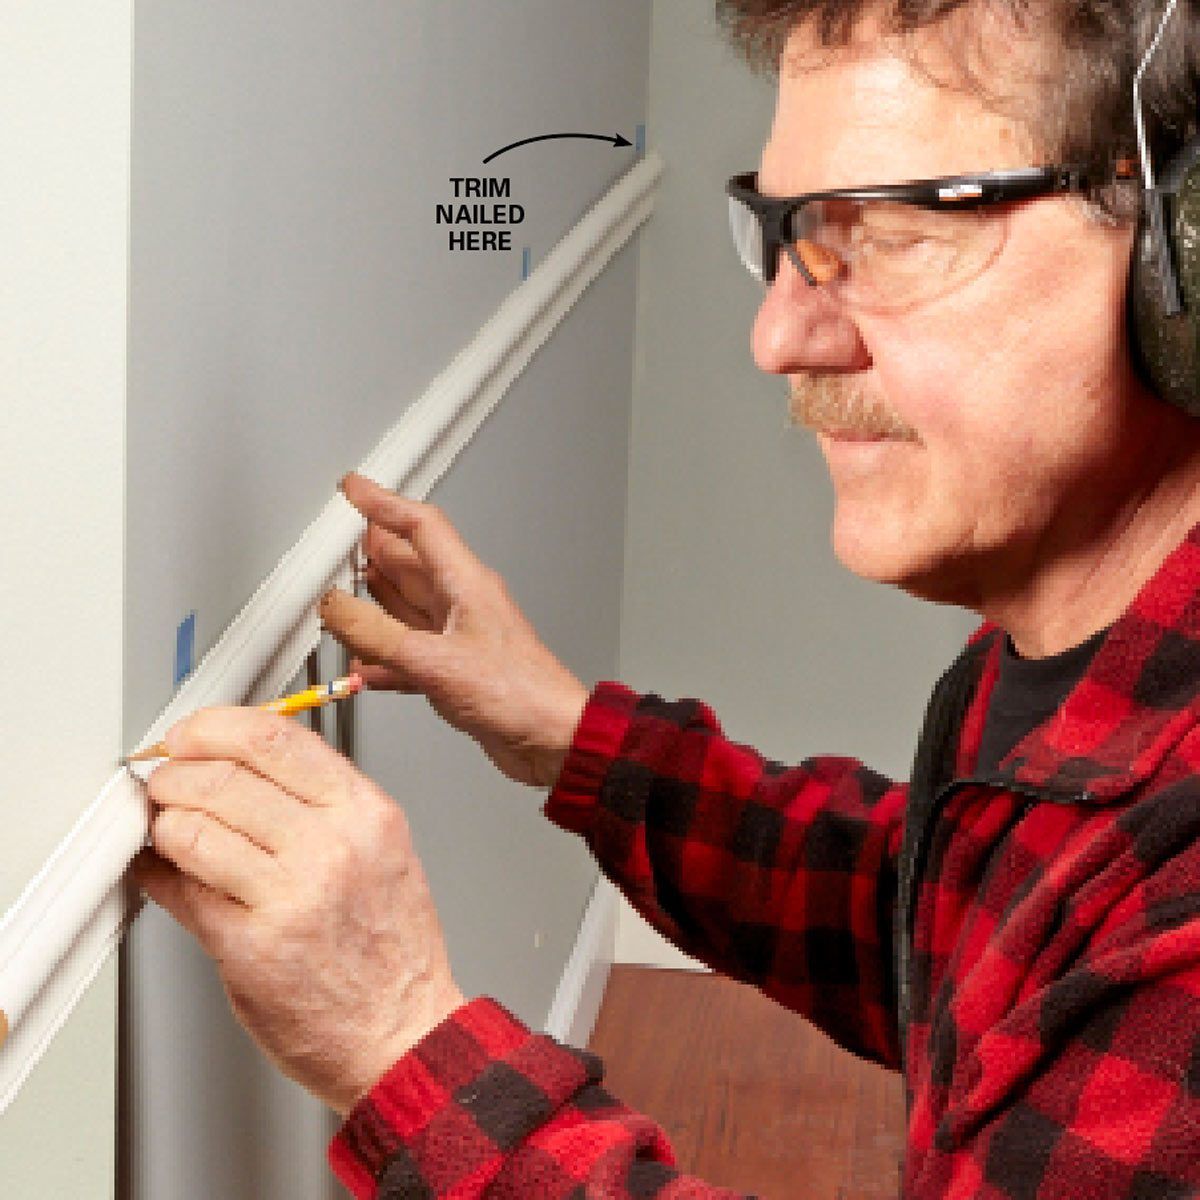
One of the easiest places to make a mistake when laying trim is when transferring measurements from wall to saw station. Eliminate that risk with this simple hack! Set the trim in place and make your mark directly on the wall where it will be installed. If the trim piece has too much wobble to hold in place, set it with a temporary brad nail. Pop the brad out the back when you remove the trim piece, and you’ll only have a tiny hole to fill during installation.

Don’t trust factory edges

Don’t trust factory edges
Shutterstock

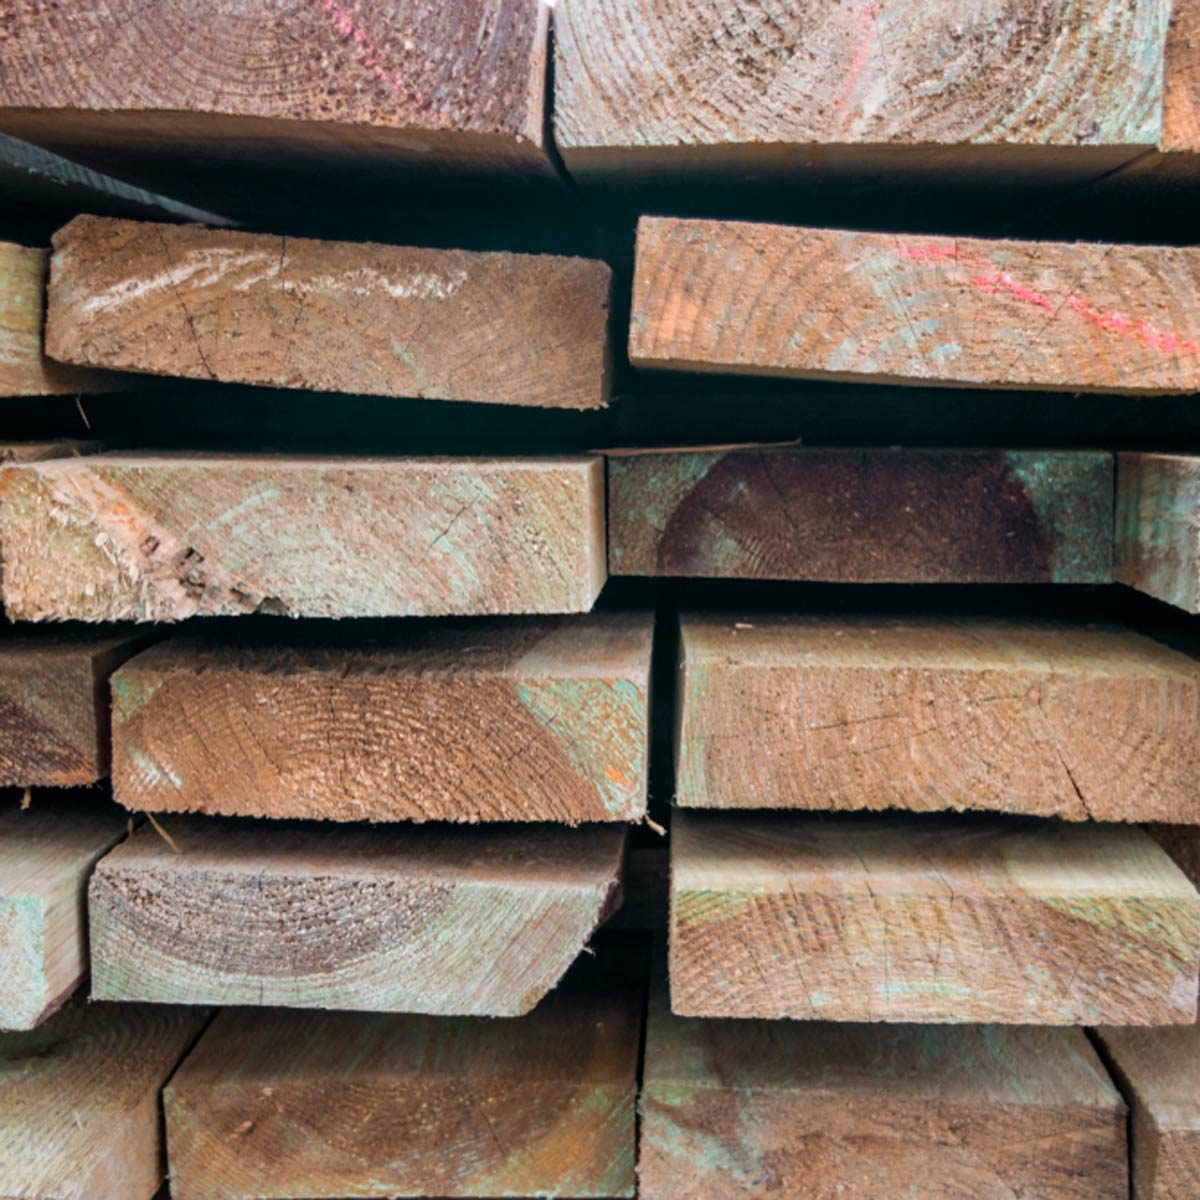
We’ve all been there: you’re working with a stack of fresh boards or plywood panels when you realise you need to draw a straight line to mark a cut. If you don’t have a straight-edge close at hand, you’ll likely be tempted to simply use one of the fresh boards. After all, the factory edge is straight, right?

Not so fast! While some factory edges may be straight and true, that’s far from universal. If you need a straight edge, use one that you know is accurate. It may take a little more time than simply grabbing another board, but it may save a lot of aggravation in the long run.

For more saw-marking hacks, see our essential guide to circular saws..

Chalk line mastery

Chalk line mastery
FAMILY HANDYMAN

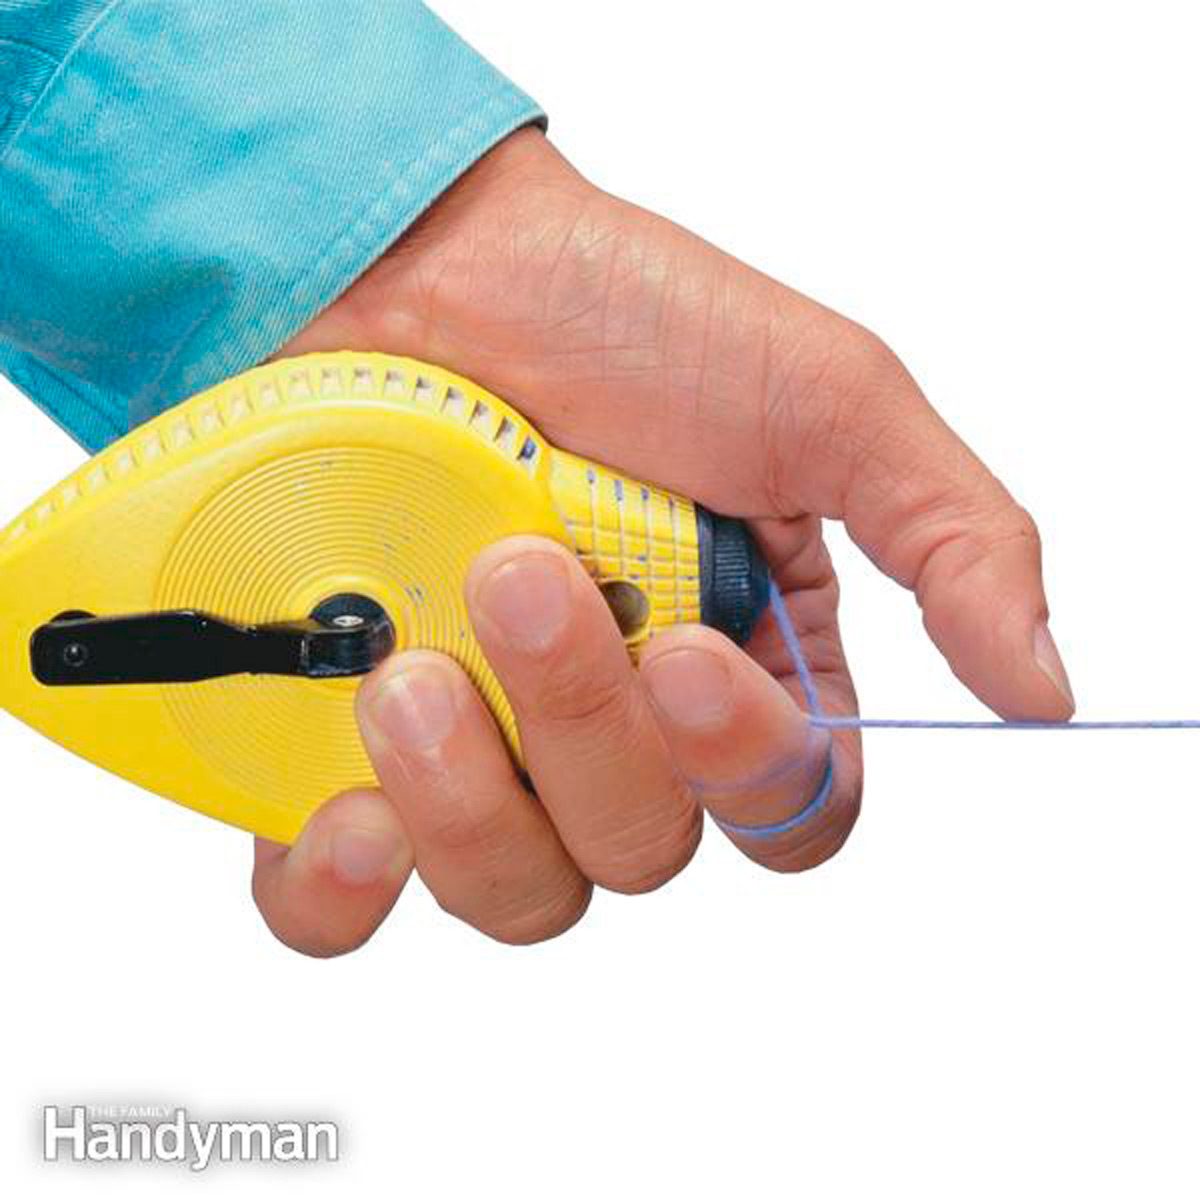
One of the most important job site skills to learn is how to mark out projects with a chalk line. Used for everything from determining plum to laying out floor patterns for tile and hardwood, this amazingly useful tool is a must have for any DIY tool belt. Maybe our favourite chalk line hack is an easy tip for marking angle cuts on drywall. A slight slit in the direction of the cut is all you need to hook or wrap the chalk line around, giving you enough tension to mark your cut.

Marking cabinet pull locations

Marking cabinet pull locations
FAMILY HANDYMAN

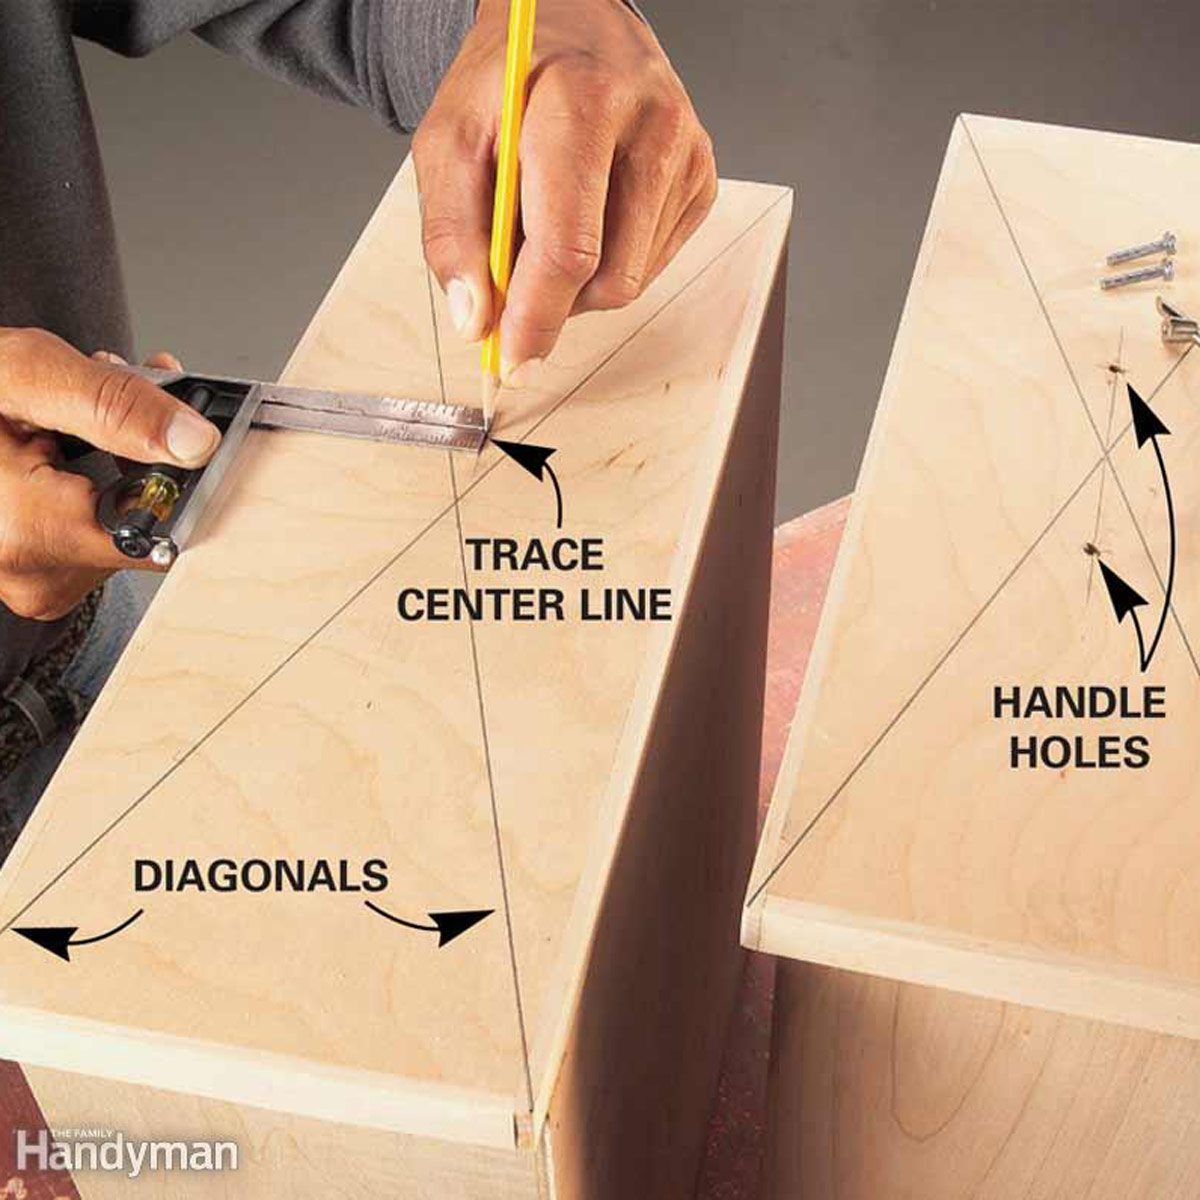
Skip the repetitive measuring and remeasuring when installing cabinet drawer pulls. Your factory drawer faces should be square (but double-check per the earlier tip!) so just mark a pair of lines from opposite corners. The lines will intersect at the centre of the drawer face. And with that simple hack, you’re ready to drill!

Follow these tips for replacing cabinet handles and drawer knobs.

The right scribe for the job

The right scribe for the job
FAMILY HANDYMAN

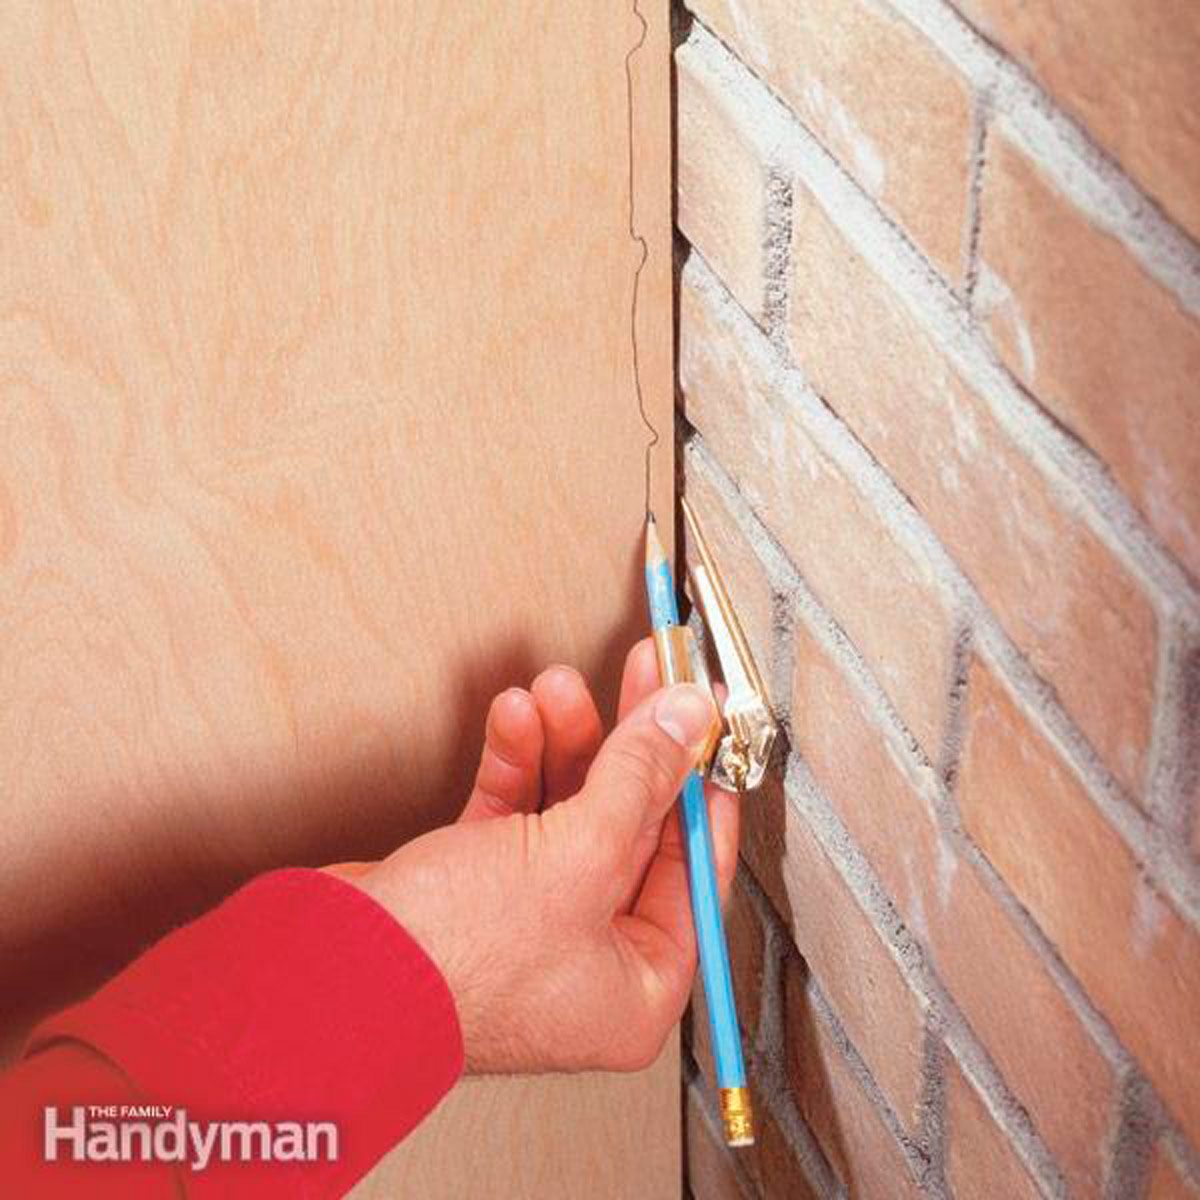
In theory, much of woodworking and drywall installation is straightforward, simply setting flat against flat end. The reality is that flat surfaces are rare and you need to use a combination of precision cuts and the occasional artful hack in order to make uneven surfaces fit together flush. Part of that skill set is knowing not only how to scribe, but what tool to use when it’s time to do so. This might mean pulling out a specialised tool or a customised solution (like the clothespin scribe mentioned earlier) or using a standard tool for an unusual purpose, as with the compass shown here.

Marking an arc or circle

Marking an arc or circle
FAMILY HANDYMAN

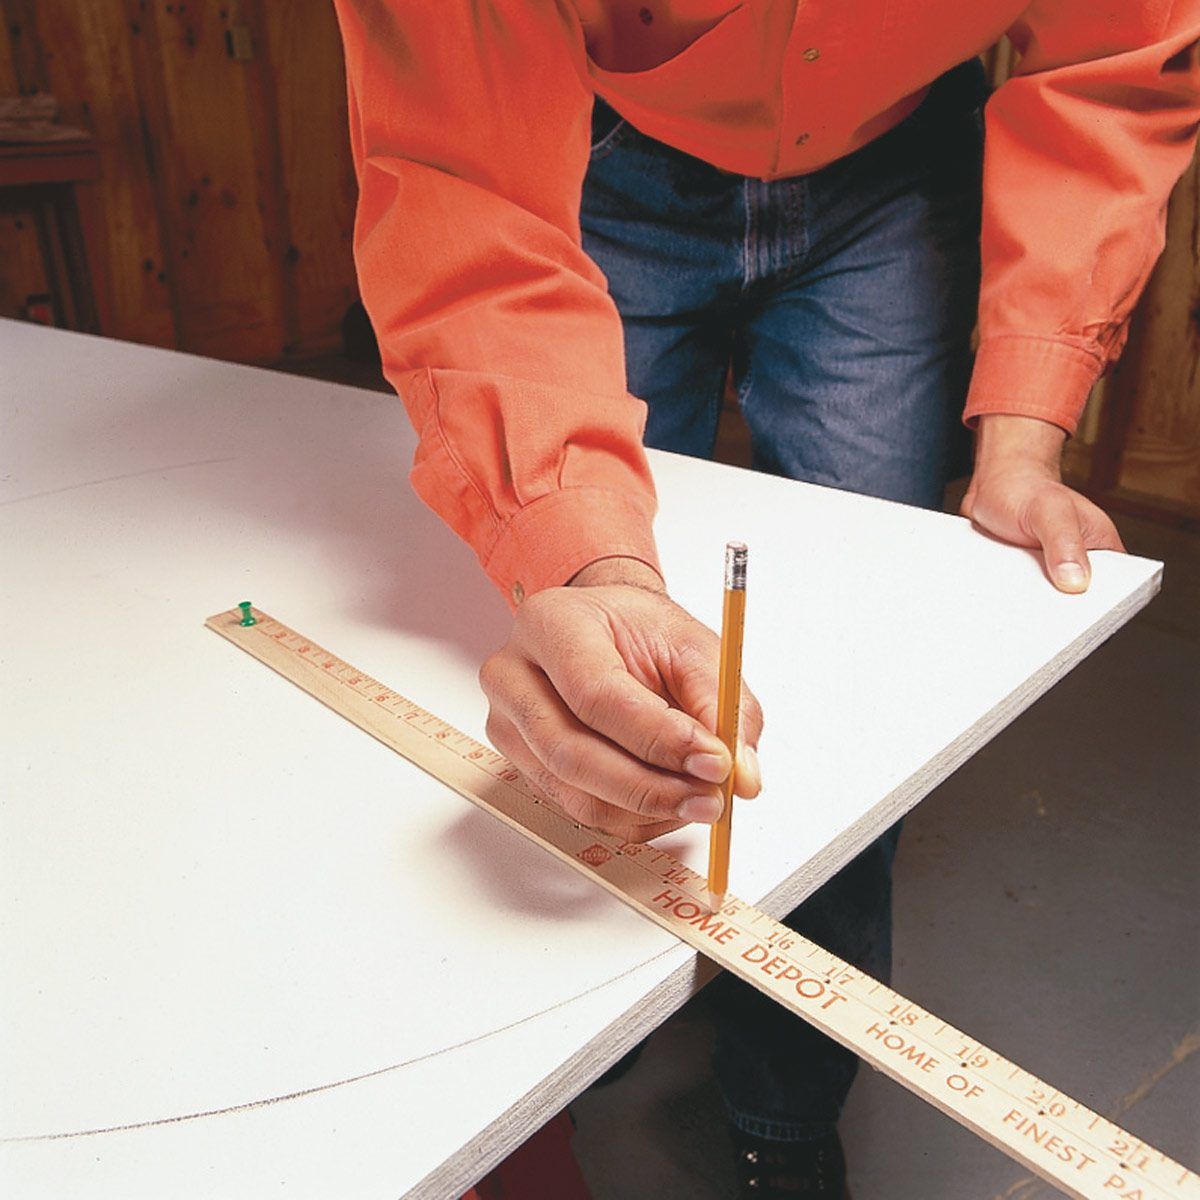
If you’ve ever struggled to mark accurate arcs and circles, then this is the hack for you! Using a standard ruler or yardstick, carefully centre a 3mm hole at every 25mm mark. Place a pin or auger through the first hole (at the 25mm mark) where you’d like the circle or arc to be centred. Add 25mm to the radius you want to lay out, and insert a pencil into that modified number. Use the pin as a pivot and rotate the pencil to mark the arc or full circle.

Advanced arcs

Advanced arcs
FAMILY HANDYMAN

That last tip was great, but if you need an odd sized or uneven curve, you’ll need to push your marking game to the next level. Create much larger arcs with this hack: lay out the plan for your arc by figuring the bottom corners and peak, setting a nail or dowel at those points and at least one of the top corners. Then set two pieces of flat stock on the plan, one angled from the bottom to the peak, and the other from the peak to the opposite top corner. Fasten the two pieces of flat stock, then set a pencil in the juncture. Slide the stock pieces across the peak and bottom corner markers, and your pencil will mark a perfect arc.

Sign up for emails