Marking with a Speed square

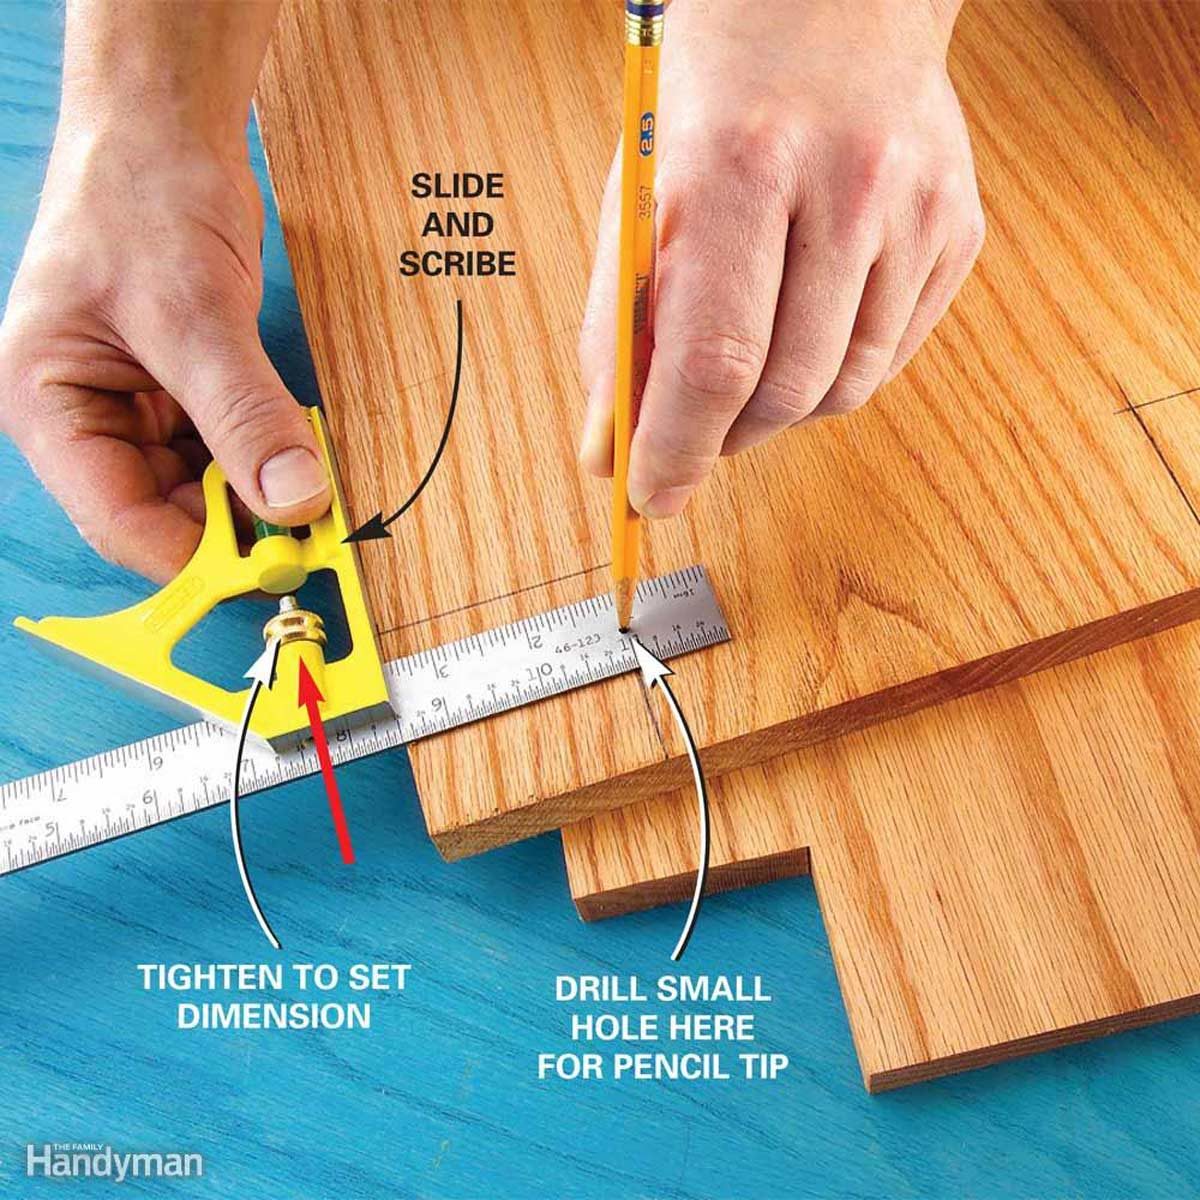
Most people have a Speed square in their tool kit, but very few use them to their full potential when it comes to marking cuts. One example of a quick hack: hook the notch at the end of a Speed square on a nail, and use a pencil to mark small circles. Or to mark angles, tilt the square until the angle on the square’s blade matches the angle you want.
Use the right marker
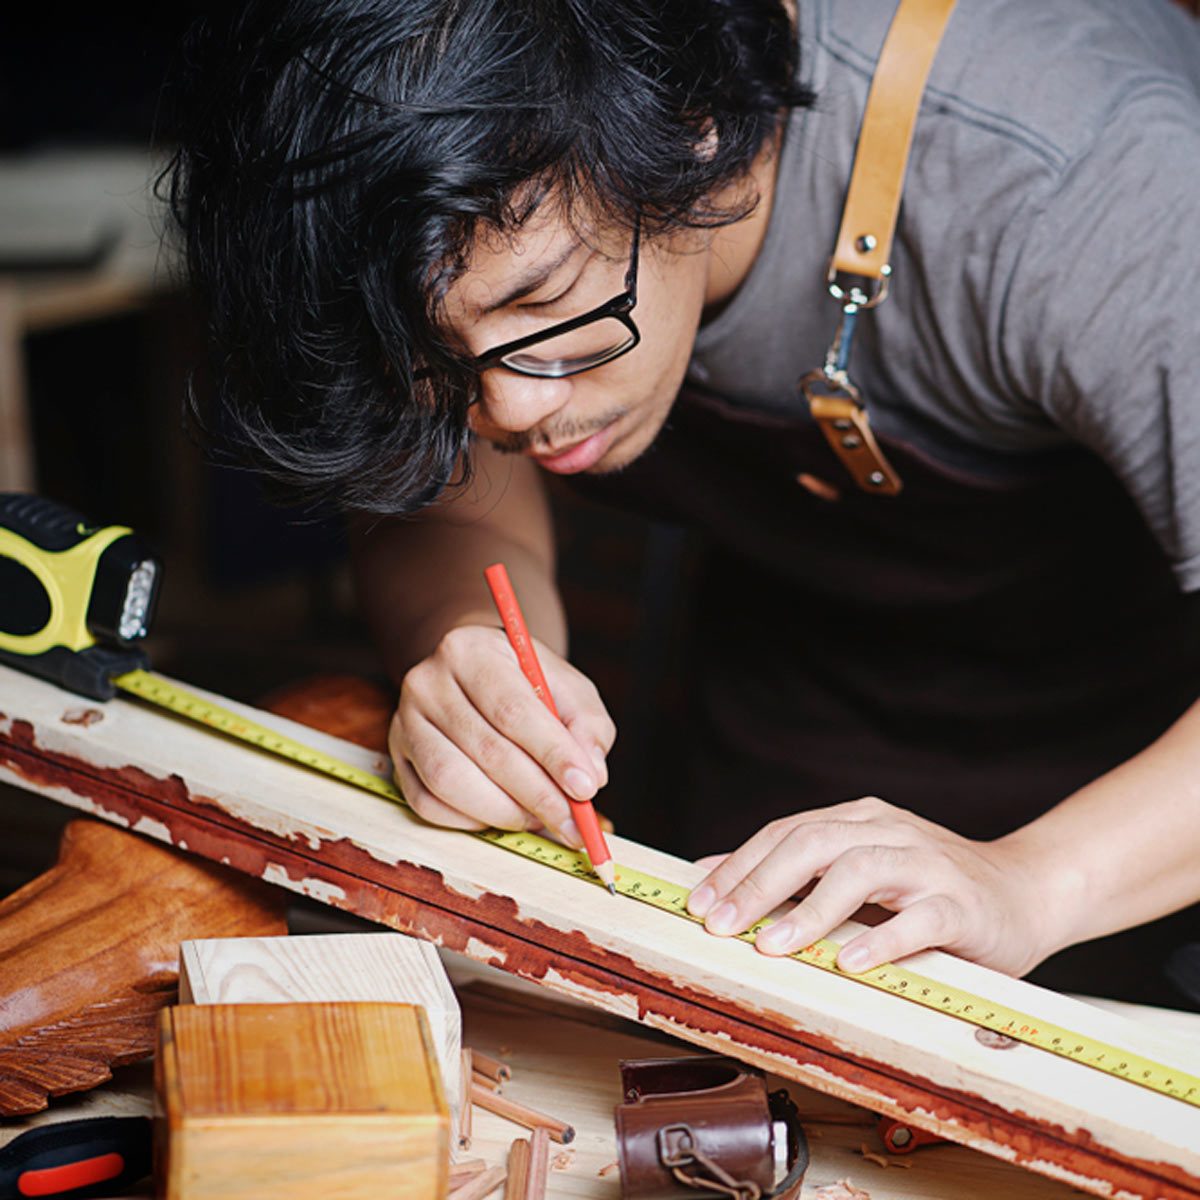
We’ve talked a lot about the tools that help us find our marks, but now it’s time to turn our eyes to the things that literally mark our projects. A simple hack to make life easier is to keep a variety of instruments on hand.
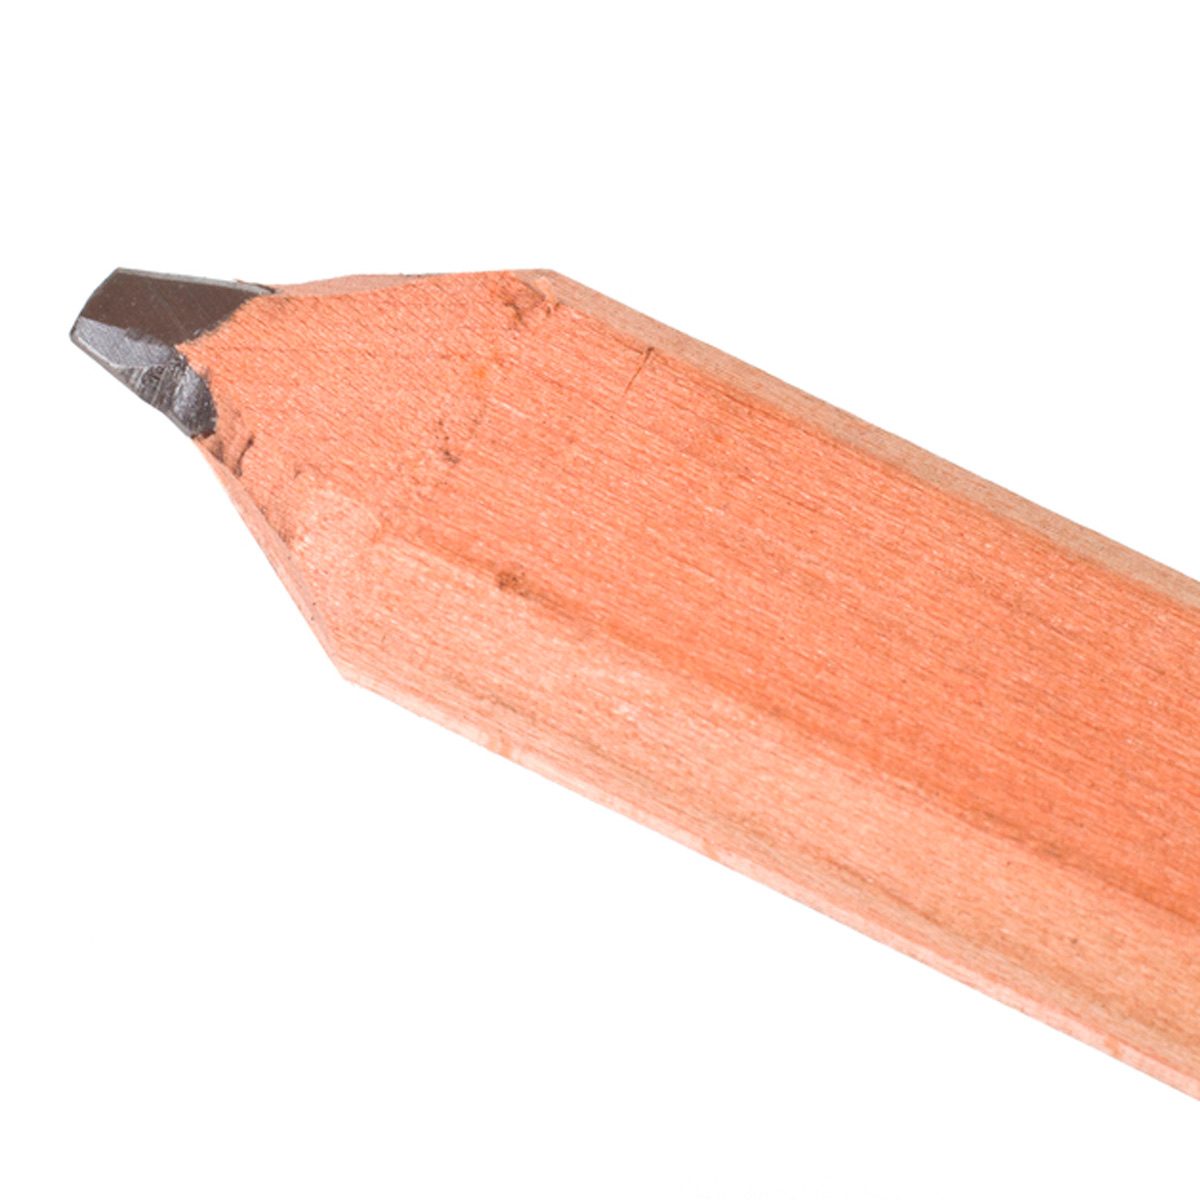
Pencils are great for many purposes, but depending on the softness and shade of the lead, they can be too faint to see on some material. Sharpie markers work great and are easy to see, but while they may be tempting to use on surfaces such as drywall, keep in mind that if you plan to paint over the marks, you’ll likely need to seal with a special primer and possibly paint multiple coats in order to cover up those marks. Pens have a nice, narrow line and don’t need to be sharpened, but they can’t take abuse the way a trusty pencil can, and (like a marker) they can’t be easily erased. Lastly, if you are working with a gloss-finish material such as PVC or ceramic tile, consider keeping a grease pencil around so that your marking will be clear and easily removed.
Plumbs, bobs and levels
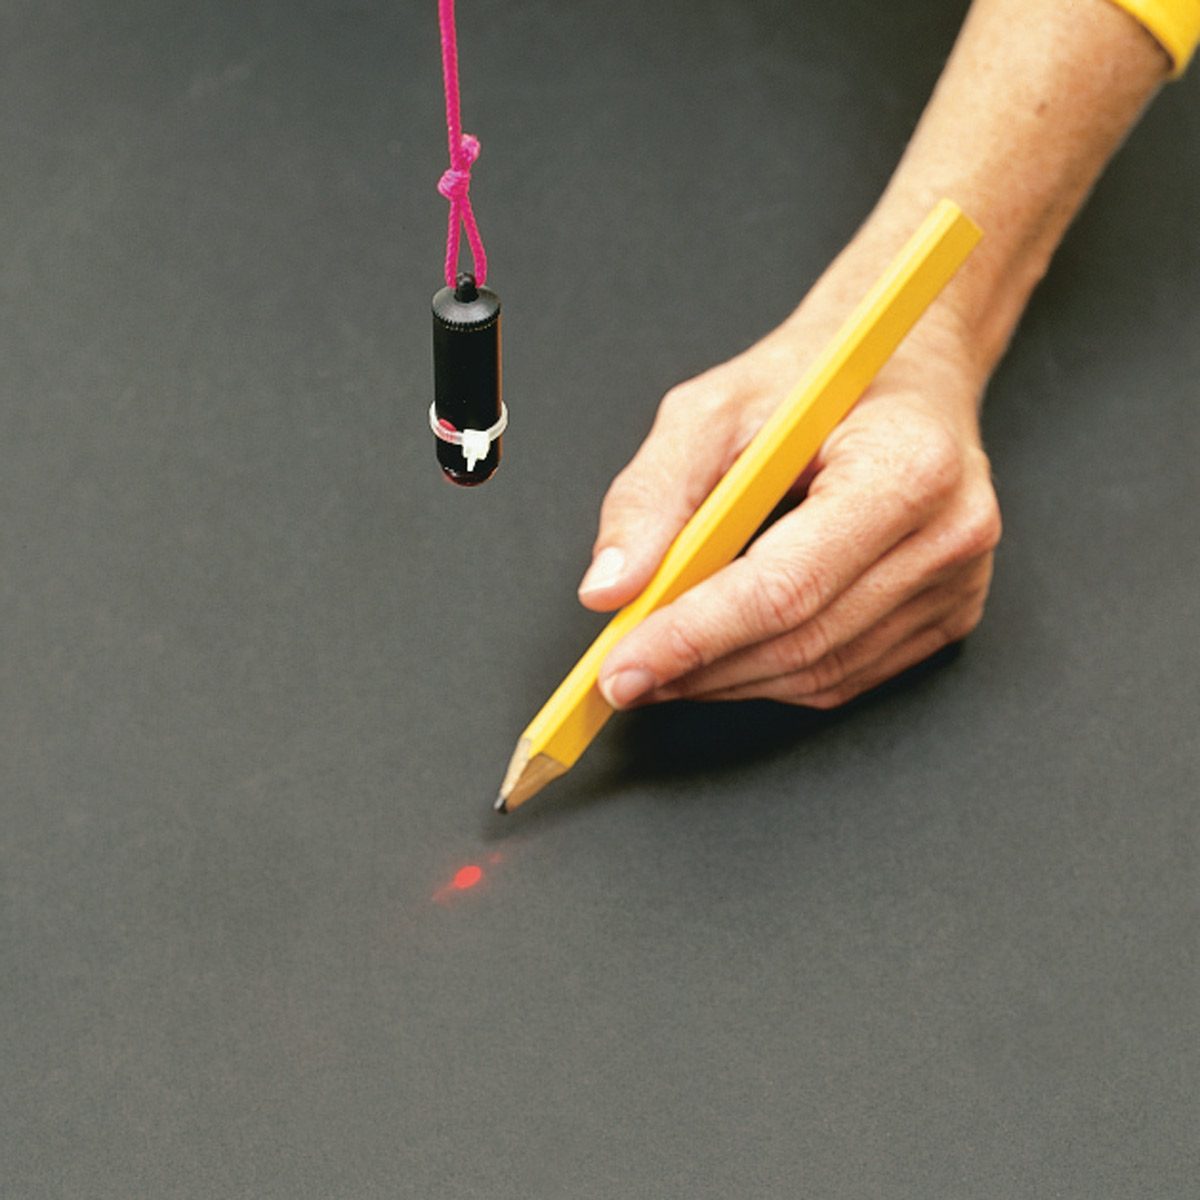
Learn how to use plumbs, bobs and levels in order to make the most of your marking process. By using these tools effectively, you’ll be able to mark out your project quickly and get to the real work of assembly. And sometimes a simple hack can make things even easier! An inexpensive keychain laser can be modified into a plumb bob with a bit of sturdy string, and just like that, you’re ready to make your mark!


