How To Build A Greenhouse In The Backyard
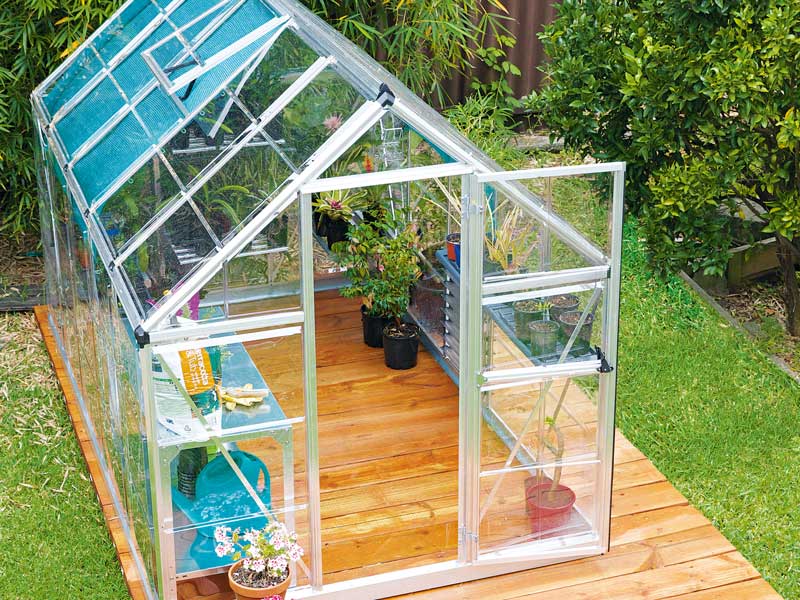
No longer just for gardeners with a big property or deep pockets, new materials mean a greenhouse can be yours at home in a size to suit.
Featuring strong yet lightweight aluminium frames and clear, virtually unbreakable polycarbonate panels, they can now be packed into kits.
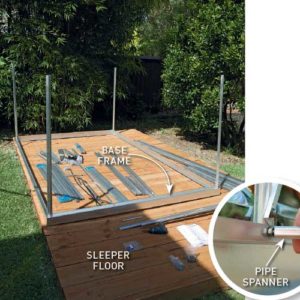
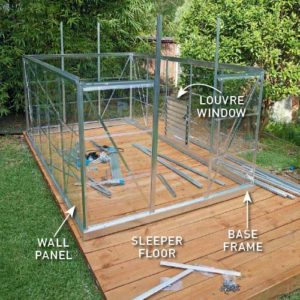
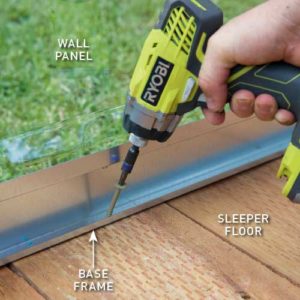
We built a Maze Palram 6 x 10’ greenhouse, $940, with a finished size of 3.1m long, 1.85m wide and 2.09m tall. It comes in two easy-to-handle boxes and can be assembled in just a morning.
Build your greenhouse on the best site. The ideal orientation is north to south, so one side gets the morning sun and the other afternoon sun.
BUDGET TIP To save money, raise vegie and flower seedlings for the next season and grow plants from cuttings.
Tailor made
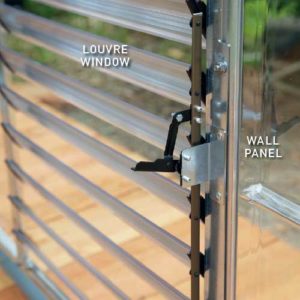
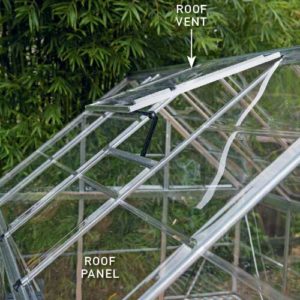
VENTILATION The greenhouse came with a roof vent, but a wall panel was replaced with a louvre window, $149, to increase airflow.
SHADE To cut light intensity, part of the roof was screened. The Maze Shade Kit, $72, has a cloth and 10 hangers to clip it to the frame that can also hold hanging baskets.
SHELVES Maze Heavy-duty Shelves, $90 each, were bolted to the frame. Each shelf holds up to 40kg and has three plant hangers.
Prepare the site
The starting point for installing a greenhouse is to create a level area with a well-drained floor.
If you already have a level area, you can build a box frame with timber or metal garden edging, lay weedmat and fill it with gravel to 50mm deep.
For this slightly sloping site, we built a simple jetty-style sleeper floor using next generation treated pine 200 x 50mm x 2.4m sleepers.
Let the sleeper floor settle for two weeks before adding the greenhouse so it can move as the timber dries out.
TIP Select a sunny site for your greenhouse that’s protected from heavy winds.
Choosing timber
TREATED PINE was chosen for the greenhouse floor. We used next generation IronWood Sienna 200 x 50mm x 2.4m sleepers by Carter-Holt Harvey, costing $15 each, from Bunnings.
SELECT TIMBER sourced from sustainable pine plantations. These sleepers are treated in a way that avoids the use of potentially hazardous arsenic.
This makes them safe for use in areas of close contact and also gives them a long-lasting colour closer to traditional hardwoods.
USE SCREWS that are either Climacoat or stainless steel with these high-copper Sienna or ACQ treated pine sleepers.
TIP To build the sleeper floor, about 100 bugle batten screws measuring a minimum 75mm in length were required.
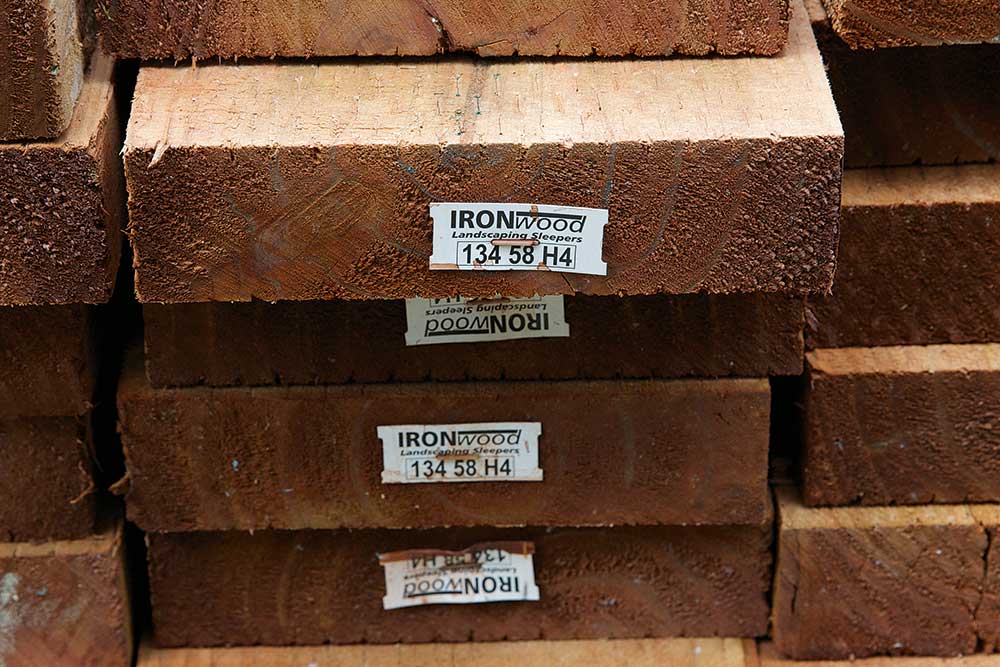
Treated pine was chosen for the greenhouse floor
What you need
- Spirit level
- Tape measure
- Large carpenter’s square
- 75mm stainless steel or Climacoat bugle batten screws
- Cordless drill-driver
- Phillips head screwdriver
- Large tent pegs (optional)
Prepare the site
The starting point for installing a greenhouse is to create a level area with a well-drained floor.
If you already have a level area, you can build a box frame with timber or metal garden edging, lay weedmat and fill it with gravel to 50mm deep.
For this slightly sloping site, we built a simple jetty-style sleeper floor using next generation treated pine 200 x 50mm x 2.4m sleepers. Let the sleeper floor settle for two weeks before adding the greenhouse so it can move as the timber dries out.
Make the sleeper floor
Step 1. Mark location
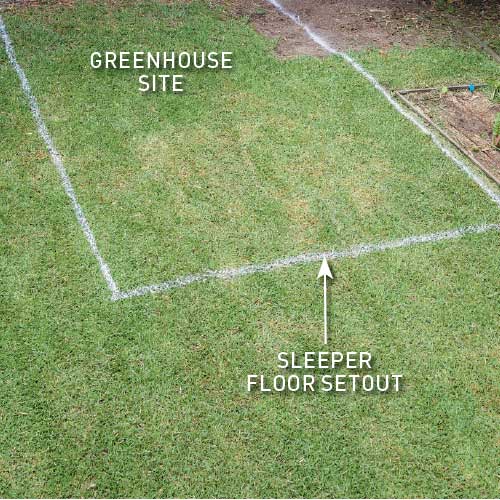
Use grass-marking paint to set out the area of the sleeper floor at the site of the greenhouse. For this project, the floor measures 4200 x 2400mm to allow for a landing at the front and a walkway down one side. To get the setout square and accurate, use a carpenter’s square for the corners.
Step 2. Dig the trenches
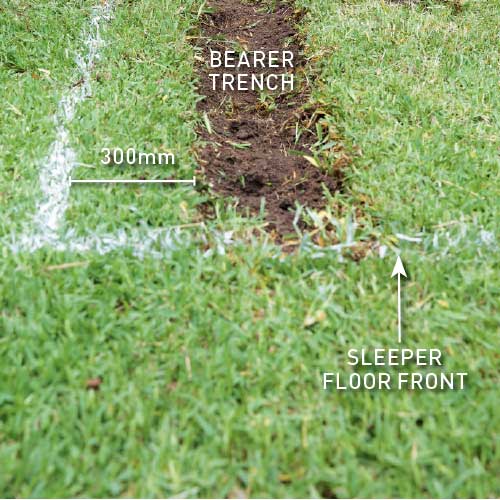
Mark the location of two side and one centre bearer parallel to the setout. Locate the bearers at 300mm, 1200mm and 2100mm from one long side. Excavate shallow trenches to level along the line of the bearers, making them a bit longer and wider than the bearers for easy positioning.
Step 3. Make the bearers
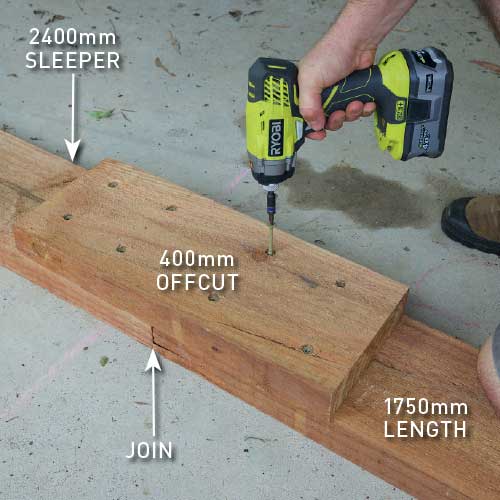
For a 50mm overhang at the front of the floor, make three 4150mm long bearers using the 2400m sleepers. Cut a 1750mm length, lay it end to end with a sleeper and position a 400mm offcut evenly over the join. Align and secure with three 75mm bugle batten screws on either side of the join.
Step 4. Position the bearers
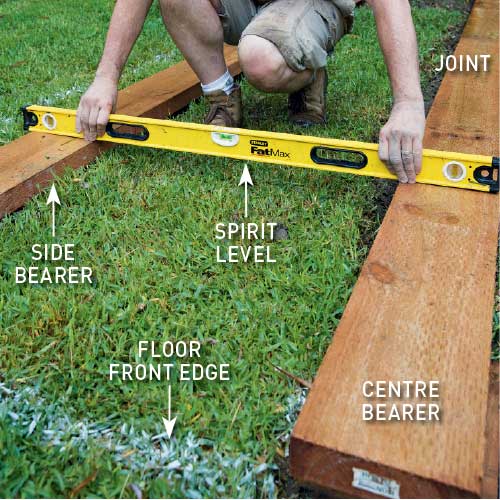
Lay the bearers parallel with the setout of the sides with the joint face up, check for level front to back and side to side, excavating more if needed. To level, add blue metal gravel to the trench or use 300mm long sleeper blocks as risers. Position the blocks every 500mm or so as needed.
Step 5. Attach the sleepers
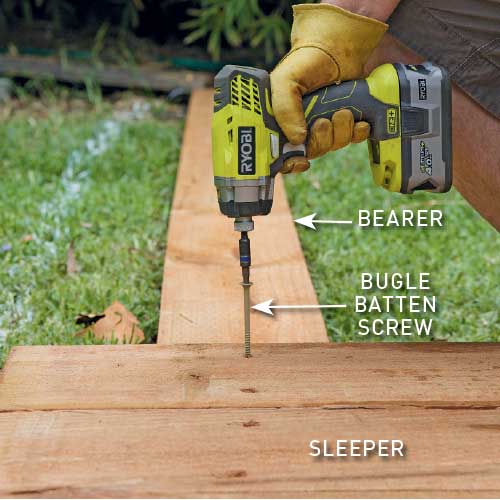
Position the first sleeper across the bearers with 50mm overhang at the front. Check for square and secure to each bearer with at least two 75mm bugle batten screws towards the edges of the sleeper to prevent cupping. Lay each sleeper hard up against the one before, check alignment and secure.
Create a work space
A greenhouse provides the ideal place to pot up seedlings and propagate cuttings.
ADD A BENCH with a lower shelf to store tools and equipment, including potting mix and a hand trowel.
INSTALL SHELVES to hold small pots and seedling trays. Attach at the same height as the bench to make potting up easier.
HANG SHADECLOTH hang shadecloth to give more sensitive plants a sheltered environment.
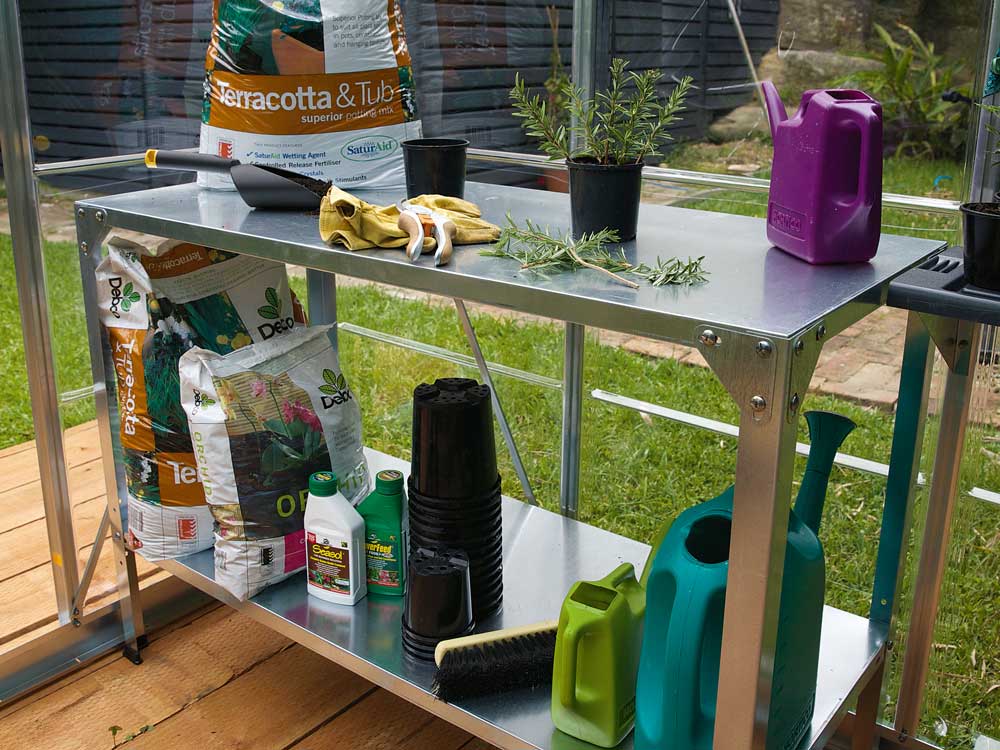
Add a bench with a lower shelf to store tools and equipment, including potting mix and a hand trowel
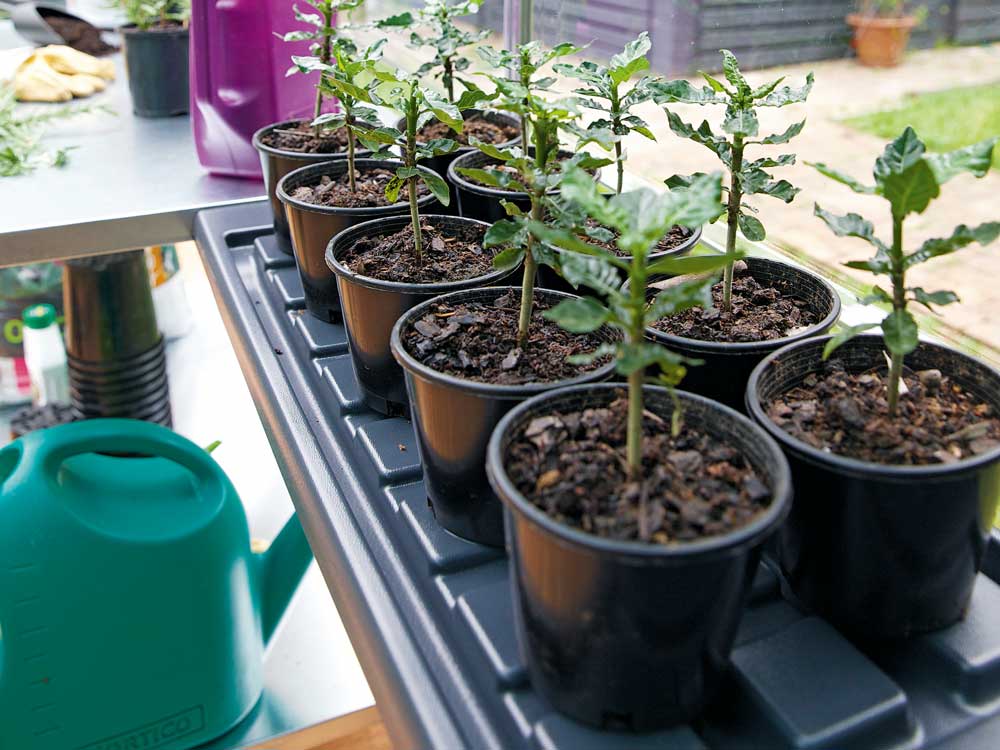
Install shelves to hold small pots and seedling trays
Click here to watch how this greenhouse was built DIY
