DIY Suspension Shelves

Join pine boards with wire rope to make shelving that borrows a design feature from bridge construction.
These floating shelves look lightweight, but they are actually very strong and are able to support as much weight as a conventional bookcase.
Wire rope stretches very little under load, allowing the shelves to utilise similar design principles to those used in suspension bridges.
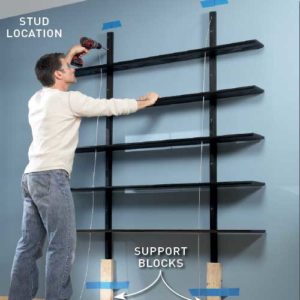
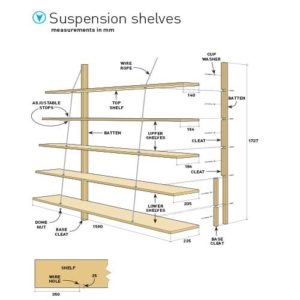
Secured to battens spaced to line up with the wall studs, the shelves are separated by cleats that add strength.
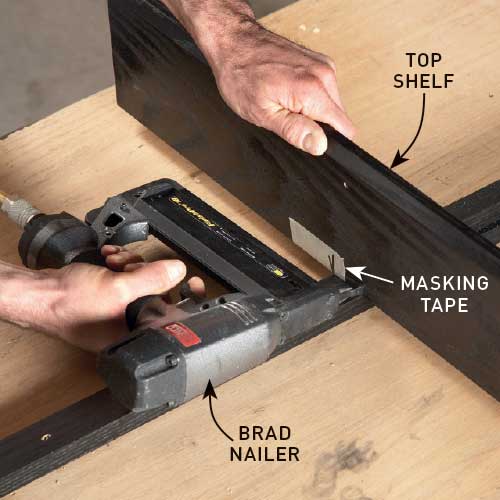
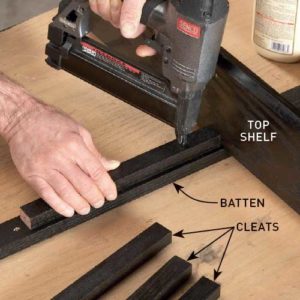
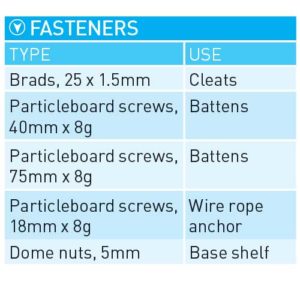
The cleats are attached to the battens using brads and PVA adhesive, with a single screw and cup washer added to each for a decorative look.
The shelves get narrower as they go up but can also be left the same width. For this project, the front lower edges were chamfered using a router, but they could be left square instead.
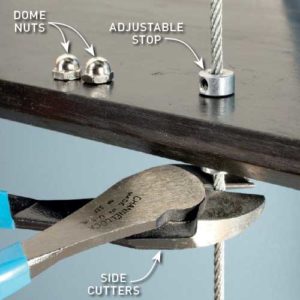
Cut the pine components to size using a mitresaw and the wire rope to length with heavy-duty side cutters or linesman’s pliers.
Apply two coats of stain and a clear finish to the shelves, battens and cleats before assembly.
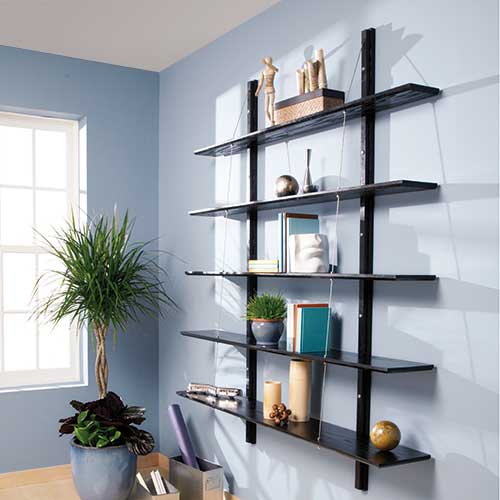
Eye-catching and easy to build, these wall-hung shelves are a lot stronger than they look
Using wire rope
To suspend these shelves, you’ll need two lengths of 3.2mm stainless steel balustrade wire, which is readily available from hardware stores.
Balustrade wire can be bought by the metre, and each piece needs to be at least 2100mm long. To be on the safe side, buy 5m of wire.
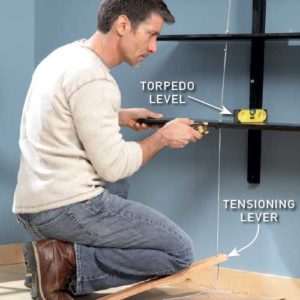
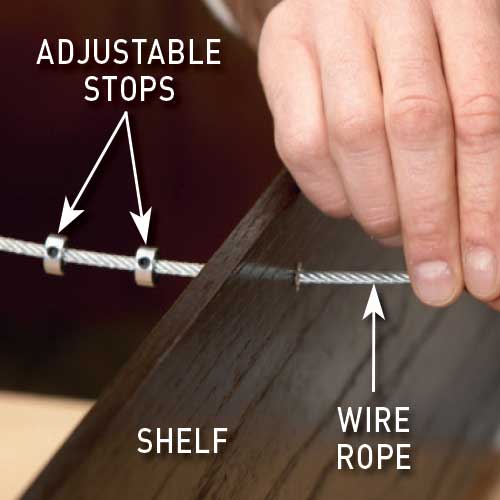
The wire is threaded through the shelf holes, with adjustable stops added to both sides of each shelf to provide support. Leave a tail at the base and cut it off at the end
Anchoring wire rope
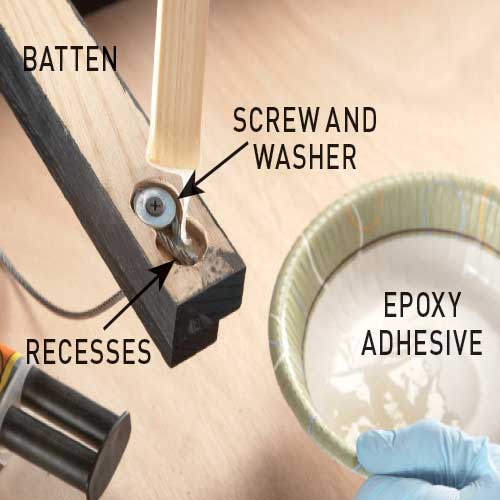
Thread the wire rope through the shelves, then use a 25mm Forstner bit to make recesses for 20 x 5mm washers and anchor the wire.
TIP Some adjustable stops have a slot so they can be secured after the wire has been threaded.
Step 1. Secure the cleats
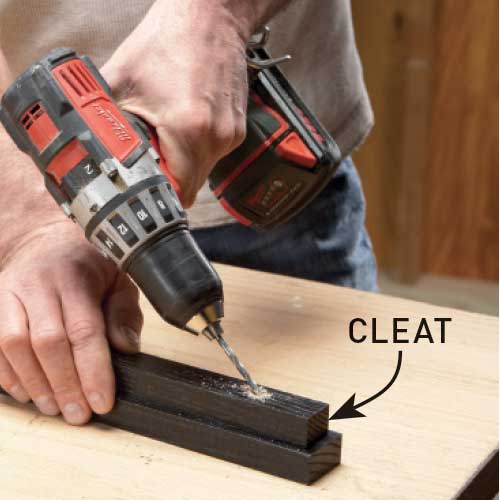
Secure the top cleats 5mm from the end of the battens with adhesive and brads. Use a 4mm twist bit to drill a hole for the wire through each cleat and batten at a 45° angle.
Step 2. Theads the wire ripe
Thread the wire rope through the shelf holes, adding adjustable stops for both sides of each shelf as you go. Slide the stops into position against the shelves and secure with an Allen key.
Step 3. Anchor the wire
Anchor the wire by drilling two recesses in each batten behind the angled holes. Loop the wire, secure with a screw and washer, then fill the recesses with epoxy adhesive.
Make the shelves
