Installing A $20,000 Roof

The old tiles were removed and replaced with metal sheet roofing to increase the worth of a coastal home.
Built in the early 1970s, this beachside bungalow had gradually been extended and renovated, including render on the original brick walls.
During a bout of rainy weather, problems with the roof were detected when paint on the ceilings began to blister. The glazing on many tiles was fretted and sarking beneath had disintegrated in places, so the original roof had to be replaced.
TO REPAIR THE ROOF it was necessary to replace 300 damaged tiles and put down new sarking, a job quoted at about $10,000 in total.
Solar panel removal and reinstallation quotes ranged in price from $1500 to $4000.
A NEW ROOF in Colorbond ranged from $18,000 to $24,000. The owners opted to invest in preventing the problem from recurring and modernise the look of the house.
They checked with the local council for the standards relevant to a new roof and chose Colorbond orb in Monument as it went with the existing colour scheme.
Bluetongue Roofing were chosen to do the job because of their proven results on a neighbour’s home.
Removing old tiles
The new materials were on site before the existing roof was removed in case of rain, and the old tiles were taken to a landscape supplier for recycling.
Most roofers only remove what they can replace in a day. This roof was done in three sections over three days, with an extra day for securing the ridge and barge capping and other flashings.
TO DIY take off the ridge and barge capping first, discarding into a truck or skip bin.
Terracotta tiles can be recycled into decorative chips, tipped as landfill or sold for re-use, but this requires careful removal.
TIP Removing tiles can be slow as they can be nailed or wired down.
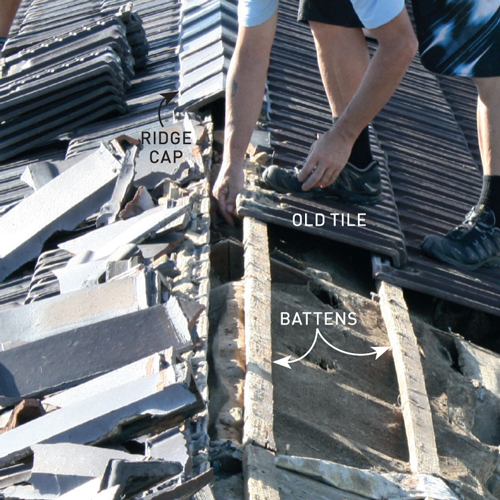
Removing tiles can be slow as they can be nailed or wired down
Installing new battens
After a section of tile was removed the timber ridge, rafters and battens were inspected and checked for level. Despite being over 40 years old, this hardwood roof was still mostly in good condition.
The original battens were left to maintain structural integrity and new 70 x 35mm pine battens secured to the old hardwood roof rafters 900mm apart using a nail gun.
TO DIY new battens are secured when changing roofing materials and CCA treated pine must not be used with metal roofing.
The regulations for roof spans consider resistance to wind and light roof traffic for maintenance.
The maximum internal batten span is 1200mm for 0.42mm thick steel roofing and 1700mm for 0.48mm thick roofing.
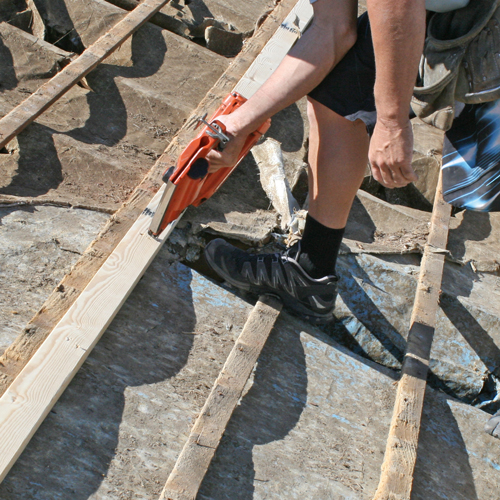
New roof battens are used when roofing material is changed
Positioning the insulation
Each section of roof was measured from ridge to gutter and the required lengths of insulation cut to size from the 15m rolls.
The 75mm thick blanket was rolled over the battens one roll at a time, staying just ahead of the team attaching the sheets.
TO DIY make sure the foil backing faces down in temperate climates and up in tropical zones, with the 150mm foil overlap on the side following the laying direction.
The blanket should be at least 50mm away from the gutter to prevent water wicking when it rains, and one side should roll over the ridge for efficient insulation.
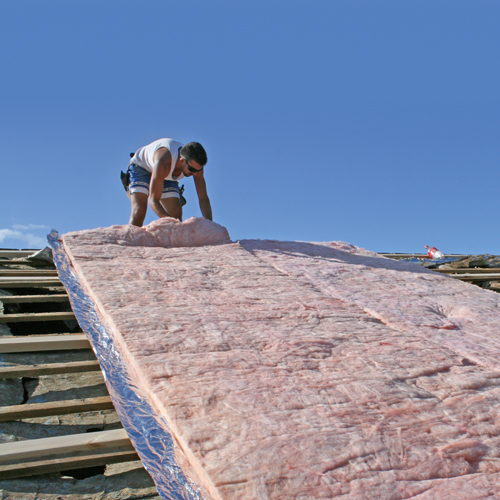
The insulation is rolled out just before the sheets are attached
Attaching the sheeting
The roofers checked the ridge and gutter lines were parallel then used the ridge and gable as reference lines. Starting at the back of the house with the overlap facing away from the main direction of bad weather, one sheet at a time was secured using roofing screws, with a chalkline flicked to indicate the centre of each batten.
At the top of the sheets, the valleys were turned up using pliers to create a barrier preventing windblown rain from entering the roof cavity.
TIP A local company put up a safety rail system for about $17 a linear metre.
TO DIY adjust the torque clutch of the drill so that the screws are driven to just compress the grommets. At the top and base of the sheets, screws are secured to every second rib, and every third then fourth rib between.
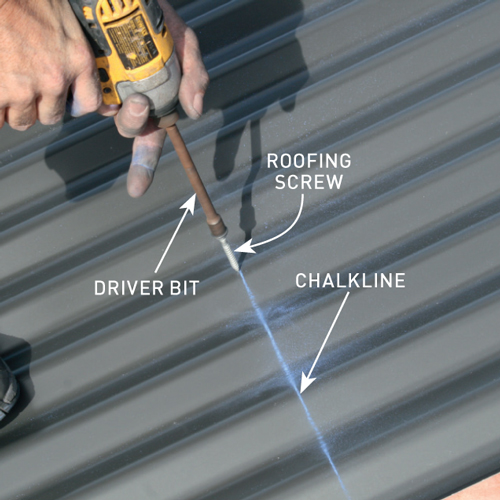
The roofers checked the ridge and gutter lines were parallel then used the ridge and gable as reference lines
Adding the capping
Barge capping was secured with roofing screws, overlapping the roof sheets and barge boards with a watertight seal.
At the gable it’s trimmed to mould around the gutter ends, with the last 30mm turned into the gutter. At the ridge the ends are square cut, sealed with silicone and pop riveted.
A chalkline was flicked to mark the cut line on either side at the ridge to position the ridge capping.
After the last section was cut it was adjusted and trimmed at 45º where it overlapped the barge capping.
The joints were then sealed with silicone and secured with pop rivets, while the ridge capping was attached to the top roof battens with screws.
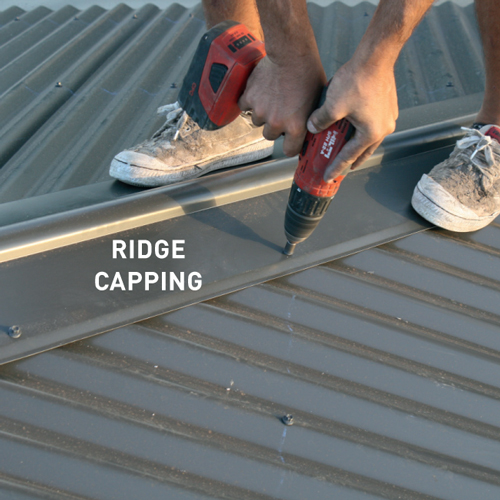
A chalkline was flicked to mark the cut line on either side at the ridge to position the ridge capping
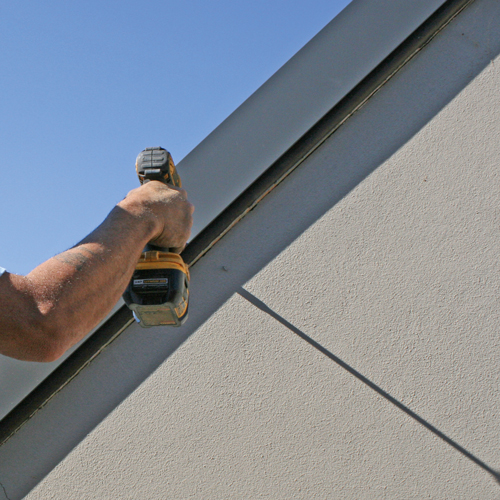
Barge capping was secured to the timber barge at the gable end every 900 to 1000mm
Sealing the capping
A pair of tinsnips was used to make a teardrop shaped cover plate to hide the open end of the ridge roll top and barge capping butt joint.
The shape was marked on a flat offcut of capping with fluted cuts across the top, folded and checked for a neat fit inside the roll top.
Silicone was applied inside the roll top to attach the cover, then clearance holes were drilled and rivets used to secure it to the barge capping.


