Renovating A Kitchen For $7750

The hub of their home had served John and Dianne Bowler well for more than 20 years, and though they had few complaints about the kitchen, they decided it was time for a revamp.
‘The kitchen layout and space was good but it was looking a little tired after all that time, plus the wear and tear caused by two kids,’ says John.
Doing the research
Before committing to a plan, the couple looked at retail showrooms and display homes for inspiration as well as magazines and websites.
‘We came to the conclusion it would be better to revamp the cabinets instead of replacing them.
‘After all, we both loved the solid Tasmanian oak doors and panelling, and the cupboards were in excellent condition,’ says John.
The couple also elected to keep the existing sink and most of the relatively new appliances, significantly reducing the outlay.

The existing kitchen sink was retained which helped the budget
Making preparations
With a solid plan in mind, John set about removing the old splashback tiles, taking care not to damage the plasterboard wall too much.‘Considering the amount of work it took to repair the wall in the end, it probably would have been easier to simply cut the wall lining off and replace the entire sheet of plasterboard,’ he says.
John coated the wall with finishing compound, which was left to dry and sanded smooth, then sealed with a coat of paint.
‘It took about a day all up, but I did an hour or two every other day.’
After weighing up the merits and prices of the materials available, from laminates to reconstituted stone, a new benchtop was ordered.
‘We settled on natural stone from Spain, 40mm thick Silestone in Mountain Mist from Cosentino Stone. It’s probably one of the more expensive ones on the market but I think it’s also one of the best.’
Upgrading the floor
The next step was to tackle the floor. John sought quotes to remove the old floor tiles and replace them with new porcelain stone-look tiles.‘The cost was very high so we decided to prepare the floor ourselves and have the tiler just lay the new tiles. Unfortunately this proved too much, even for me, as it took about an hour just to remove one tile and there were 35 square metres of them.’
In desperation, John tracked down a company that would strip the floor for $35 per square metre.
‘After a couple of hours and several holes in the floor, the tradie we hired also gave up, and we still had a skip bin sitting empty in the driveway.’
Eventually John called in a team that was recommended by his local tile supplier to do the job.
‘They had a long hard look at the existing floor and suggested we lay the new tiles over the old,’ he says.
This approach only raised the floor level by about 15mm, which was not enough to cause any problems.
Measuring up
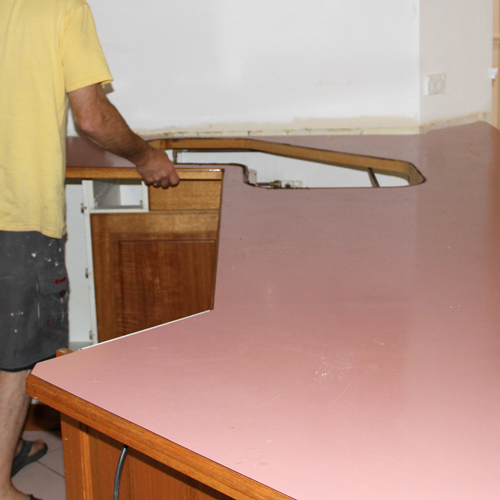
Things moved more quickly during the second week of the renovation. The electrician shifted the power outlets and the benchtop supplier came to measure up.‘Since the benchtop was replacing an existing one he simply took the measurements of the old one before I removed it,’ says John.
Back at the factory, the dimensions for the new benchtop were loaded into a laser CNC machine that cut the top to the exact size and shape for a perfect fit.
‘I removed the old benchtop while the new one was on trestles for a measurement check and a final cut and polish,’ says John.
‘After a bit of adjustment with the grinder, the sink and cooker were fitted in their respective cutouts.’

The old benchtop was removed and replaced
Installing the benchtop
The next step was to position the sections on top of the cabinets.‘This stone weighs a ton and the three installers and myself struggled to manoeuvre each piece in place.’
The first small section of benchtop fitted perfectly but the second bigger section had to be adjusted slightly with the grinder before installation.
‘The joint was then opened just slightly and epoxy adhesive applied. We eased it back into position and checked it again,’ says John.
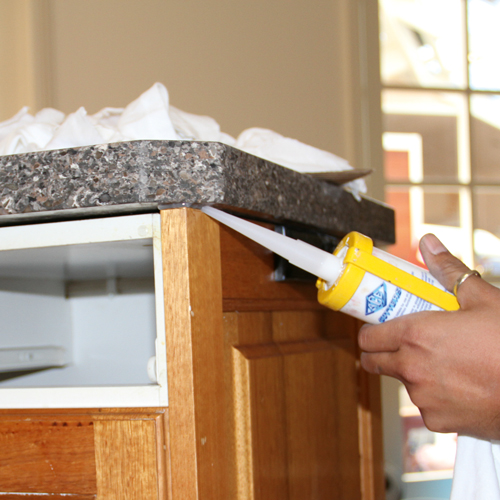
‘Epoxy was also used to secure the benchtop to the cabinets, then the joint was also filled with epoxy coloured to match the top.’
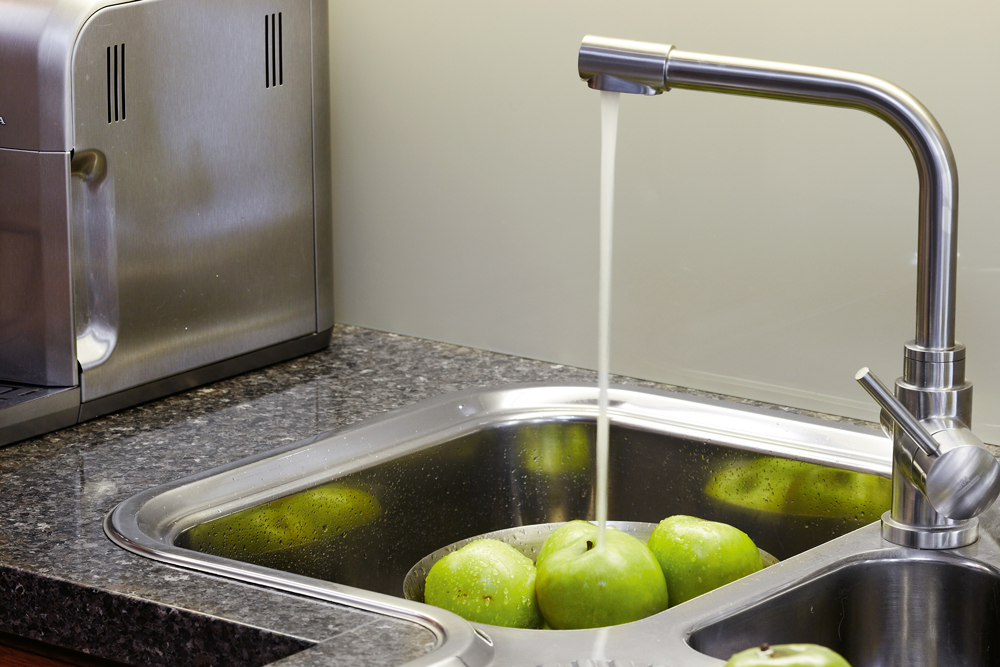
To finish the job, the stone was given a final polish with a buffing wheel then silicone sealant was applied. A new flick mixer and an under-bench water filter were installed, and the sink and cooktop fitted and reconnected.

Revamping the cabinets
Over the next week, John removed the old cabinet doors and cleaned off any built-up grime before revitalising the clear finish with buffing oil, which he polished to an even sheen.Each door was rehung and the hinges adjusted to create even gaps and alignment. New European-style handles were secured in place of the round knobs, with larger handles on the pot drawers and pantry doors.
The other drawers had hook-style finger pulls attached, and a slide-out waste bin was installed under the sink.
‘The whole project took about four weeks to complete and we are really happy with the results,’ says John.


