How to make a storage box

Sponsored article
An upholstered storage box could cost hundreds of dollars from a furniture store, but you can make one at home for a fraction of the price.
All you need to create this project is a 2400 x 1200mm x 9mm sheet of MDF, 12mm medium density foam, 50mm high density foam, upholstery fabric, and Selleys Kwik Grip Spray Contact Adhesive.

Step 1. Make a box frame
Cut a sheet of MDF to create two 1200mm x 400mm pieces for the long sides, two 400mm x 400mm pieces for the short sides and two 400mm x 100mm pieces as braces. Butt join the long sides to the short sides using PVA adhesive and screws, and attach the braces at the base.
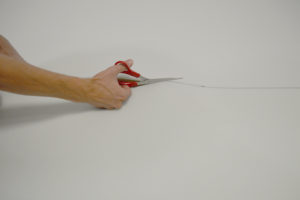
Step 2. Cut the foam
Use sharp scissors to cut a piece of 12mm medium density foam to size. The foam needs to wrap around the frame, and should be slightly wider than the box is tall. For this trunk, a 3200mm x 440mm piece of foam was used.
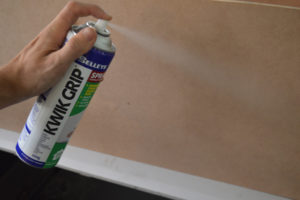
Step 3. Apply contact adhesive
Spray the outside of the frame with Selleys Kwik Grip Contact Adhesive Spray, then spray one side of the foam. Leave the adhesive for 15 minutes or until ‘touch dry’. Porous surfaces like foam may require a second coat.
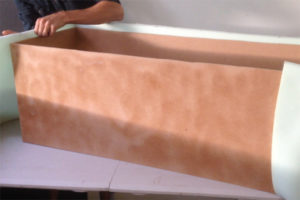
Step 4. Attach the foam
Attach the foam to the frame, leaving overhang at both the top and base. Wrap the foam all the way around, then apply firm pressure. The adhesive will grab immediately with the bond continuing to strengthen overnight. Trim excess to ensure there is only 10mm overhang on the top and base.
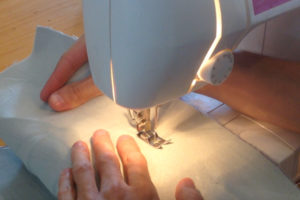
Step 5. Prepare the fabric
Cut a piece of fabric 200mm longer and 100mm wider than the foam. For this trunk, a 3400mm x 540mm piece of fabric was used. Measure the exterior of the trunk and secure the short ends of the fabric together with pins to test the fit. Sew the seam and turn the fabric right side out.
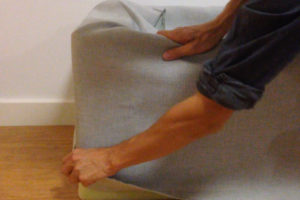
Step 6. Cover the trunk
Slide the fabric over the trunk so that there is overhang on both the top and base of the trunk. Ensure that the seam is on one of the corners. The fabric should fit snugly over the foam.
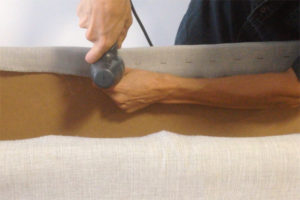
Step 7. Attach the fabric
Use a staple gun to secure the fabric on the inside of the trunk. Fasten staples 30mm apart and 40mm below the top of the trunk, pulling the fabric taut. Repeat for the base of the trunk.
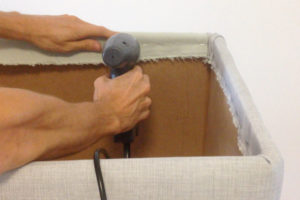
Step 8. Attach the lining
Cut a piece of fabric to size for the lining, then secure it with staples 20mm apart and 20mm from the top of the trunk. Once the fabric is secured, fold it over so that the right side is facing the inside of the trunk and the staples are hidden. Secure with staples 10mm from the base and trim excess.

Step 9. Insert the base
Cut a piece of MDF to size and insert it into the trunk to create a solid base. The base will cover the staples from the lining to create a clean, seamless finish. Repeat the upholstery process for the lid using 50mm high density foam and position the lid on top or attach it using hinges.
Vote It Up:

Points: 0


